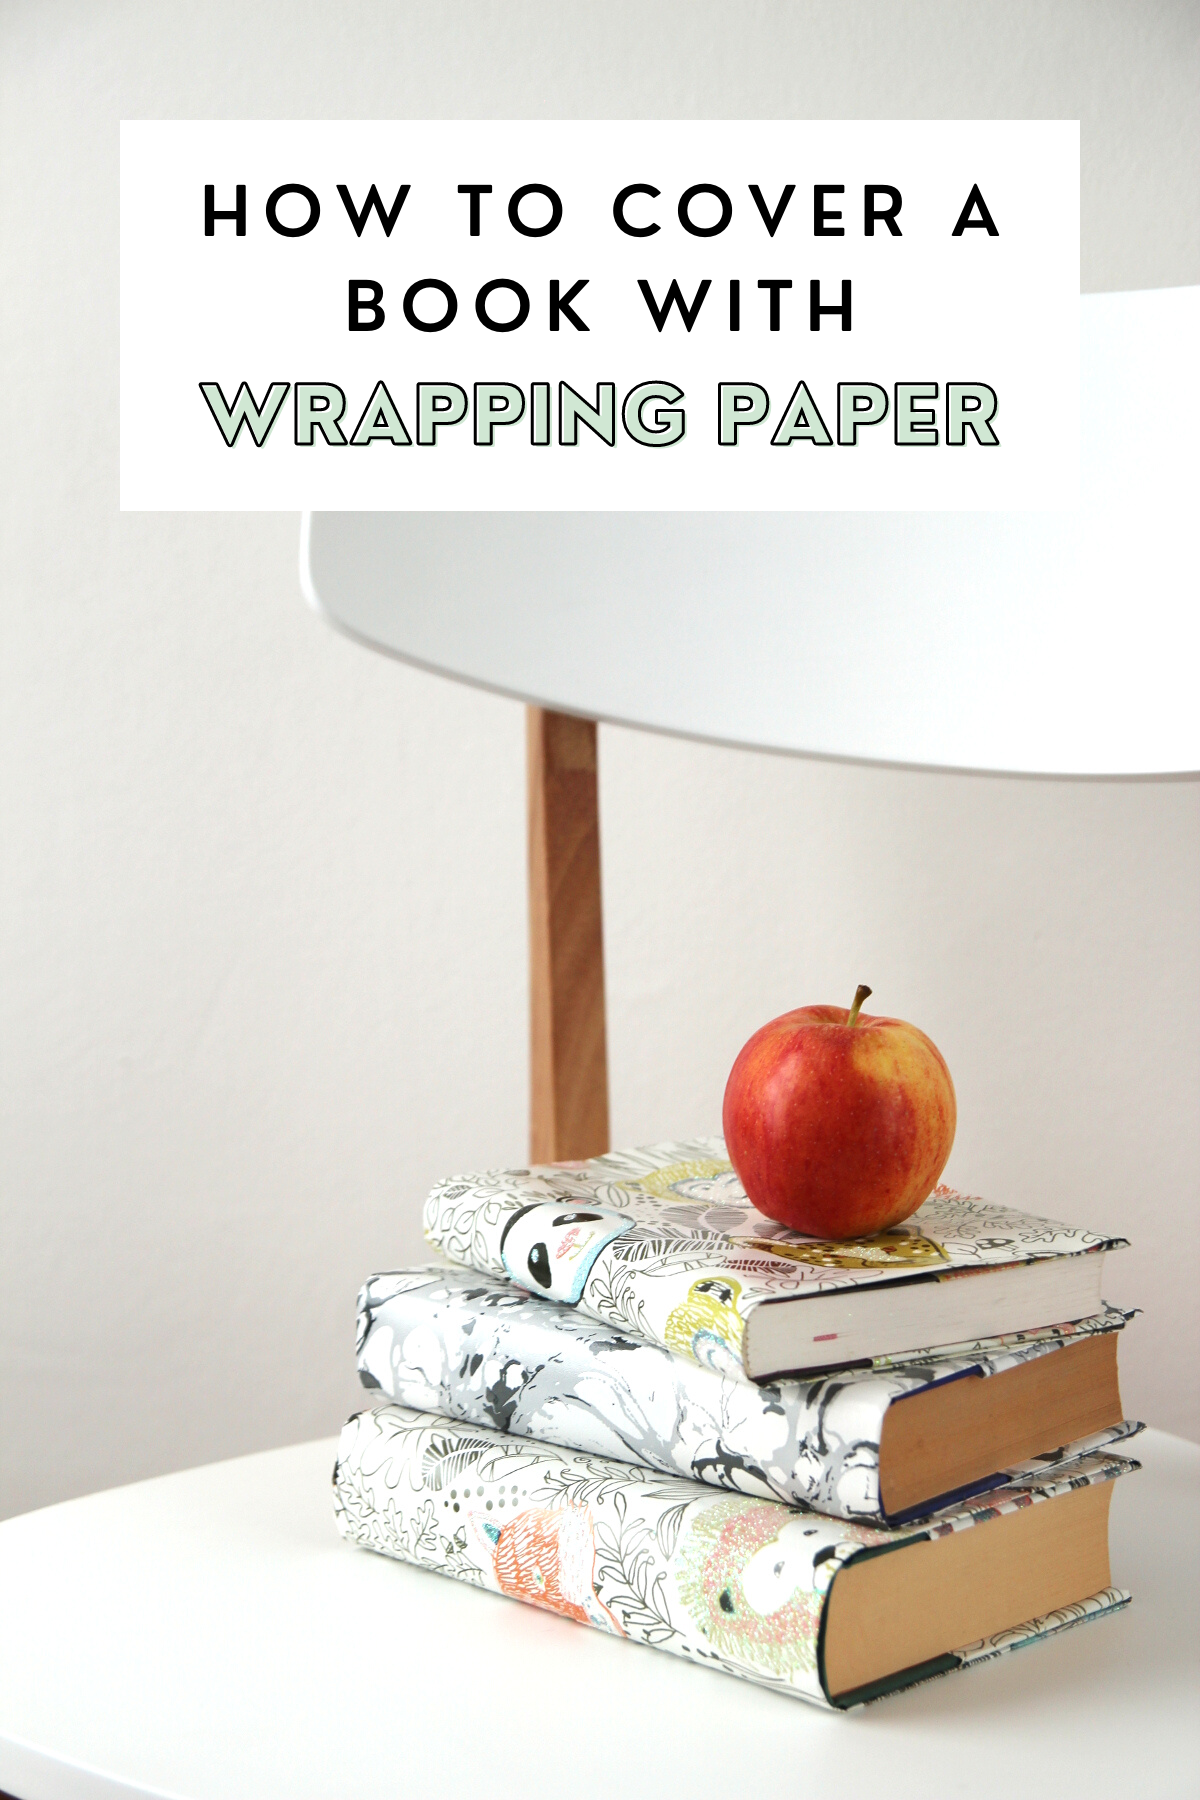
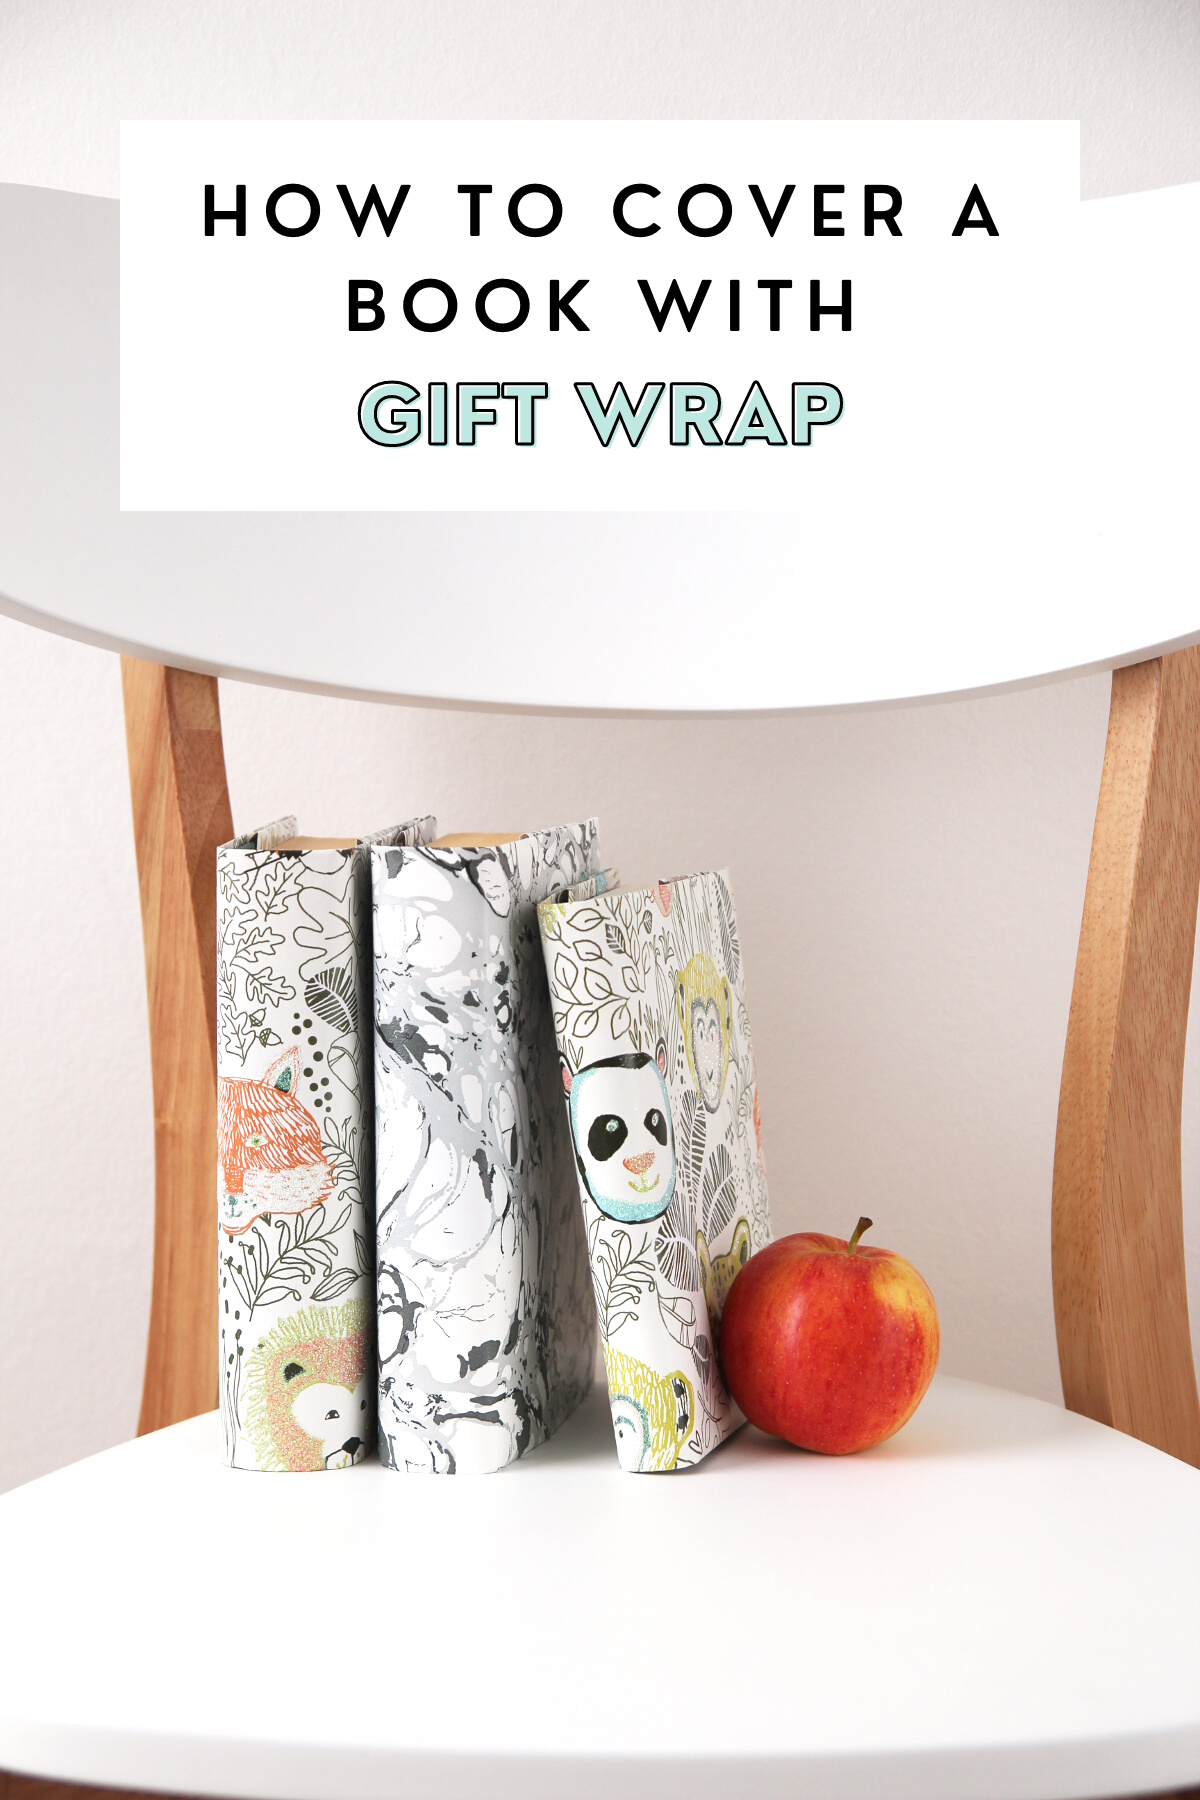
HOW TO MAKE WRAPPING PAPER BOOK COVERS.
/Getting ready to head back to school? Protect your books with these easy DIY book covers.
Use your favourite wrapping paper, wallpaper or even upcycled brown paper bags to create your own personalised dust jackets. Your books will be well-protected and look stylish all year long.
This page contains affiliate links. This means that if you make a purchase after clicking a link I earn a small commission but it doesn’t cost you a penny extra!
DIY Gift Wrap Book Covers.
September is here and that can mean only one thing, the back to school season is upon us. Even though it’s been quite a while (cough, cough) since I was last at school I still love the thrill of new stationery, especially in the autumn.
One of my favourite back to school activities was covering my exercise books and textbooks. Sadly they never looked as neat as these ones. There was a lot of bulky anaglypta wallpaper and sticky tape involved and not so many tidy folds.
Of course, you don’t have to be going back to school to want to add a new snazzy cover to your books. You could cover well-loved paperback novels or replace your dust covers with some gorgeous personalised minimalist designs to match your home decor.
I always have a notebook or two in my bag and they do tend to get a little banged up and worn around the edges. So what better way to protect them than by making some DIY gift wrap book covers.
DIY Paper Book Covers.
There are so many different ways you can customise your books. There’s brown paper that can be doodled on and decorated (this tutorial even shows you how to make one using brown paper bags). Or you could use wallpaper, vintage maps, sheet music and of course gift wrap or wrapping paper like I did.
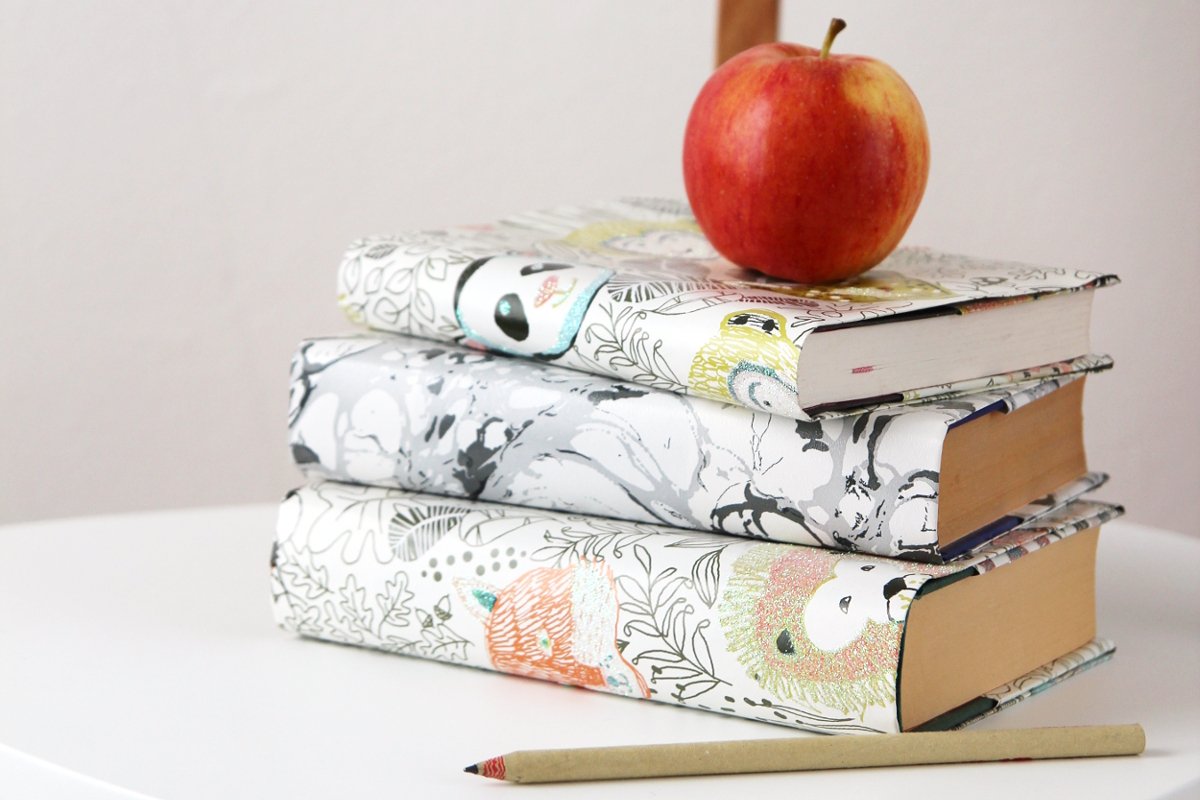
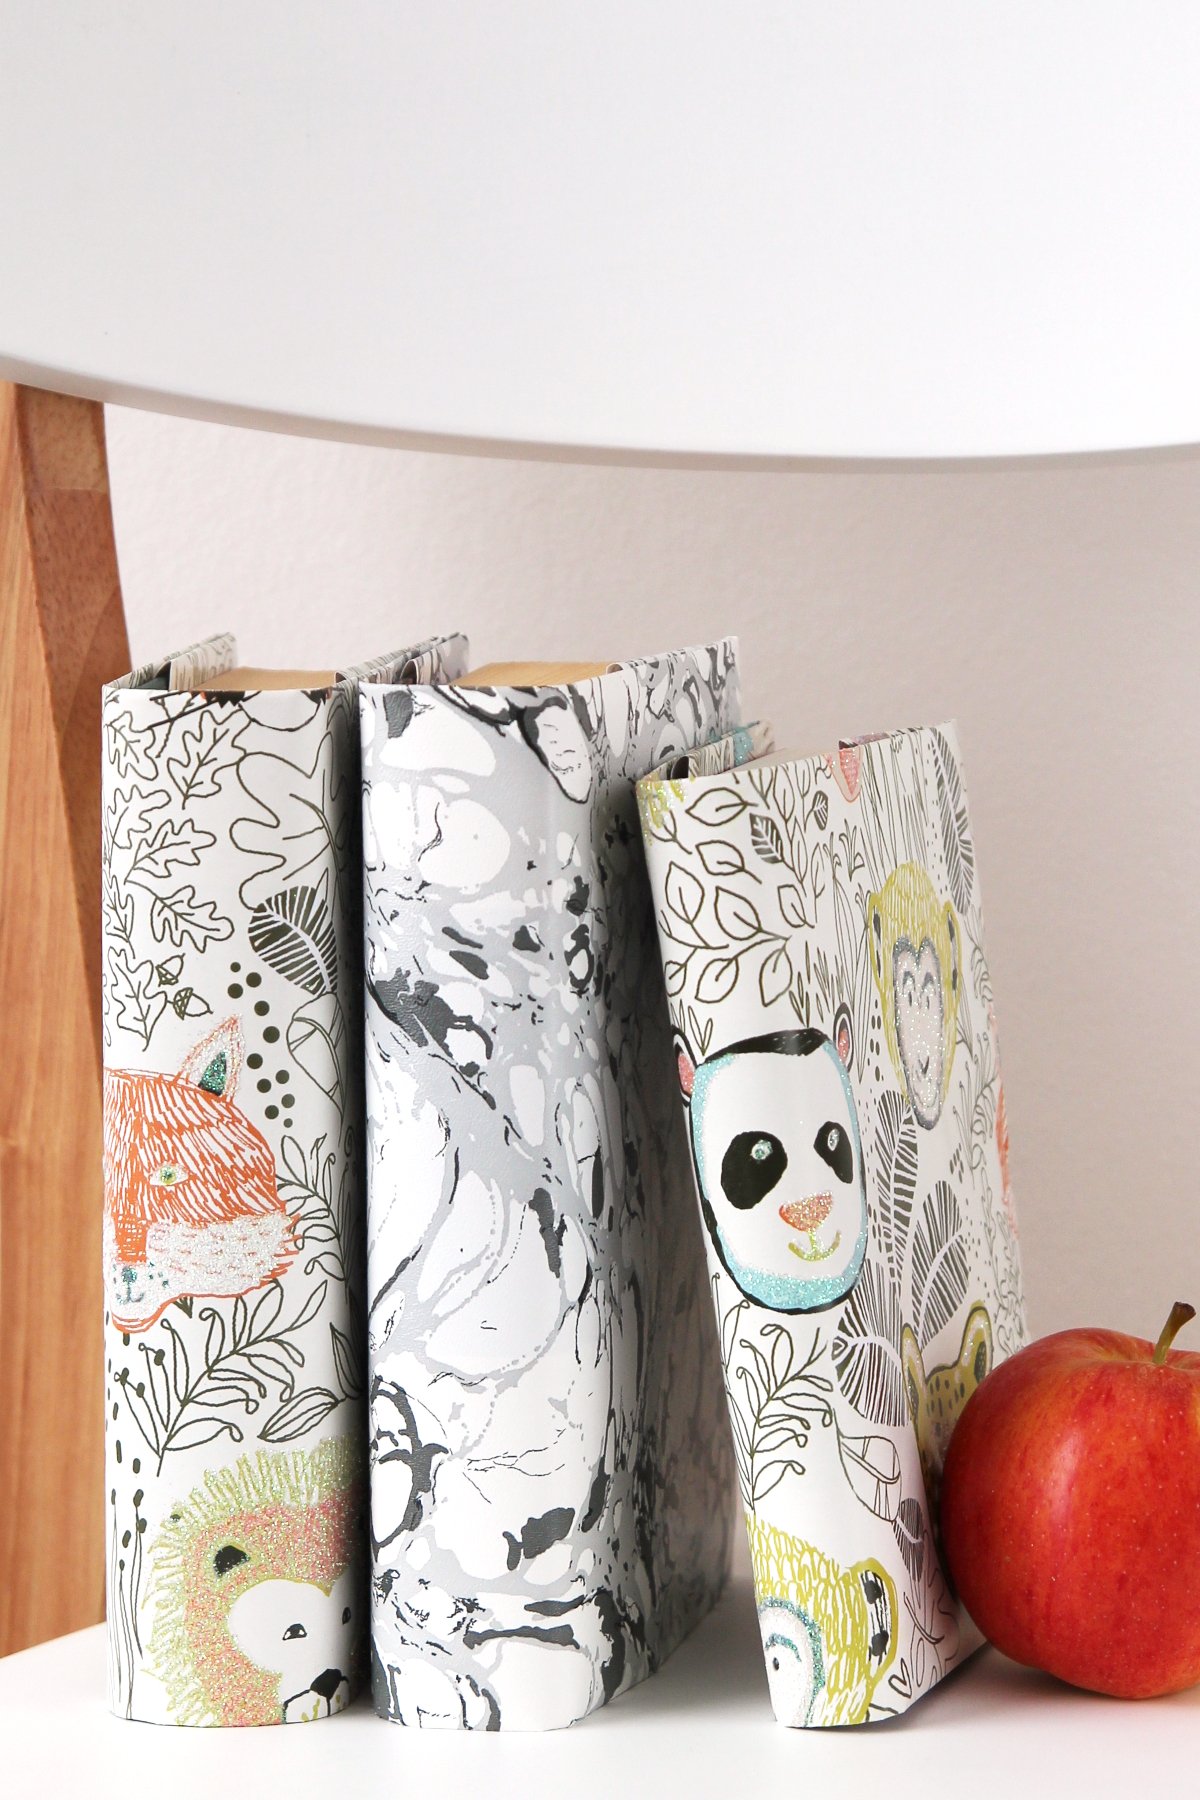
I found a good quality, thick paper works best. It's much easier to fold and will be able to protect your books better. The animal pattern is some leftover gift wrap and the marbled paper is from some wallpaper samples. They both worked really well.
Supplies:
How to make a DIY Book Cover using wrapping paper.
1. Take your notebook and lay it down on your gift wrap.
Your paper strip needs to be at least an inch bigger on the top and bottom and a good 3 inches longer on each side.
Trim to size.
2. Place the book in the centre of your paper strip and use a bone folder to lightly score along the bottom of the notebook.
3. Fold along this scoreline and crease.
4. Lay the book back down and this time leave around 1/4 of an inch gap at the bottom.
This is so the book will slip easily into the cover.
5. Fold the top down and crease it to mark the top of the book.
6. Fold along this crease.
Your paper strip should now have two folded strips running along the top and bottom.
7. Lay the book back down and leave a 3-inch gap from the beginning of the folded paper strip.
8. Score along the edge.
9. Fold to form a pocket.
10. Slide the book cover into the pocket.
11. To make sure you get a good fit lay the book down flat front cover side facing down.
12. Wrap the paper around it.
13. Flip it over and score along the edge same as you did before.
14. Fold and crease to make another pocket and slide over the back cover.
Ta-da! Great job! You now have a fancy new cover for your notebook. Repeat as necessary and breath new life into old books or project new ones with a fancy cover.


