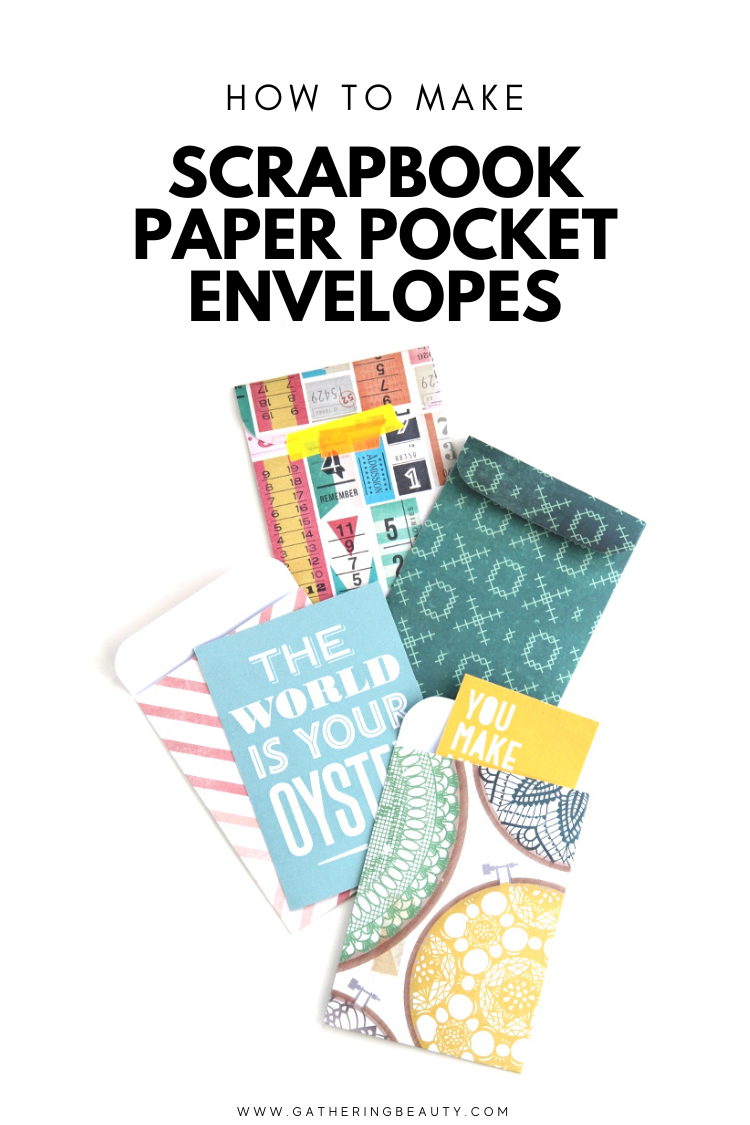
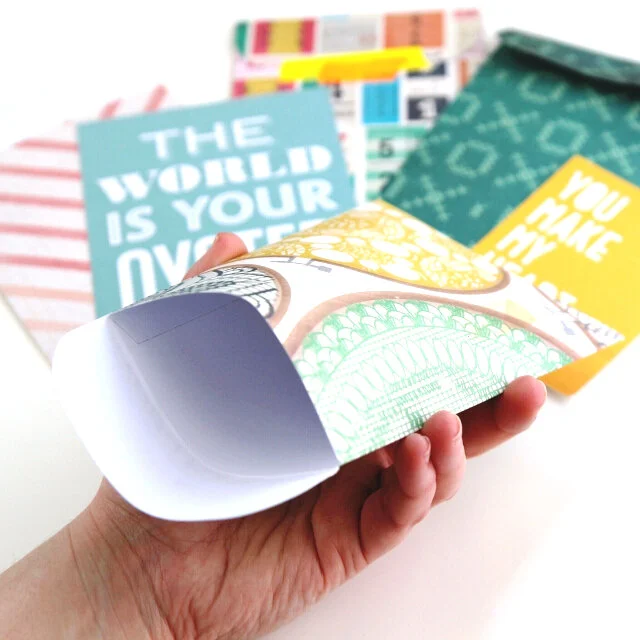
How To Make A Scrapbook Paper Pocket Envelope.
/Learn how to make an Easy Paper Pocket Envelope using scrapbook paper. This simple DIY envelope can be used to store notes, gift cards or add a handmade touch to your cards and invitations.
This page contains affiliate links. This means that if you make a purchase after clicking a link I earn a small commission but it doesn’t cost you a penny extra!
DIY Paper Pocket Envelopes.
Today I want to share with you a quick and easy paper craft project that will come in handy for all your organising and gifting needs. These cute paper pocket envelopes can be made using scrapbook paper and a scoring board.
I love sending people snail mail, particularly photos or postcards so I'm always looking for new ways to personalise them and add a handmade touch.
These pocket envelopes measure 4.25 inches x 6 inches so they’re perfect for holding a standard postcard or 4x6 photograph.
Scrapbook Envelope Pocket.
Although designed to hold a postcard these pocket envelopes are incredibly versatile. You can use them as both envelopes or pockets.
Store notes, photos or small trinkets in them by glueing a couple to the inside of a scrapbook, planner or journal. Create your own homemade greeting cards to slip inside.
They’re ideal for birthdays, memory-keeping and journaling. Plus they’re super easy to make, so even if you’re a beginner, you’ll be able to whip up a bunch of these in no time.
Supplies:
Scrapbook Paper - choose a design that speaks to you and matches the occasion. The standard 12x12 inch size is perfect as you can trim it down to your desired dimensions.
(I used the Close Knit and Maggie Holmes range from Crate Paper which is sadly no longer available)
Scoring Board and Bone Folder - If you don’t have a scoring board you can use a ruler and an embossing tool.
And some Double-Sided Tape - this will help you secure the edges of your envelope.
How To Make A Paper Pocket Envelope.
1. Using either a scoring board or an embossing tool and a steel ruler score your paper at 4 and 2/8 inches (10.8 cm), 8 and 4/8 inches (21.6 cm) and 9 inches (22.8 cm).
2. Rotate your paper 90 degrees counter-clockwise and score at 1-2/8" (3.2 cm), 7-2/8" (18.4 cm) and 7-6/8" (19.7 cm).
3. Trim your paper on the 9" and 7-6/8" score lines.
4. Your paper should now look like the second square down on the right. You need to cut away the shaded areas to form the tabs.
5. Cut notches into the end of each tab. The deeper tab at the top will form the opening flap of your envelope.
If you want you can round the edges using either a corner punch or just by tracing around something. I used some washi tape and cut it by hand.
6. Fold along your score lines. If you want you can use a bone folder to get a crisper edge.
7. Stick some double-sided tape to the 2 smaller tabs, fold your paper and stick it down to form your pocket envelope.
8. Repeat these steps with different scrapbook papers to create a whole collection of cute envelopes for any occasion.
Remember, the beauty of crafting is that you can personalise and customise your creations. Add embellishments like stickers, washi tape, or even hand-drawn designs to make your envelopes truly unique.
Whether you want to surprise a friend with a heartfelt note or store your favourite keepsakes, these quick and easy pocket envelopes are the way to go.


