Origami Easter Bunny
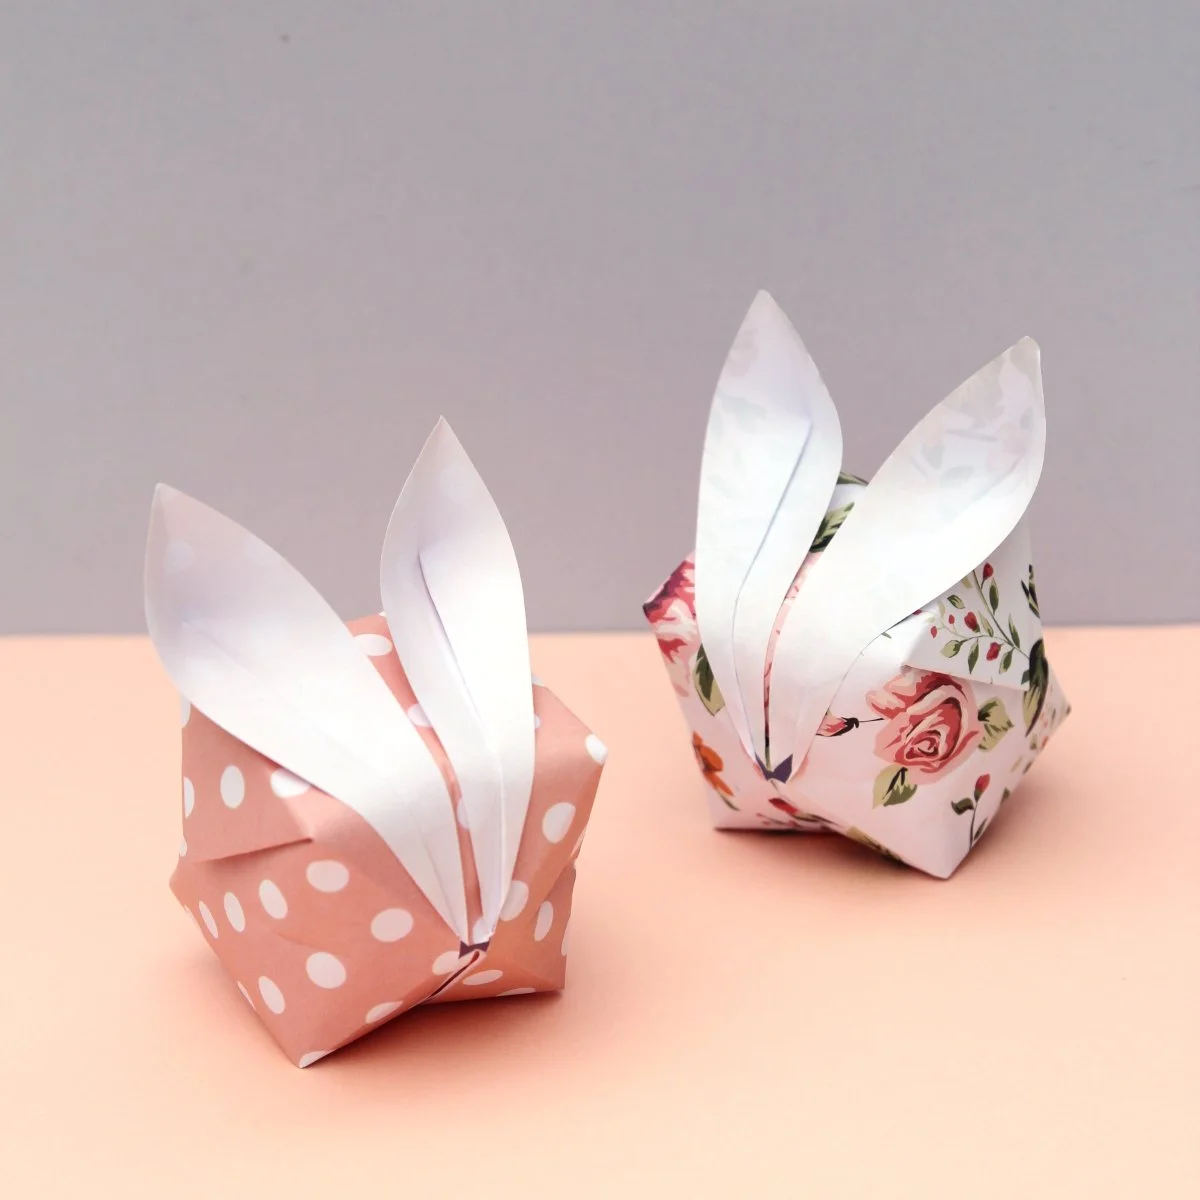
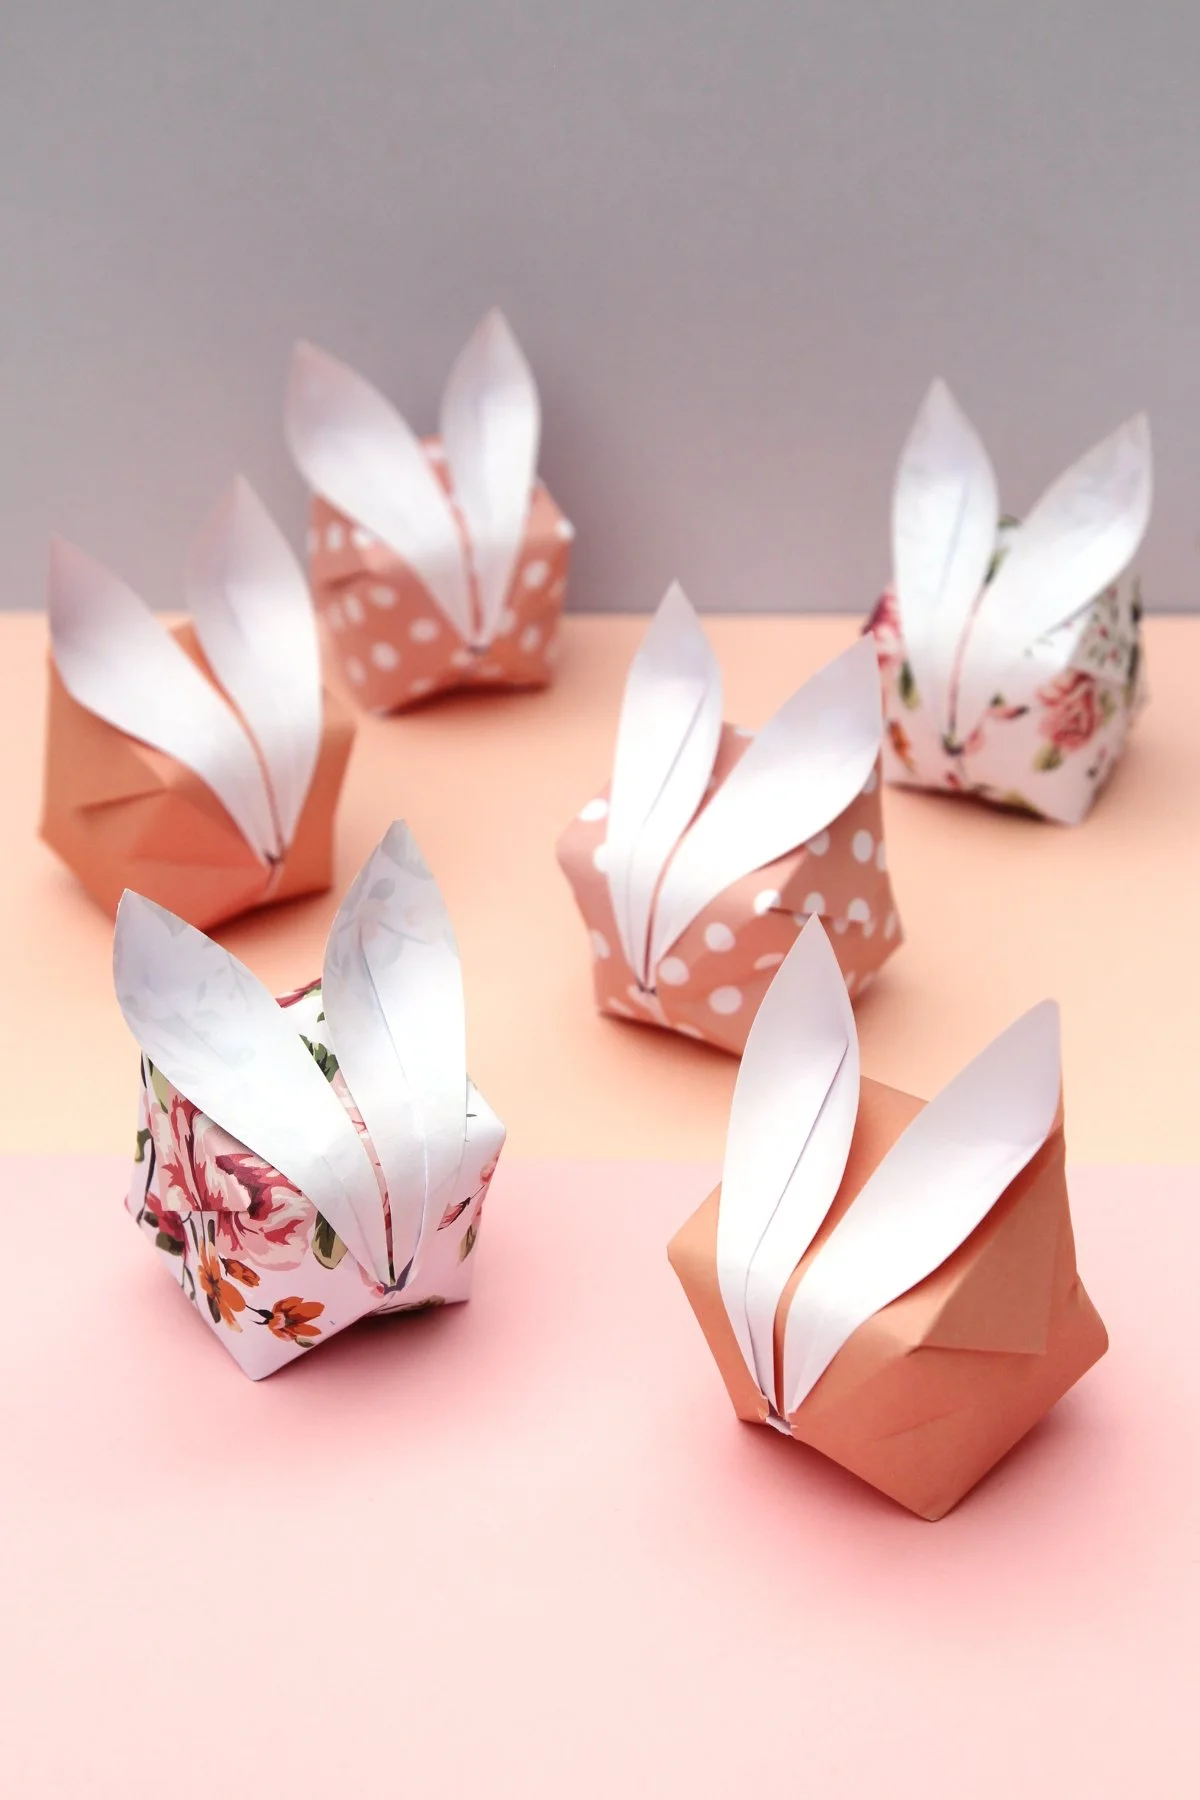
/Looking for an easy Easter craft? Learn how to fold a cute inflatable bunny using an origami waterbomb base.
These origami Easter bunnies make a cute addition to any table or Easter basket. Not only are they fun to make but they also make lovely homemade decorations and thoughtful gifts.
Fun to make all year round but particularly in Spring with Easter right around the corner!
This page contains affiliate links. This means that if you make a purchase after clicking a link I earn a small commission but it doesn’t cost you a penny extra!
Origami Easter Bunny.
By now I’m sure you know how much I love origami, particularly holiday origami. It’s such a fantastic no-mess craft. There’s no glue, sticky tape or scissors needed. Just a couple of squares of pretty patterned paper and you’re ready to go.
One of my favourite Easter origami projects are these Easter origami bunny baskets but as they can be quite tricky (definitely not for the faint of heart) I wanted to show you an easier option. A super cute puffy cube-shaped bunny with long white ears.
Inflatable Bunny Origami.
These 3D blow-up origami bunnies with their long white ears are super cute and simple to fold. If you’ve ever made origami waterbombs before then you’re already halfway there as the initial steps are exactly the same.
Instead of flipping your folded paper over and repeating the steps of tucking in the small triangle flaps into the pockets you fold them back on themselves and turn them into ears. Once you have all the folds in place you can actually blow them up like a balloon. Clever, right?
Supplies:
Origami Paper (pastel) or Spring themed paper.
I used standard origami paper that is coloured on one side and plain white on the reverse but double-sided coloured paper like this one or patterned paper like this one would look fantastic as well.
Don’t have any origami paper? Here are a few alternatives that you probably already have on hand.
Regular Printer Paper,
Magazines,
Old Books,
And Maps.
I even have some printable origami paper you can download and use for FREE. Simply download, print and cut into 7x7-inch squares
If you’re new to origami make sure to check out these 3 Basic Origami Folds For Beginners before you start.
How to make Origami Easter Bunnies.
1. Lay your paper colour side up.
2 Fold in half, open back out flat, rotate 90 degrees. Fold in half again and open out flat again.
3. Turn your paper over and fold diagonally in half in both directions.
4. Fold flat to make a triangle by bringing both sides in to meet at the bottom centre point. This is called a waterbomb base.
5. Take the left point of the triangle and fold up to meet the top centre point of the triangle.
6. Repeat on the other side.
7. Next, fold the 2 edges in to meet at the middle.
8. Fold the top front flaps down to meet in the middle and then fold again this time diagonally.
9. Open the flaps back up and tuck them into the pockets.
10. Flip your paper over and fold the bottom corners into the middle.
You should now have a diamond shape.
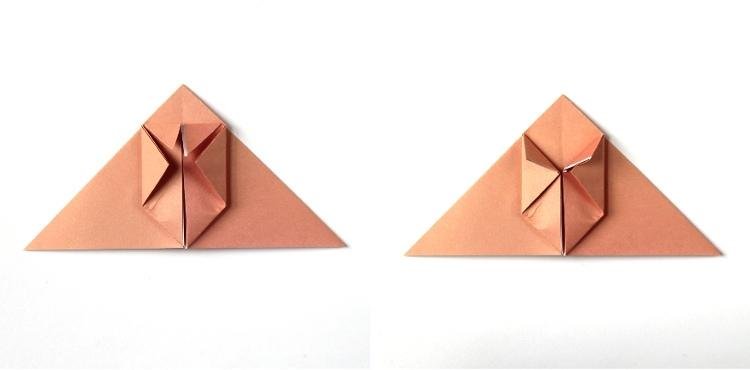
11. Fold the right flap to the left.
12. Fold it into the centre and then move it back to the right.
13. Fold the left flap to the right.
14. Fold into the centre and then move back to the left.
15. Now to make the ears. Take the top flaps and fold them out at diagonals.
16. Open the ears out by running a finger along the inside of each ear.
17. To inflate the bunny blow gently into the nose.
Optional extra:
If you want to add an extra special touch you could give your bunnies a cute mini pom pom tail.


