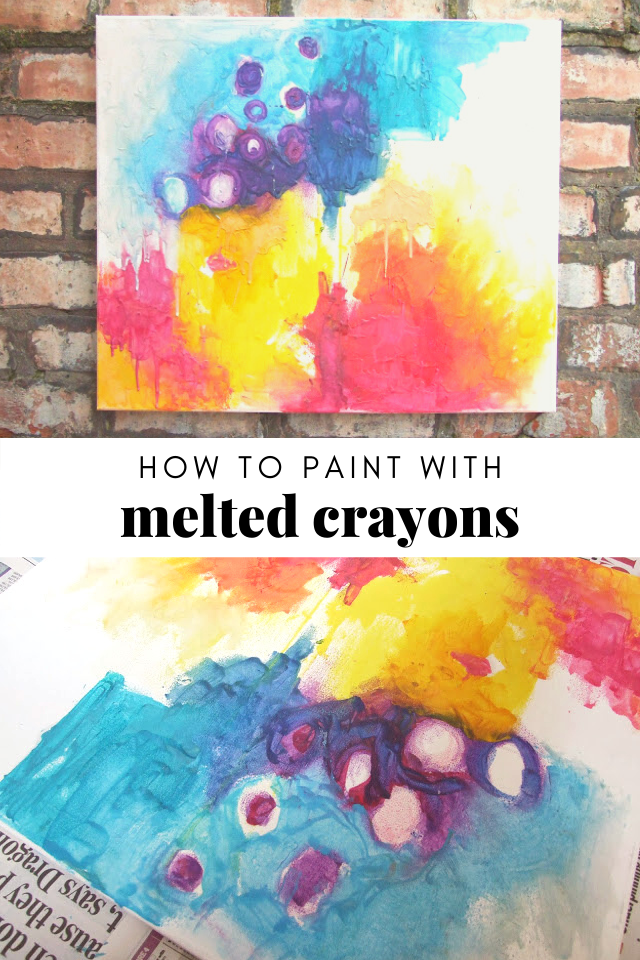
HOW TO PAINT WITH MELTED CRAYONS.
/Learn how to make art with melted crayons. It’s a super easy and fun craft project for both kids and adults. All you need is an embossing heat gun and some crayons. You’ll be creating your own unique melted crayon painting in no time.
Melted Crayon Painting.
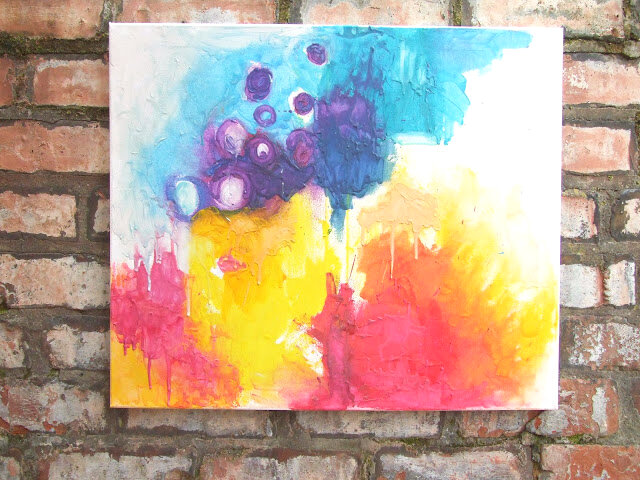
Today we have a clever way to make unique art for your wall. A DIY melted crayon painting.
Has anyone seen these melted crayon paintings people have been doing? I know they've been around for a while but I've been seeing more and more of them popping up on Pinterest.
A lot of them involve glueing crayons to the top of the canvas and melting them with a hairdryer to form stripes of colour but I did find a couple that shows using them to create more of a watercolour effect.
If you have a lot of broken crayons lying around and a couple of blank canvases this is a great way to use them up.
A few tips for working with melted crayons as paint:
If you have trouble with your crayons melting you can remove the paper label and warm them up in a bowl warm water first.
I tried using both a hairdryer and embossing heat tool and found the embossing tool worked the best. When the pieces of crayons get small the hairdryer just ended up blowing the pieces around.
Hold the embossing tool an inch or so away to melt the crayon.
To protect your fingers use a fork or a pair of tongs to hold the crayon (especially important if you’re doing this craft with kids).
Warning! This can get messy so make sure to wear old clothes and cover your work surface with old newspapers to protect them.
This page contains some affiliate links. This means that if you make a purchase after clicking a link I earn a small commission but it doesn’t cost you a penny extra!
MATERIALS:
A Canvas.
An Embossing Heat Gun (a hair dryer would also work but be careful as it blows the wax around and creates more of a splattered effect).
A pack of crayons ( I prefer these Crayola ones. They have much more pigment than the cheaper ones).
A newspaper to protect your floor.
A fork to protect your fingers.
How to Make a Melted Crayon Painting:
Start by selecting your colours and removing the wrappers.
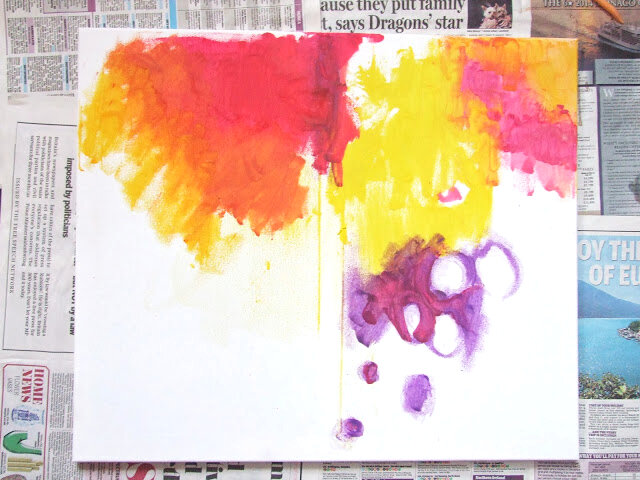
Next sketch in where you want all the main colours and shapes to go.
Now for the fun part. Start melting your crayons.
To protect your fingers stab the crayon with a fork or hold using a pair of tongs.
Follow along with your heat gun or hair drier.
Be careful, the wax does get hot.
6. Block in the larger areas by turning the crayons on their side as you melt them.
I found the paler colours worked best as a base as the darker colours were more pigmented.
7. Keep adding more melted crayon layers until you're happy with the finished result.
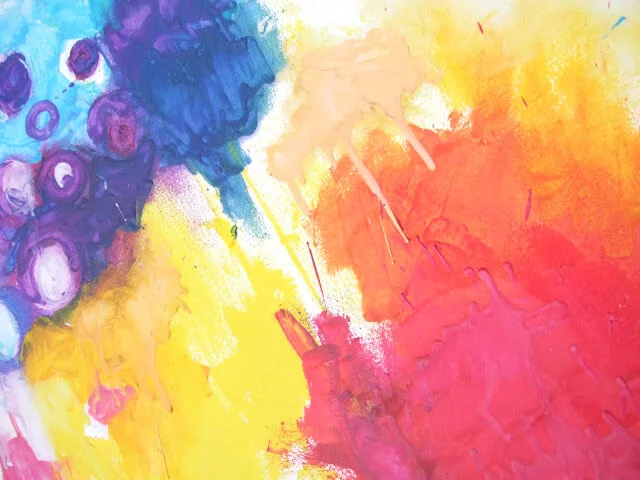
Here's a close-up of the layers and textures.
I loved how easy this was. The whole thing only took a couple of hours as there was no waiting around for the previous layer to dry before you started on the next one.
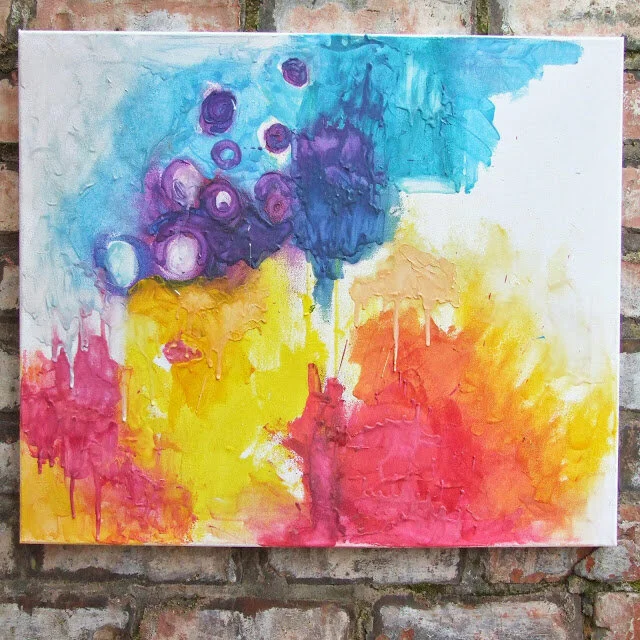
All finished. I loved making this. This one is going to be a present so I'll be making another for myself.
Want more ways to decorate your walls? Check out the DIY wall art tutorials below:
EASY ORIGAMI WALL ART (you can find this project in my 20 Easy Origami Projects ebook).
DIY 3D ORIGAMI WALL ART (this one is a bit of a challenge but don’t let that put you off).

