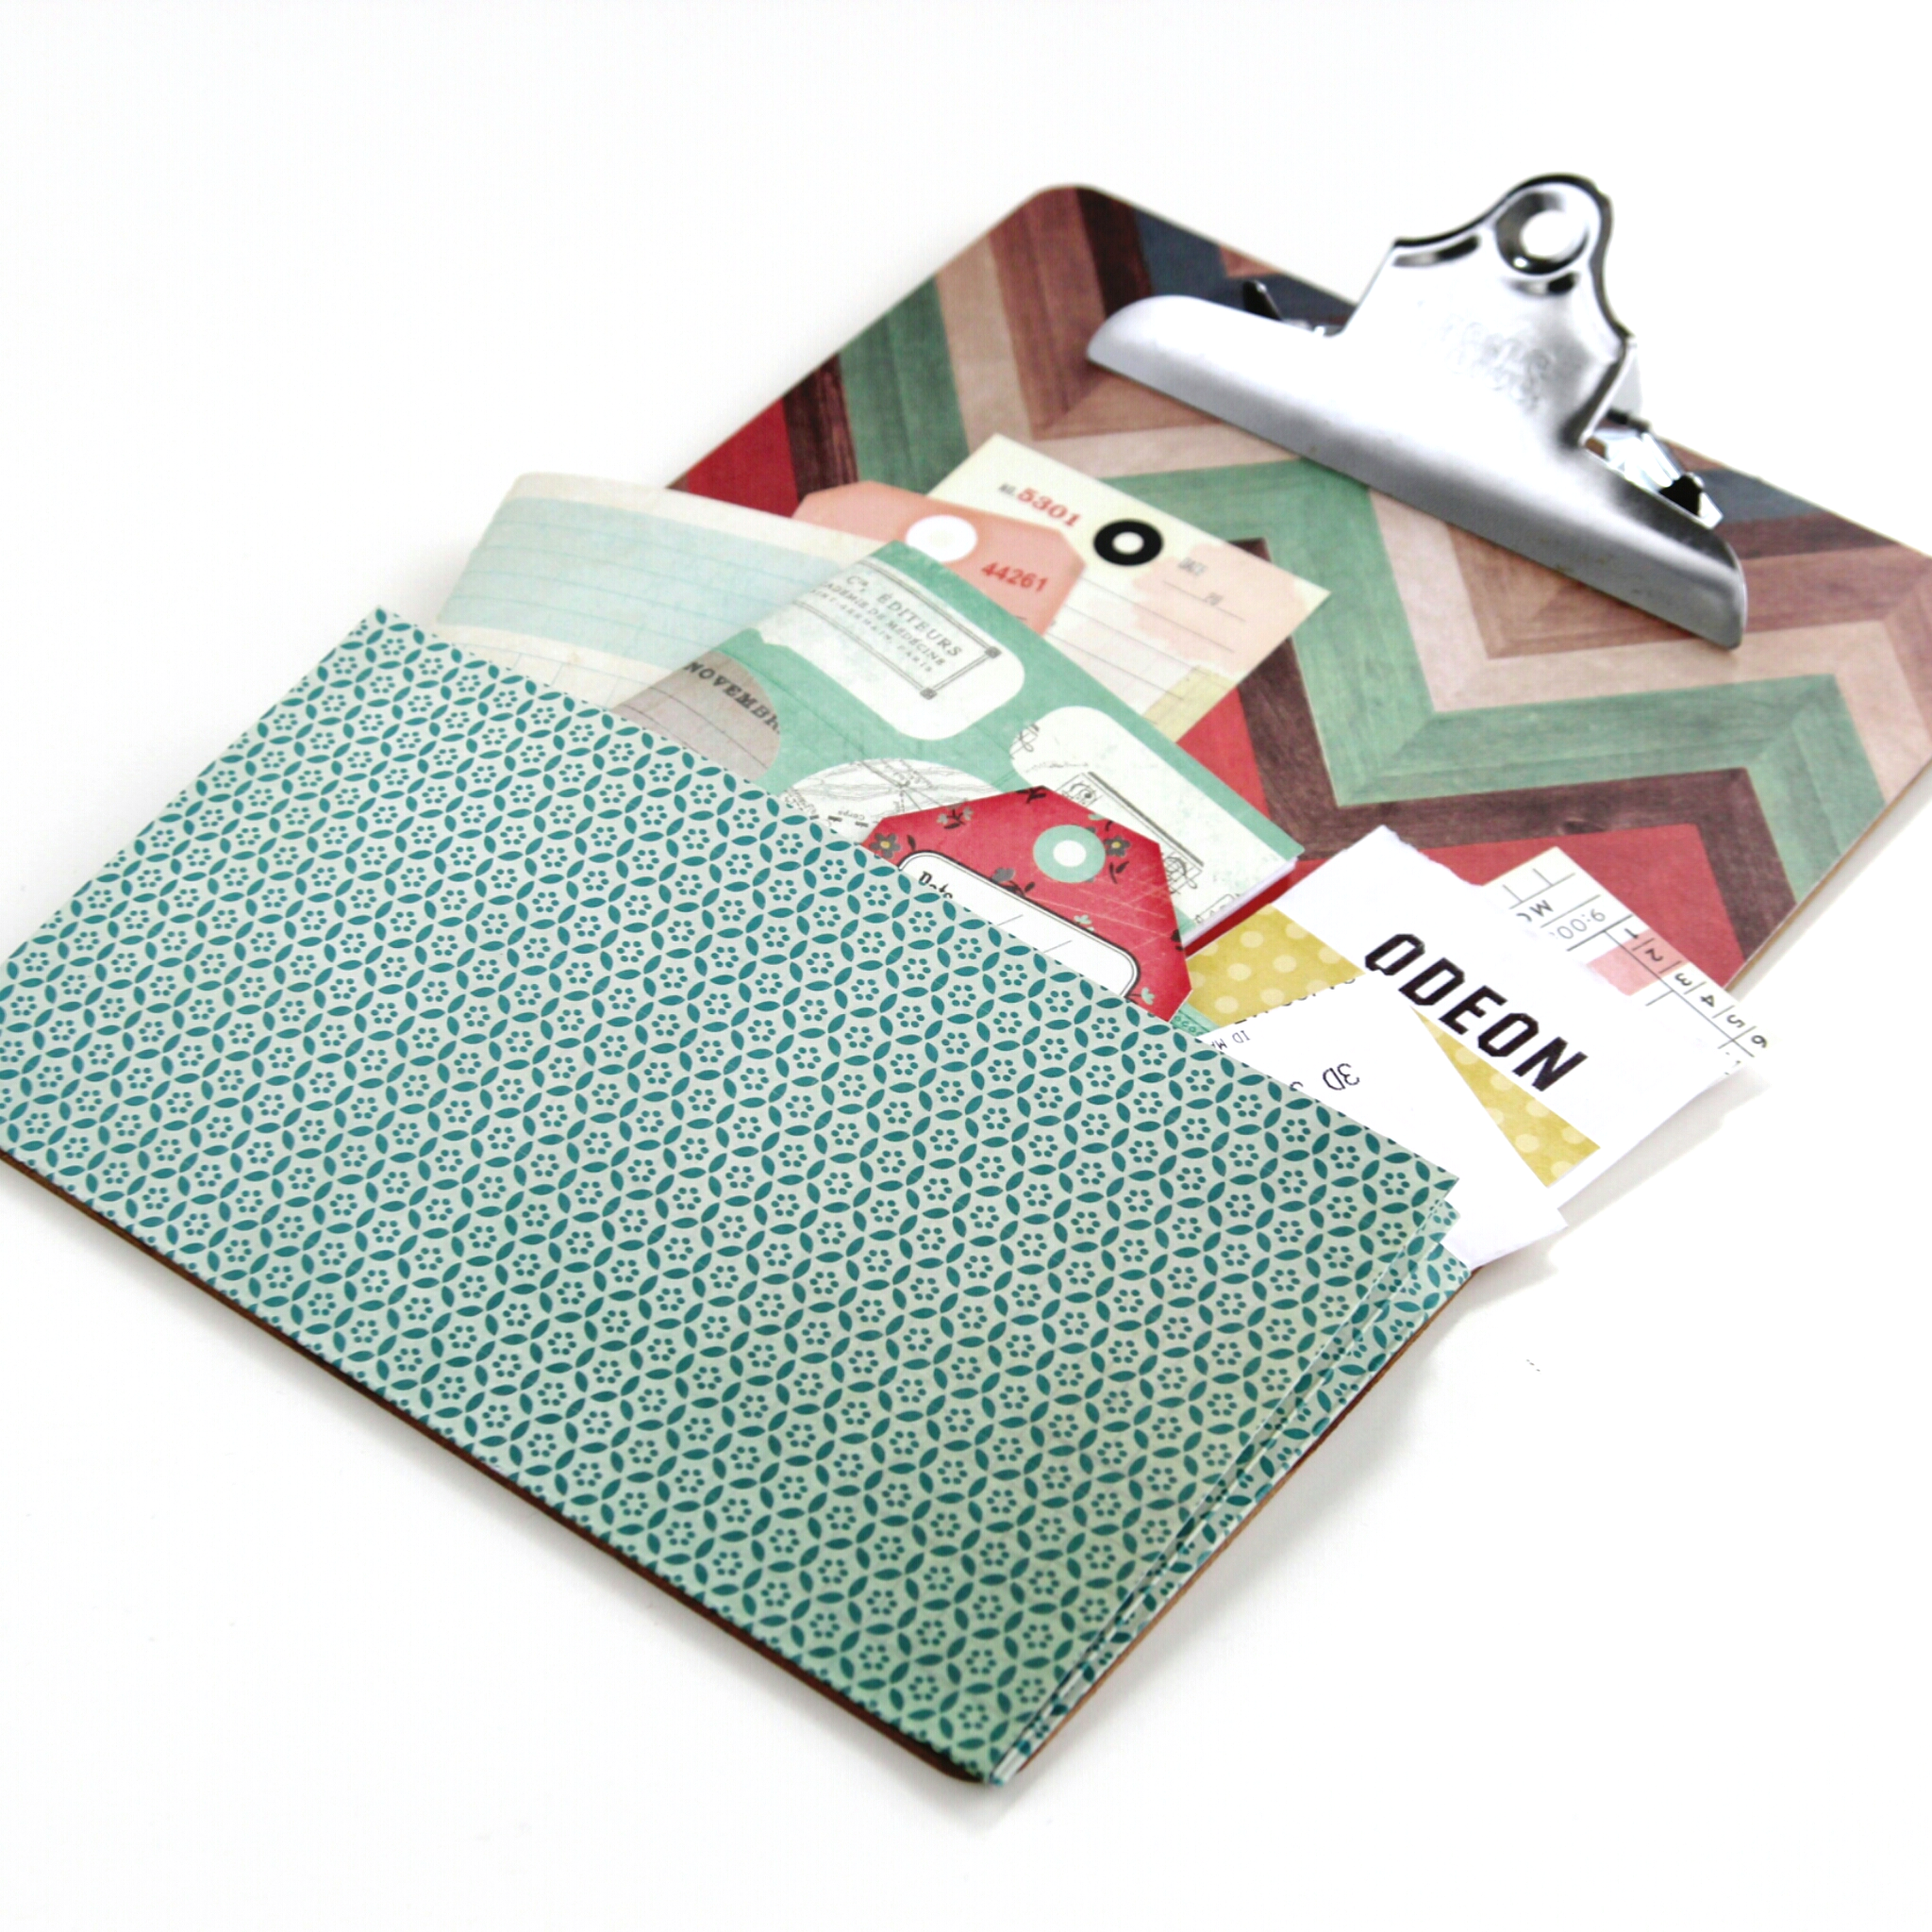
DIY Clipboard With Pocket
/Learn how to make a simple DIY clipboard featuring a handy pocket. Perfect for organizing your notes and keeping those stray papers and sneaky notes in check. Say bye-bye to desk clutter!
This page contains affiliate links. This means that if you make a purchase after clicking a link I earn a small commission but it doesn’t cost you a penny extra!
DIY Pocket Clipboard.
These DIY expandable pocket clipboards are a really easy and cheap project to make. You can buy the plain clipboards for a couple of pounds each and decorate them with whatever pretty papers you already have on hand.
As well as decorating them using scrapbook paper I added an expandable pocket to the bottom. It's perfect for keeping all those loose papers and general clutter off of my desk.
Supplies:
Scrapbook Paper, Wrapping Papers or any pretty paper you have stashed away
Cardboard for the pocket
Craft Knife
A scoring board or embossing tool and a ruler
1. Measure your clipboard and cut your paper to size. Your paper needs to be about an inch longer than your clipboard.
2. Tuck your paper under the metal clip.
3. Using a pencil mark the width of the top of the clip (the smaller part) on your paper.
4. Cut down to the middle of the line you've just drawn and then along the line. You want to make an upside down 'T' shape.
5. Slide your paper back under the metal clip. Make sure it sits flush with the bottom of the clip.
The 'T' shape will form 2 flaps of paper on either side of the clip.
6. To make sure your paper flaps fit neatly around the clip you need to remove the excess paper.
I used an embossing tool to trace around it and then carefully removed the paper from the board before cutting along the embossed lines.
7. Apply a thin layer of glue to your clipboard.
8. This next bit can be a bit tricky so make sure to take your time. Hold open the metal clip and slide your trimmed paper into place. It should fit snugly around the clip.
9. Leave to dry.
10. Once dry neaten up the edges by trimming away any excess paper.
11. To make the expandable pocket you're going to need 3 pieces of cardstock or scrapbook paper.
If you want to use yours to hold something heavy I recommend replacing the scrapbook paper pocket with some thicker card or reinforcing your paper by glueing it to some card first.
My clipboard measured 9 x 12 inches so I cut 1 piece measuring 9 x 5 inches and 2 pieces measuring 3 x 4.5 inches.
12. Score a 1/2 inch tab on the bottom of the 9 x 5 inch piece. This tab will form the bottom of the pocket making the pocket 4.5 inches high.
14. To make the expandable sides of the pocket score the 3 x 4.5 inch pieces every half inch.
15. Fold along the score lines to make a concertina or zig-zag shape.
16. Flip the paper over pattern side down and attach a piece of zig zag paper to each end of your pocket using some double-sided tape.
17. Fold the concertina sides in before lifting the bottom tab and glueing it down. The bottom tab is going to hold the expandable sides of your pocket in place.
18. Apply some glue or double-sided tape to the back of your pocket and stick to the bottom of your clipboard.
You've got yourself a swanky, new, expandable pocket clipboard that's not just pretty, but practical too! Perfect for taming the chaos and adding a splash of colour to your workspace.
I've hung mine above my desk and have been using it to hold all my bits of scrap paper and a couple of these spare pocket notebooks I made last week.


