DIY Pillow Box Template
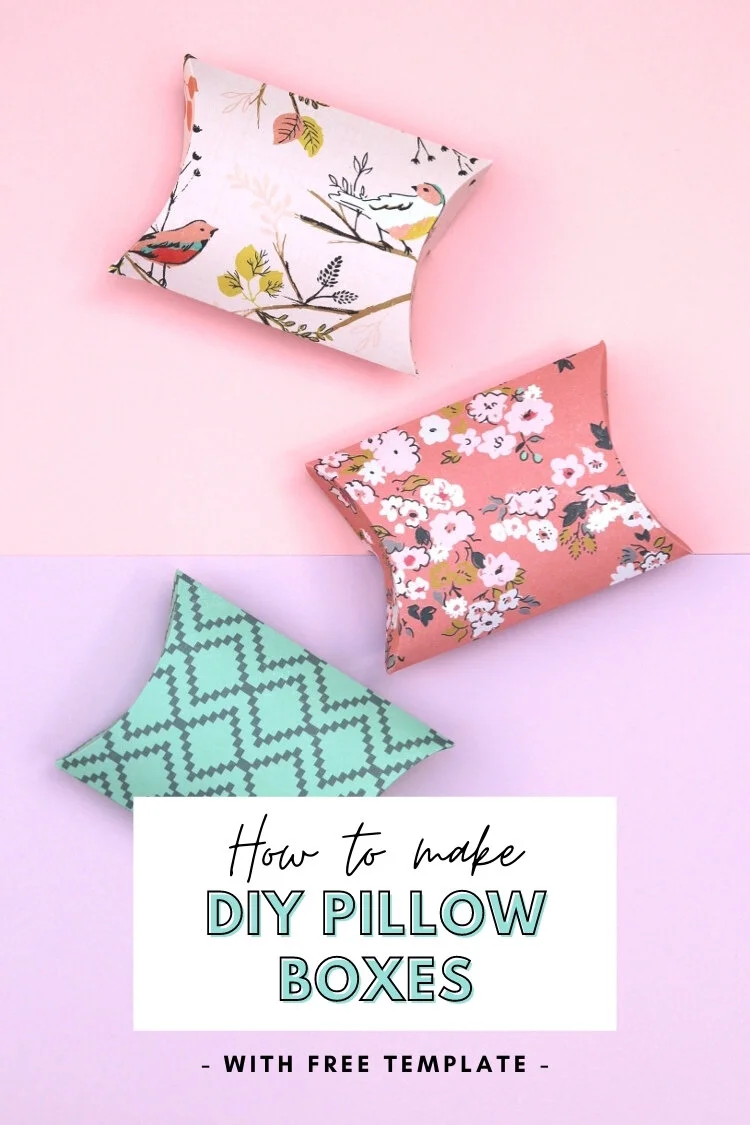
/If you’re giving a gift to a friend or loved one this year why not use a DIY pillow box to make it extra special? Download this free printable pillow box template for a quick, easy gift box you can print and fold in minutes.
This page contains affiliate links. This means that if you make a purchase after clicking a link I earn a small commission but it doesn’t cost you a penny extra!
This post was originally shared in 2018 but has since been updated.
Pillow Box Template.
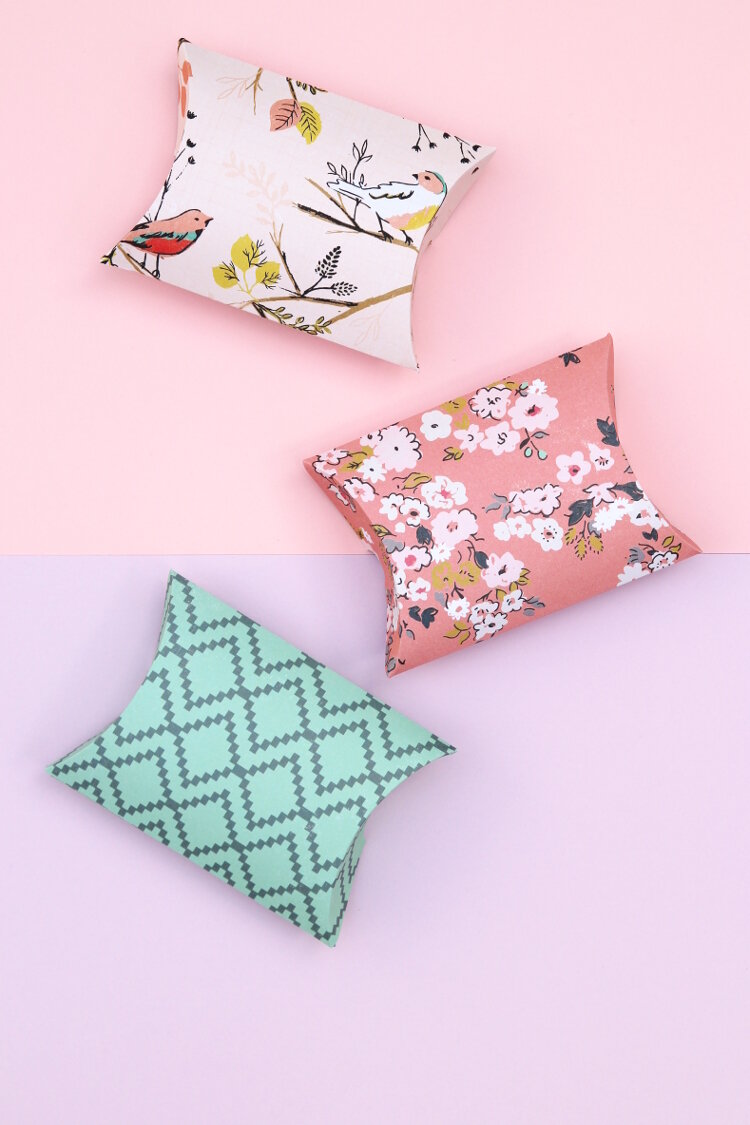
Looking for a gift box with a difference? Then you’ve come to the right place. Today I’m going to show you how to make your own cute printable pillow boxes.
They’re easy to make and super quick to assemble. Once you’ve got you’ve downloaded and printed out the free template you’ll be able to create and print your own pillow boxes in minutes.
If you know the blog then you know I love a good gift box. They're so fun to put together and can make even the simplest gift look extra special. They are hands down one of my favourite things to make.
This style of box is one of my favourites to use for sweets, party favours or small gifts such as jewellery or a gift card. You can jazz them up using patterned cardstock or decorating them using ribbons, tags, stickers and stamps.
Change up the paper and you’ve got a DIY gift box ready for any occasion like birthdays, Christmas, Valentine’s, baby showers and or even wedding favours.
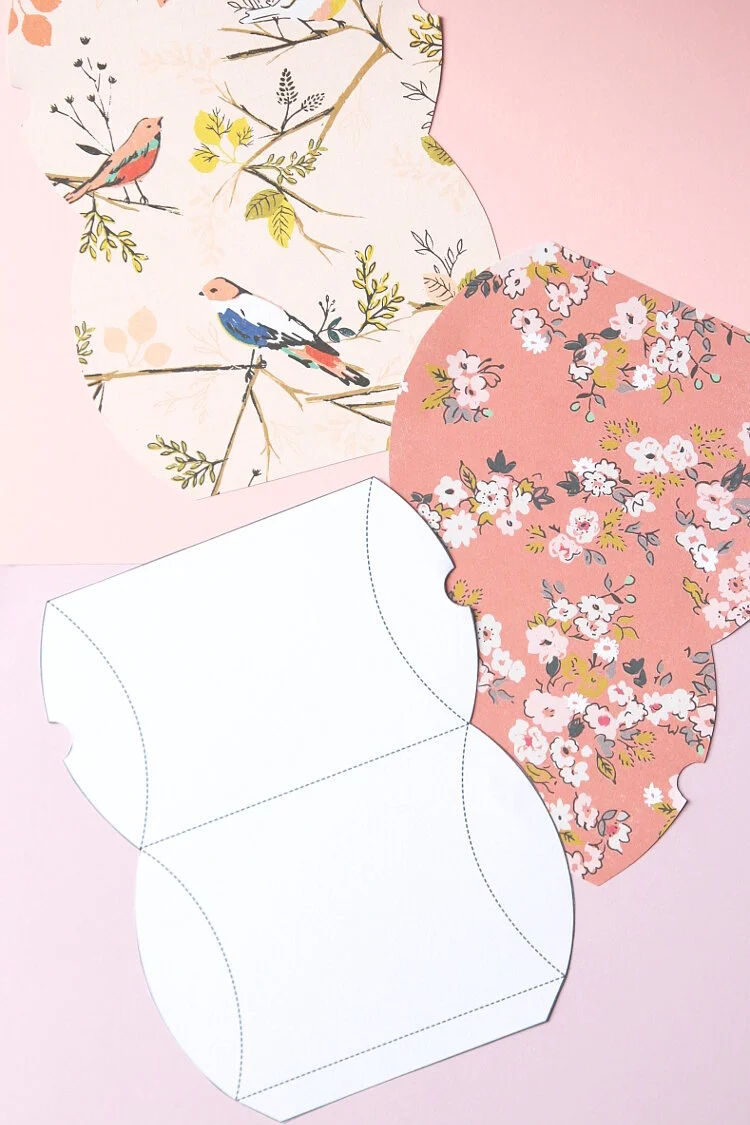
Simply download the free template, print it onto your chosen cardstock, cut it out, fold and glue. You can’t get easier than that!
DIY Pillow Box.
I made a version of these DIY pillow boxes a couple of years ago (if you're interested in making this style box from scratch then I recommend popping over and checking them out) but for those who don’t fancy all the measuring and scoring then this pillow box template is for you.
Want to add an extra special touch to your handmade items?
Of course, you don’t only have to use these boxes for gifts. If you’ve got a small business where you sell your homemade jewellery at craft fairs or through an Etsy shop these boxes would be perfect. You can store them flat until they’re needed and then pop them open and slip in your handmade treasure.
SUPPLIES:
Printable Template
Scrapbook Paper or lightweight cardstock (I used the Maggie Holmes Gather scrapbook paper that is sadly no longer available but you can still get her Bloom paper which is just as pretty)
Ruler
Glue stick or double-sided sticky tape.
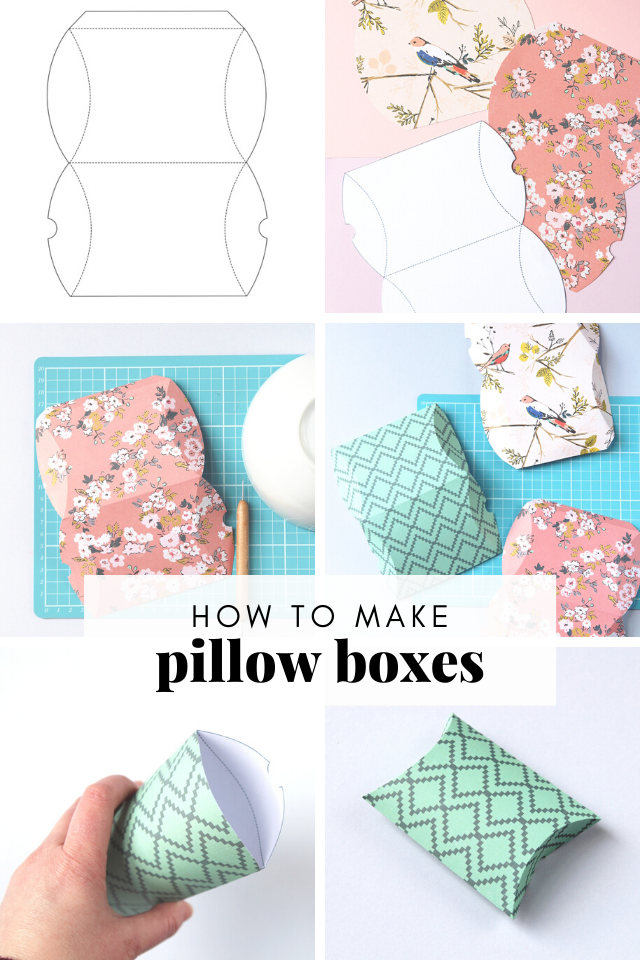
How to fold a pillow box:
1. Sign up below to download the template.
2. Print it onto the back (plain side of your patterned paper).
I trimmed some 12x12-inch scrapbook paper to A4 size and ran it through the printer. I like to use scrapbook paper to make my boxes as it’s stronger than normal decorative paper but not as thick cardstock. A lightweight cardstock will also work but make sure to check your printer first.
3. Cut out using scissors or a craft knife and ruler.
4. Score along the lines.
I used an embossing tool and a ruler for the straight lines and a bowl for the curved lines. If you don't have an embossing tool an old ballpoint pen will work too. Just make sure the ink has definitely run out before you start!
5. Fold along the score lines.
You may need to use your fingers to gently form the crease on the curved score lines.
6. Glue the side of the box together using paper glue or double-sided sticky tape.
7. Gently squeeze the sides causing the top and bottom to bow out.
8. Push both bottom flaps in to seal the one end of your box.
You don’t need any glue to keep the end of your box closed. The curved shape of the box does this for you.
9. Fill with your treat or gift.
10. Fold the top flaps in to seal your box.
11. Once you’ve finished your pillow box you can pop on a tag, wrap around some ribbon or simply let the decorative paper be the star of the show.


