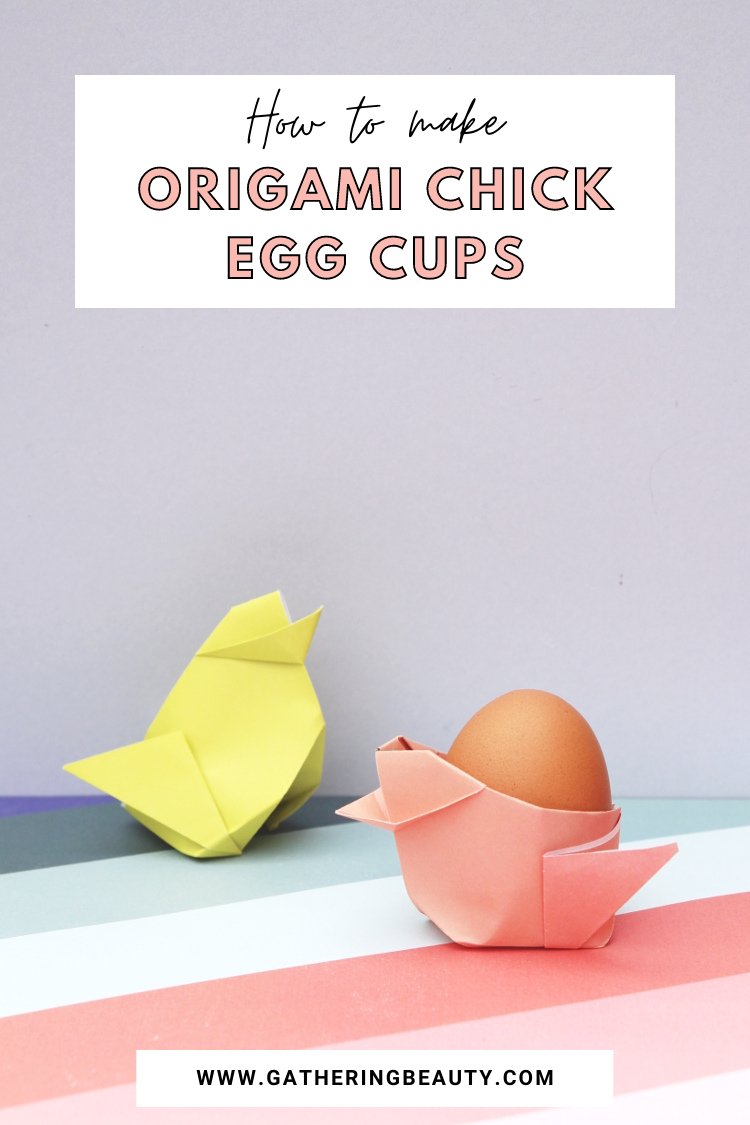
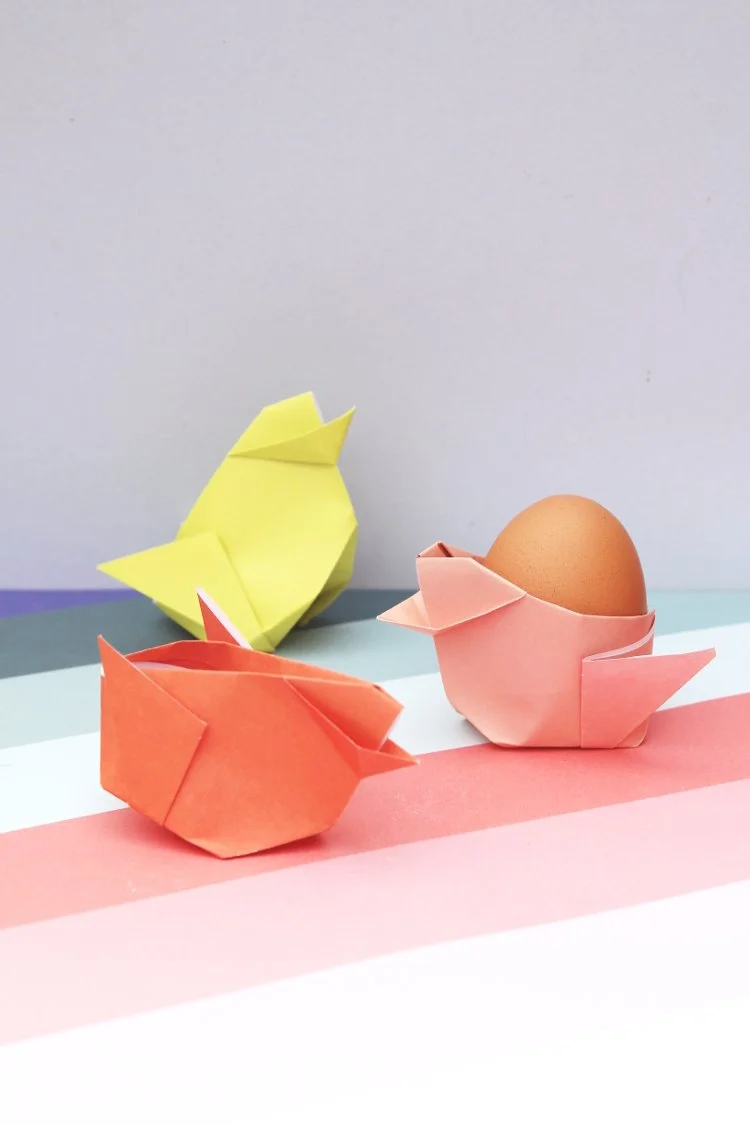
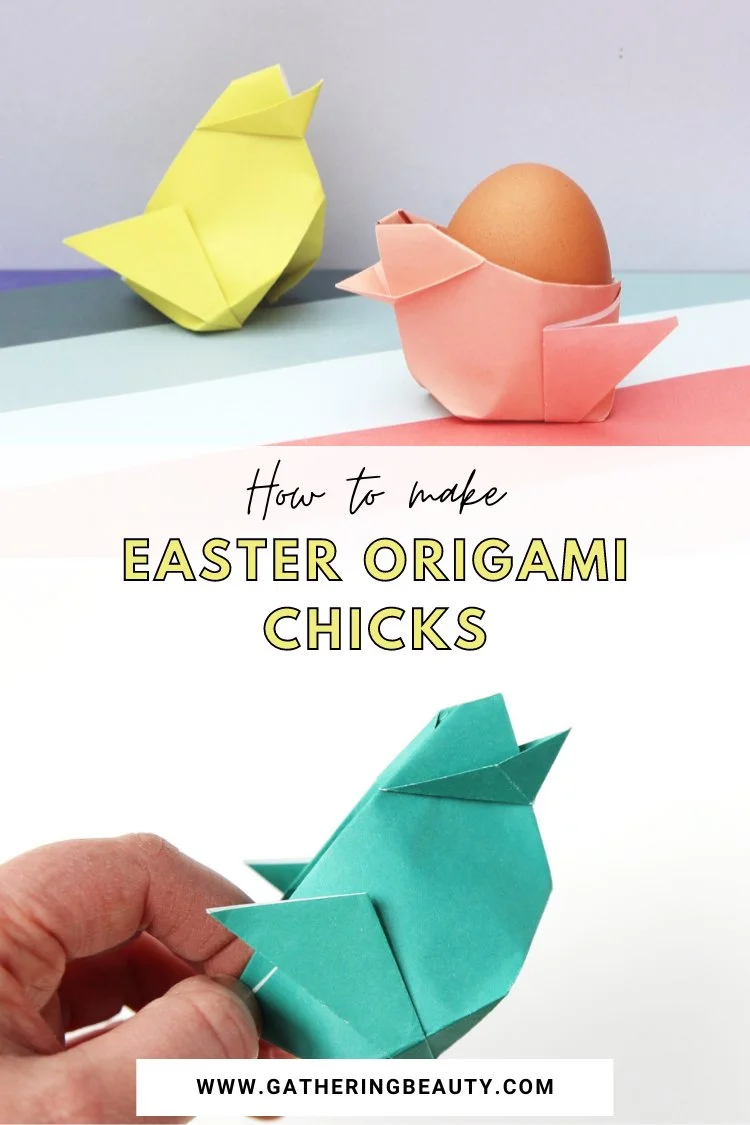
Easter Origami Chick Egg Cup Baskets
/Looking for something cute to spruce up your Easter decor? This Origami Chick is a fun paper craft that makes a lovely table decoration.
I know the Easter bunny is the main attraction but I think these origami chick baskets are pretty cute too. They have a small opening that’s perfect for holding a single egg or maybe a whole bunch of mini chocolate eggs.
You’ll only need a few minutes and a single sheet of paper to make this easy Easter origami craft. It’s simple enough for a beginner to make as well as for older kids (with a little help) and teens.
So grab some paper and let’s get folding.
Easter Origami Chick.
Easter is right around the corner and you know I can’t let Easter go by without making a new origami craft. I’ve made a lot of Easter crafts over the years but recently realised I’d never made an Easter chick.
Well, today I’m ready to fix that with these adorable origami chick Easter baskets or egg cups. Paper crafts have always been a favourite of mine, origami in particular so I’m always excited when I can combine them both to make some Easter Origami.
Easy Origami Chick Egg Cup.
Even though this might be the first chick craft on the blog it’s not the first egg cup or Easter basket. I’ve made a simple origami egg cup and a slightly more difficult origami basket.
You might even remember the origami bunny baskets we made? These are the same idea but are a whole lot easier to make.
You can use these chicks as both a small basket and fill it with shredded paper and mini eggs or as a cute chick-shaped paper egg cup.
They’d be the perfect way to display a name if you’re looking for a cute Easter place setting. Sit them flat and pop in an egg or two or stand them up on their bottoms and have an adorable parade of paper chicks along your table.
Supplies:
Creme Eggs or maybe a naturally dyed egg or two.
My favourite origami paper alternatives.
I do recommend using origami paper (you can even get a cute pastel version) for any paper folding project, here are a few alternatives that you probably already have on hand.
Regular Printer Paper,
Magazines,
Maps,
Old Books,
And Newspapers.
I even have some printable origami paper you can download and use for FREE. Simply download, print and cut into 7x7-inch squares.
If you’re new to origami make sure to check out these 3 Basic Origami Folds For Beginners.
How to make an Origami Chick.
1. Fold your paper in half with the colour side on the outside.
2. Open back out.
3. Fold the bottom 2 corners into the middle.
4. Fold the bottom point up to the middle to meet the previous fold.
5. Flip over and fold the same flap back.
6. Flip it back over and fold the sides up at an angle.
7. Flip it back over and fold the top piece to the left to form a right angled triangle.
8. Open back out and repeat, this time folding the top piece to the right.
9. Open back out and fold in half.
You should now be able to see the head and beak.
10. Fold the bottom left corner up to meet the top right corner.
11. Flip back over and fold the flap back on itself.
12. Fold the flap back out and push it in to make a valley fold.
13. Now to make the wings. Fold the bottom point up to meet the bottom of the beak.
14. Then fold back on itself at an angle to make the wing.
15. Repeat on the other side.
16. To make the base fold the bottom up to make a triangle. Repeat on the other side.
17. Fold the two triangles back on themselves and tuck them under and into the centre.
18. To finish press down in the middle to flatten the base and pop open the chick basket.
19. Fill with a single large egg (creme egg anyone?) or maybe a naturally dyed egg or two.
I always have so much fun making DIY crafts for the holidays, how about you? There’s just something extra special about decorating with your own handmade projects and these cute chicks are definitely going to be displayed on the table with pride.


