How To Make 3D Paper Pumpkins
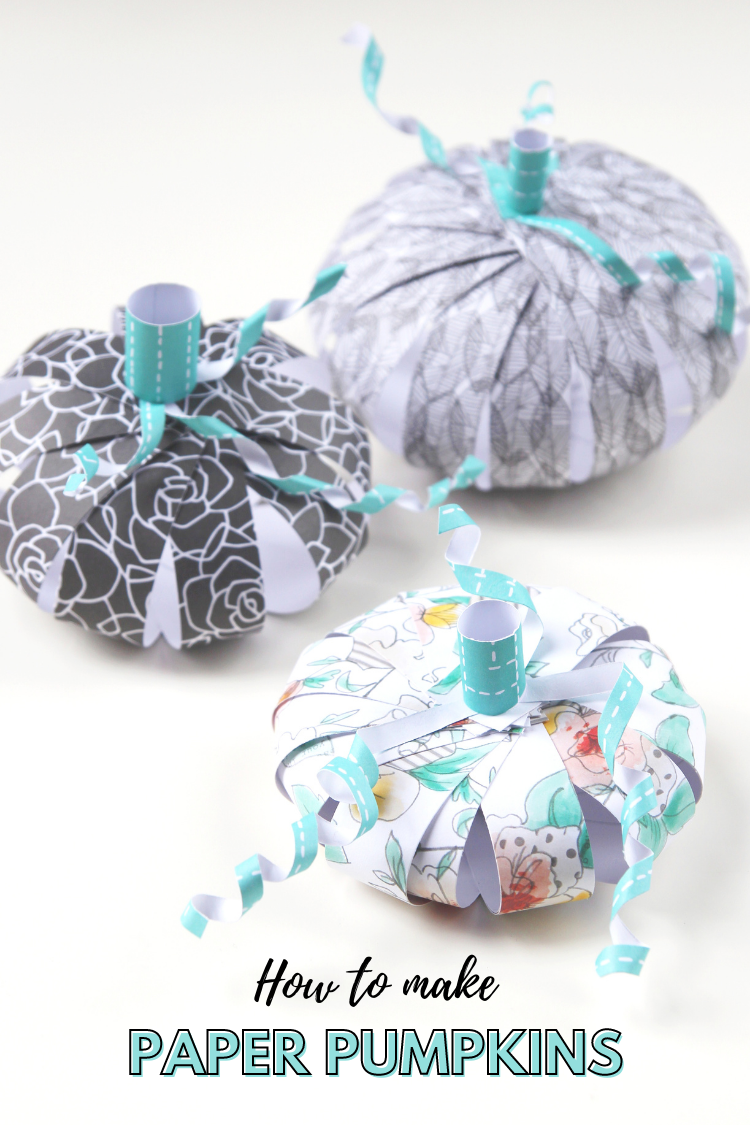
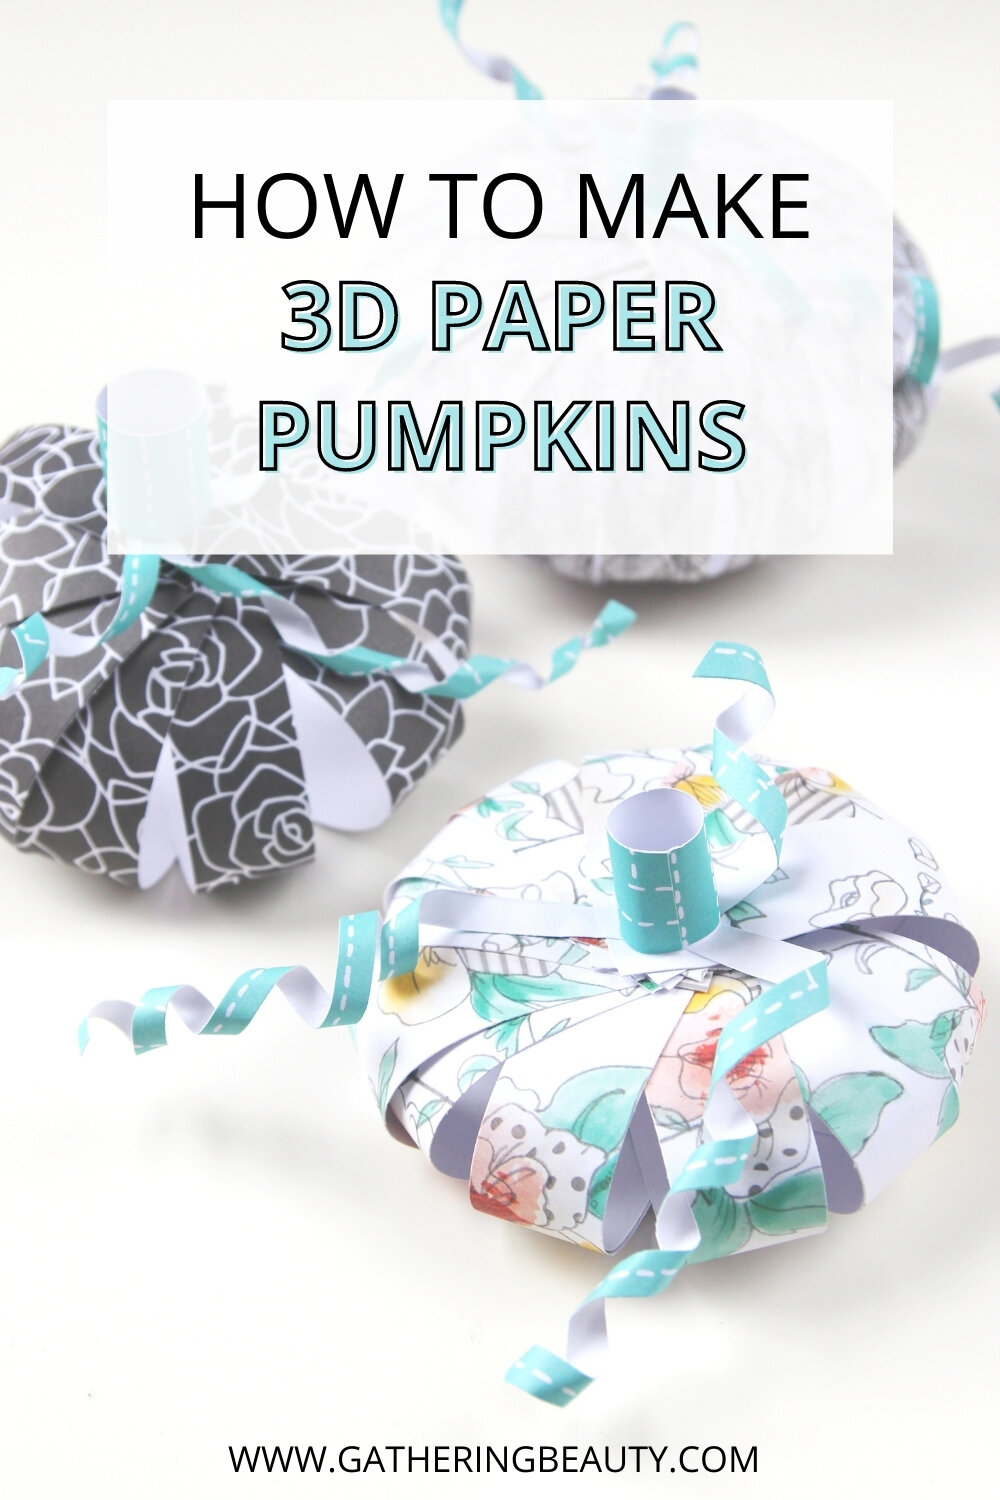
/If you’re on the hunt for a cute paper pumpkin craft, then this 3D Paper Pumpkin is for you. These little pumpkins are so much fun to make and are a great craft to spruce up your Fall decor.
Make them in a mix of different coloured and patterned paper to give them your own unique spin.
String them up to make a 3D garland, group a whole bunch of them together as a table centrepiece or even pop a couple of them on your fireplace mantel.
A simple paper project that can be used to decorate for Halloween, Thanksgiving as well as Autumn.
This page contains affiliate links. This means that if you make a purchase after clicking a link I earn a small commission but it doesn’t cost you a penny extra!
DIY Paper Pumpkins.
With Halloween just around the corner, I wanted to share a quick and easy tutorial with you for these 3D Paper Pumpkins using paper strips.
When it comes to decorating for Autumn and Halloween I’m all about a garland (as you can tell from my paper leaf garland, origami pumpkin garland and ghost garland). This year I thought I’d mix it up a bit and show you a simple way to make a round 3D pumpkin you can use as a table decoration.
Whether it’s for a Halloween party, Thanksgiving dinner or just as a pretty Fall decoration, these paper pumpkins are just what you need for that finishing festive touch.
Paper Pumpkin Craft.
These pumpkins are a really fun and easy paper craft for anyone to make. All you need to do is cut, stack and thread paper strips on top of each other. Tie them together and fan them out to make your pumpkin.
I’ve seen a few different versions of these pumpkins some using pipe cleaners, brads or just glueing the strips down on top of each other but I’ve found using string or wire is the best way to hold them together and help them keep their shape.
For the stalk, I rolled a smaller strip of paper to the top and then wrapped skinny strips of paper around a pencil for the vines. I used school glue to stick it all together but a low-temperature glue gun could also be used.
See the steps below for more details and step-by-step instructions.
Choosing the paper.
As much as I love this time of year I do have to confess to not being a big Autumn colour fan, particularly when it comes to Halloween. Pretty pastels are much more my thing (as you can tell from my origami pumpkins).
Instead of making a traditional orange pumpkin, I thought it would be fun to mix it up and make a patterned pastel pumpkin and a couple of monochrome pumpkins to go with it.
Don’t be afraid to try different coloured papers in different patterns. Make them in shimmering glitter papers for a touch of glamour or bright neon to really stand out from the crowd.
Supplies:
Scrapbook Paper (or other lightweight cardstock) I used the Amy Tangerine Stitched Range which is no longer available but there are loads of lovely alternatives like the ones linked above.
Paper Trimmer or Scissors and a Ruler.
Bakers Twine or Craft Wire for jewellery
Beads
Glue
Here are some of my favourite scrapbook papers:
Pinkfresh Studio - The Best Day Collection (pretty pastels)
Tips and Tricks:
I recommend using cardstock or lightweight cardstock like scrapbook paper. Normal printer paper will buckle and collapse as you shape it.
You’ll need around 20 strips of paper for each pumpkin. The denser the pumpkin the more strips you’ll need. To make the smaller black pumpkin I only used 12 strips to give it a more open feel.
Each strip needs to be 1 inch wide and 6 inches long. This means you can make one pumpkin from each piece of 12x12 inch scrapbook paper.
Use a small hole punch or a drawing pin to make the holes in your paper strips as a normal hole punch will be too big.
How to make a pumpkin out of paper.
1. Take your paper trimmer and cut the scrapbook paper into strips.
To make the small pumpkin you’ll need around 20 strips that are 1 inch wide and 6 inches long. Each piece of scrapbook paper will make 24 strips.
2. Punch holes into the middle top and bottom of each strip.
Remember not to use a regular hole punch as the holes will be too big.
3. Stack your paper strips and make sure the holes line up.
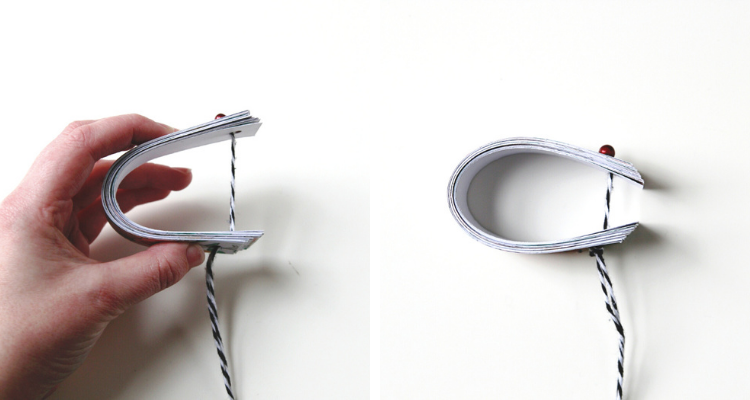
4. Thread some bakers twine or wire through the top hole.
5. Thread a bead onto the twine/wire. The bead needs to be bigger than the hole to work.
6. Loop the twine/wire back through the hole and out the other side. The bead will act as a plug and stop the thread pulling through.
7. Thread both ends of the twine back through the bottom hole.
8. Pull the twine tight to make a ‘C’ shape.
9. If needed bend the strips to help shape them.
10. Tie a knot in the bottom.
I pulled mine quite tight so it went in at the top to form a pumpkin shape.
11. Spread out the paper strips to make a pumpkin shape. You want the bead at the top so your pumpkin will sit flat.
12. To decorate your pumpkin cut out some more paper strips this time using some green paper. Cut skinny long strips to make the vines and a wider piece for the stem.
13. Roll the wider piece together and glue down to make the stem. A glue stick or double-sided sticky tape works well for this.
14. Take the thin strips and twist them around a pencil to make the vines.
15. Glue the paper vines to the top of your paper pumpkin.
16. Take the stem and glue it to the top of your paper pumpkin covering the bead at the same time
And you're all done.
Use them to decorate for Halloween Thanksgiving. Play around with the size, colours and patterned paper. They look cute and are easily customisable using whatever fun papers you like. And the best part? They’re super cheap to put together. All you need is paper, string and some glue.
What do you think? Perfect for any last-minute Halloween gatherings you might be having.


