DIY Clay Coasters To Make
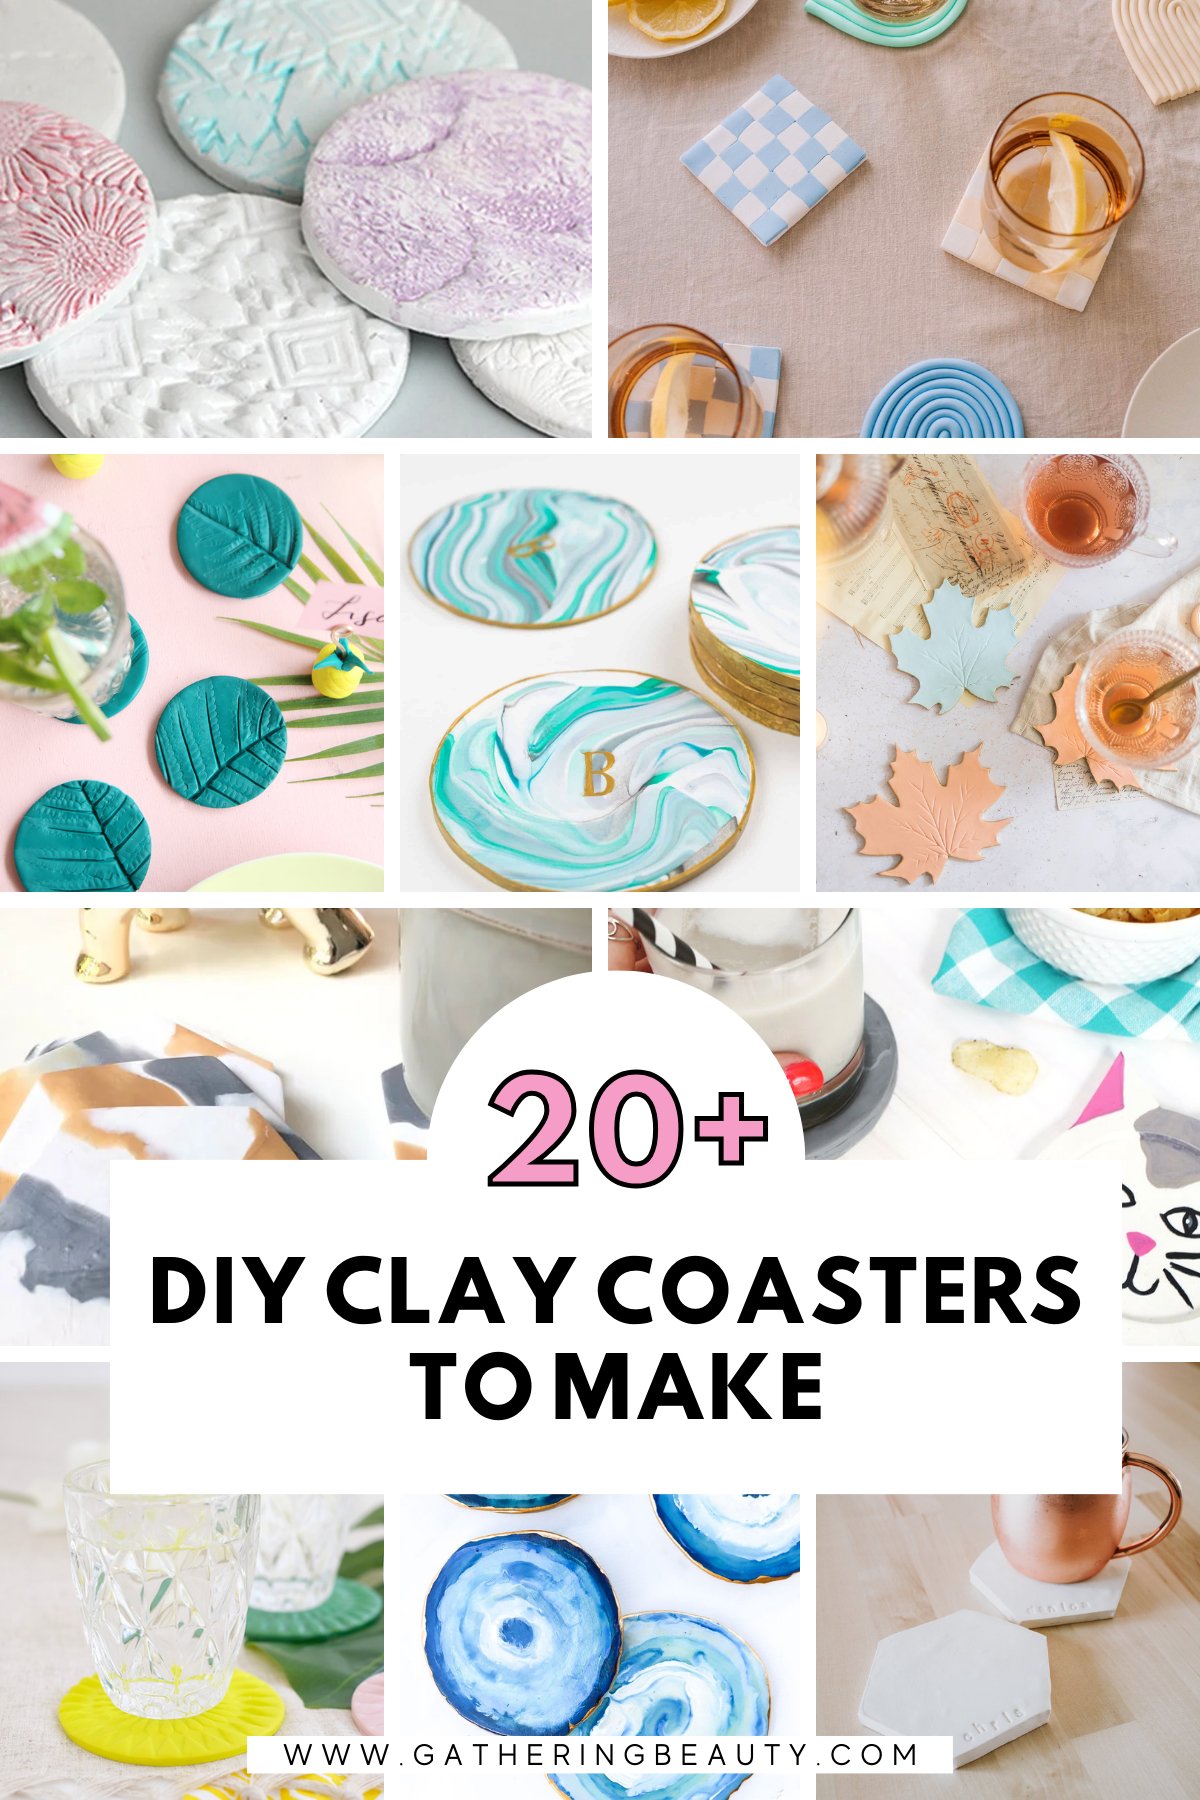
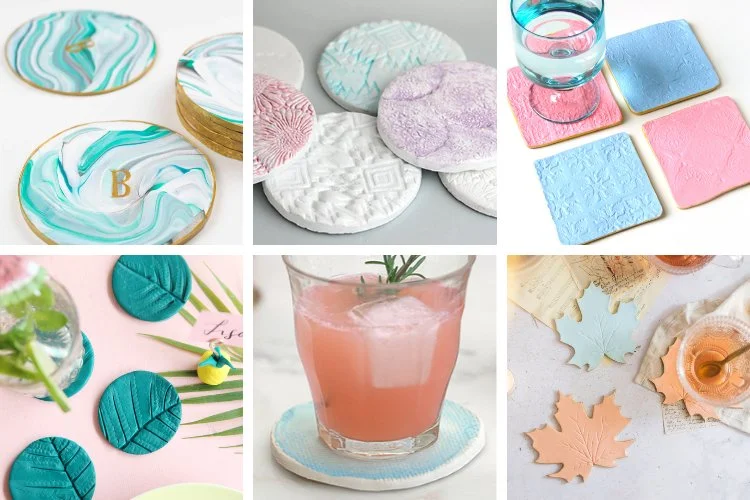
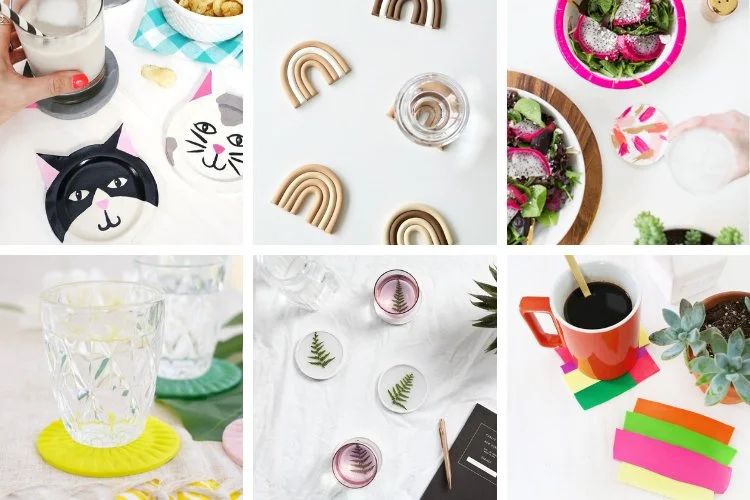
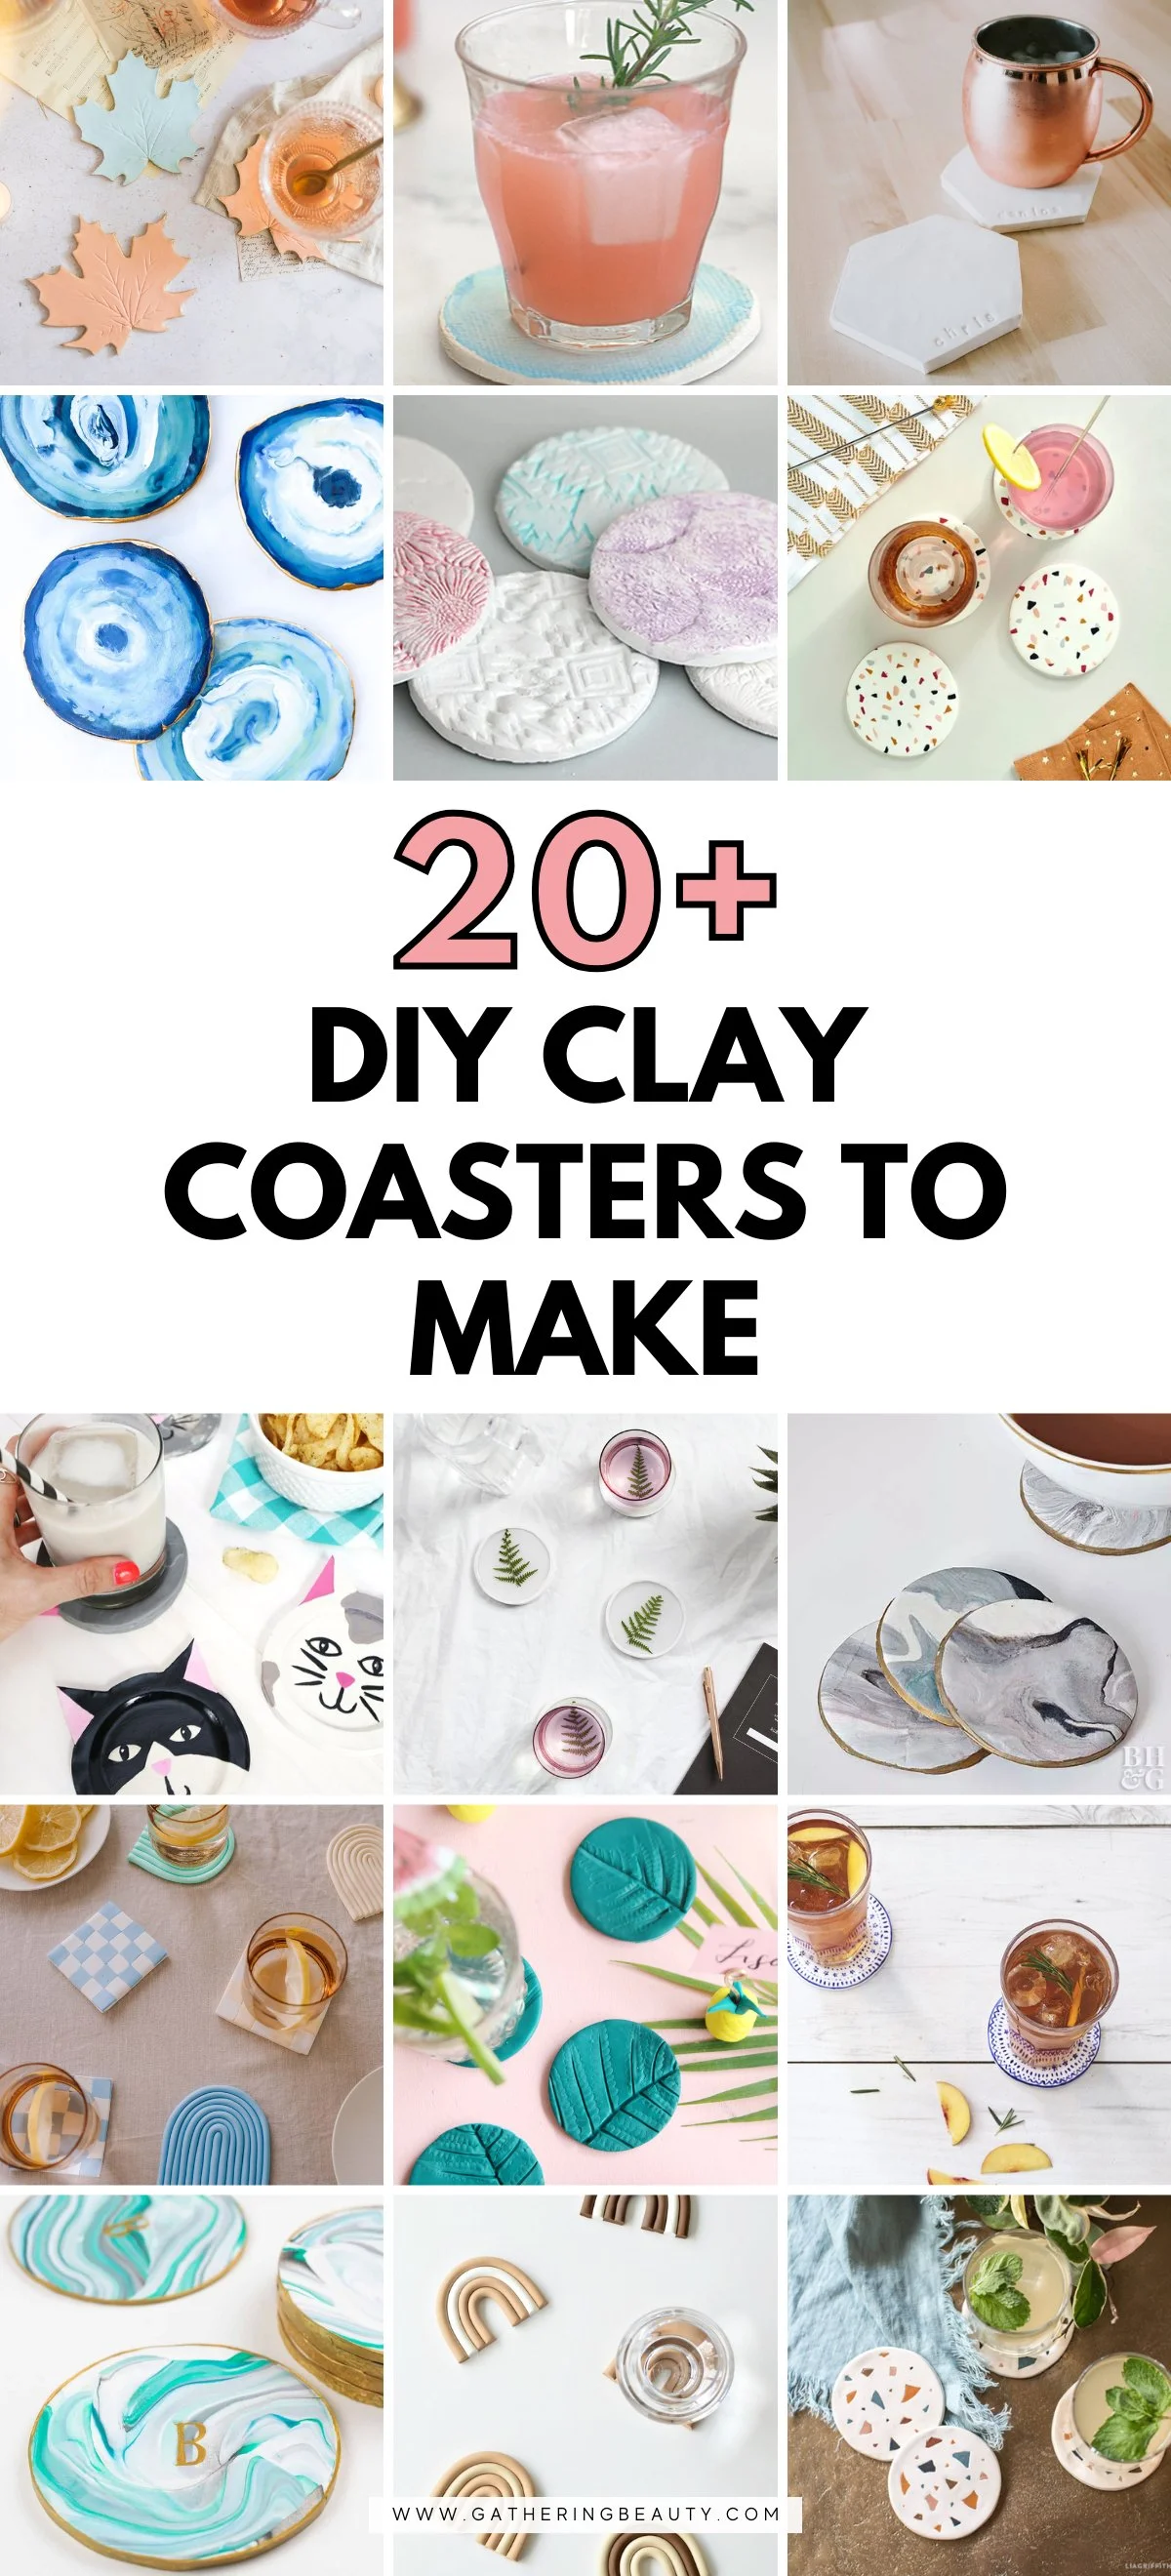
/Make a set of DIY Clay Coasters using one of these 20+ tutorials. Choose from air dry clay or polymer clay for beautiful handmade coasters. They're so simple and quick to make and add a chic touch to your home decor while protecting your furniture.
This page contains affiliate links. This means that if you make a purchase after clicking a link I earn a small commission but it doesn’t cost you a penny extra!
DIY Coasters.
I'm back with another helping of clay craft inspiration. You might remember these DIY Clay Coasters I made a while ago, well, this time I'm back with not one but 20+ clay coaster ideas just for you!
Making your own cute coasters is such a fun DIY project. You can make nature-inspired coasters using ferns, leaves or flowers for a botanical touch. Geometric coasters using cookie cutters or colourful creations using marbled clay or gradient effects.
And the best part? Coasters aren't just for protecting your coffee table from spills, they add personality to your home and also make lovely handmade birthday, wedding gifts or housewarming gifts.
You can even customise the designs for the holidays! Pumpkins for Halloween, snowflakes for winter, or pastels for Easter.
Different Types of Clay: Finding the Right Fit for Your Coaster.
There are so many different materials to craft a set of coasters (and you can find 25 of them here) but clay stands out for several reasons. It's one of my favourite craft materials to work with.
Versatility: The design possibilities are endless with clay. You can imprint, carve, paint, or even embed objects into it.
Durability: Once dried or baked, clay crafts last and last. They can be varnished to help protect them from heat or moisture.
Personalisation: Unlike store-bought coasters, crafting your own means they can be tailored to your style, the theme of a room, or even personalised as gifts.
There are a couple of different options when it comes to which clay to choose.
Air-Dry Clay: This is one of the easiest clays to work with, especially for beginners. As the name suggests, it dries simply by being exposed to air, no kiln or oven necessary. It's versatile and can be painted or sealed after drying.
Polymer Clay: Favoured for its durability and vast colour options, polymer clay needs to be baked to harden. It can be shaped, textured, and even blended to create unique hues.
Both these clay types are perfect for beginners, readily available in craft stores and require minimal equipment (a rolling pin, baking sheet, cookie cutter, sharp knife and a little water are all you'll need).
Here are a few popular brands:
Polymer Clay.
Fimo - comes in a wide range of colours and effects such as metallics, glitters, translucent and faux stone effects.
Sculpey Polymer Clay - flexible and strong this is a great clay for mixing colours and making canes.
Air-Dry Clay.
Das (the one I use) - comes in white, terracotta and a stone effect and dries to a lovely matte finish.
Crayola Air Dry Clay - dries whiter than Das clay. This one can be bought in a large tub so good if you want to make clay crafts in bulk.
Air dry clay can be painted when dry but it’s not waterproof. Finished pieces can be painted using acrylic paint and sealed using an acrylic sealer or mod podge (check out this post on how to glaze air dry clay). It will give them a glossy finish, protect your designs and help them last longer.
Any excess clay can be saved and used again. Read my How To Store Air Dry Clay post to see how.
There’s no limit to the shapes, patterns and colour combinations you can make with clay. So whether you're looking for an easy clay project to make for your home or a great handmade gift to give to someone special, then these clay coasters are the perfect easy DIY project to try!
DIY Air Dry Clay Coasters
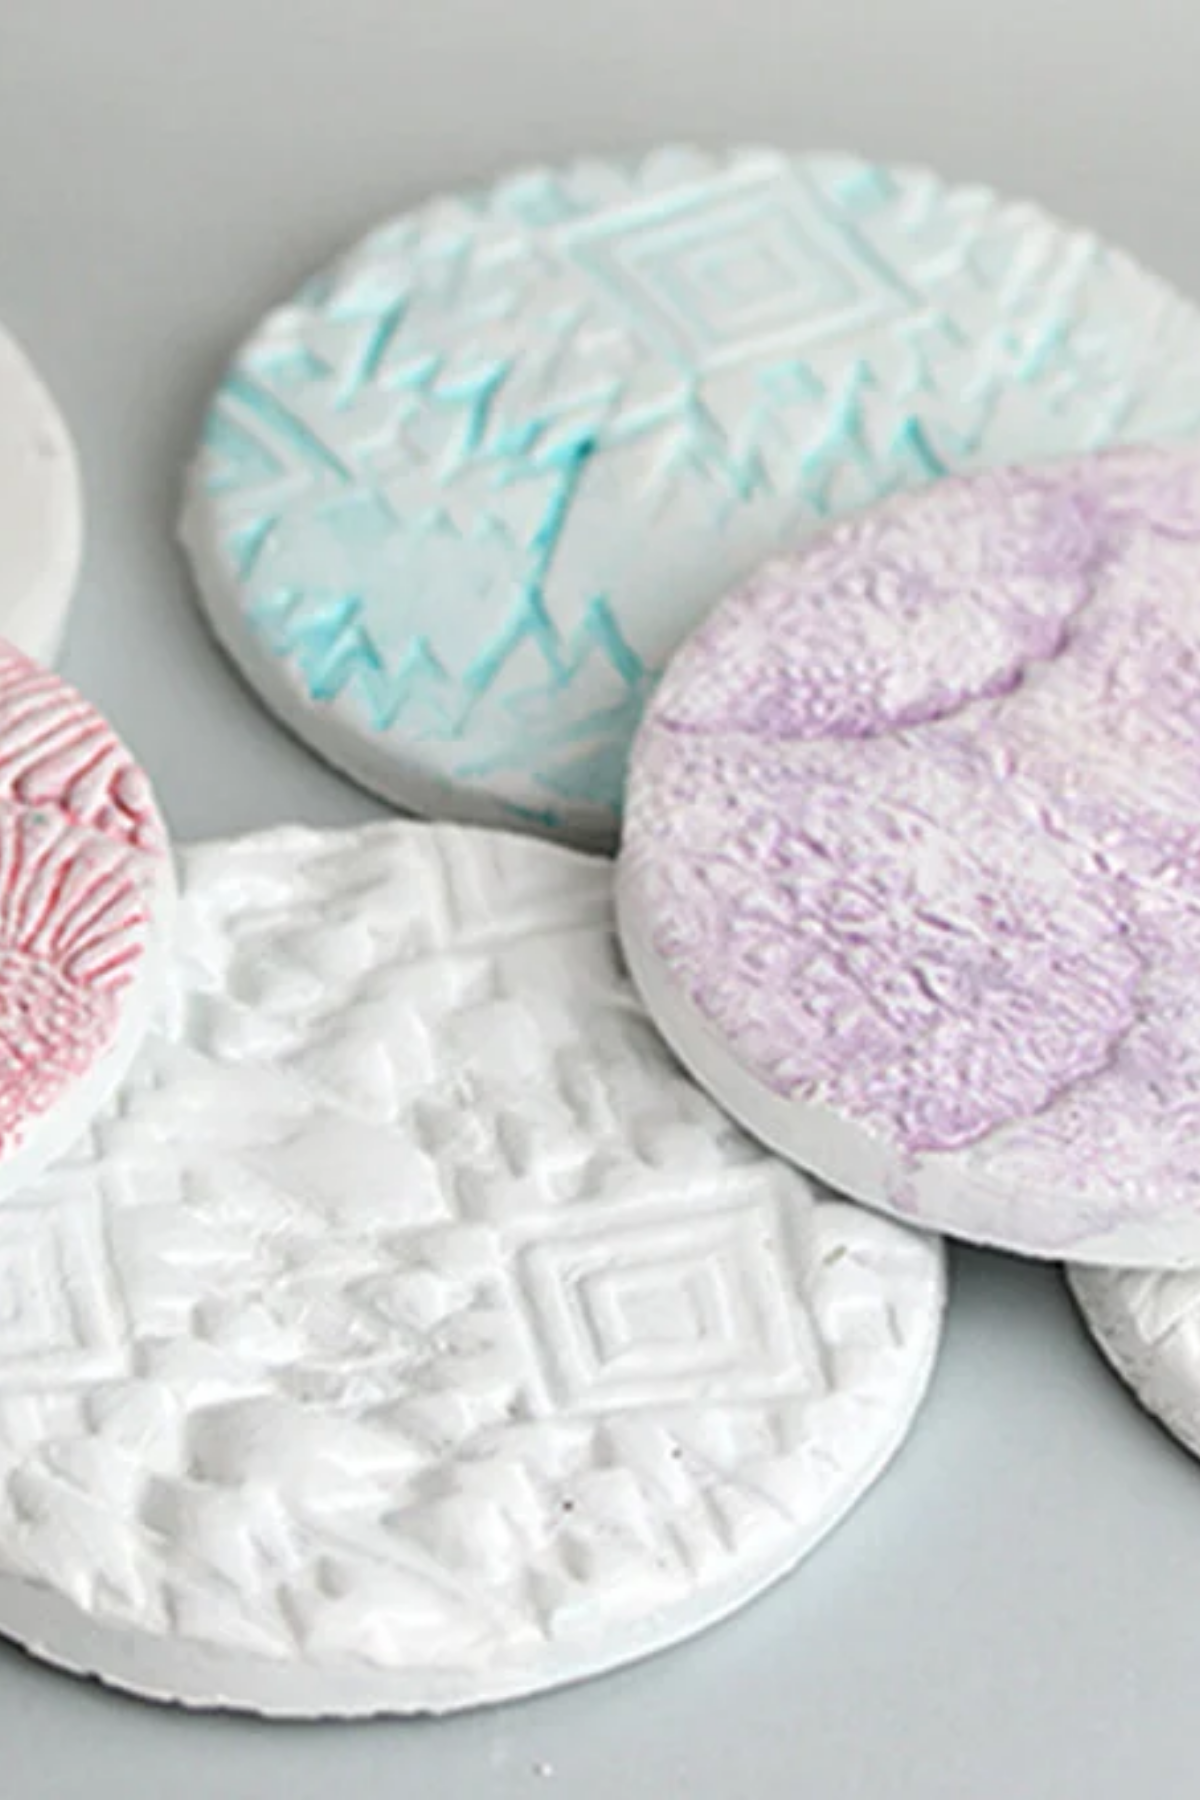
Shape, stamp, paint and customise your own Air Dry Clay Coasters to add a touch of handmade charm to your home decor.
Printed Clay Coasters
Create a set of classy clay coasters using air drying clay, and wooden block printing stamps!
DIY Clay Coasters
These clay coasters can be shaped and personalised however you like and the best part about it is that it only took me 1 1/2 hours to make from start to finish!
DIY Clay Coasters
Marbled DIY Clay Coasters add a chic design touch to any room while protecting your furniture!
Make These Clay Coasters
This time around I’ll be crafting clay coasters, perfect for adding colour and fun to your tablescape.
DIY Agate Coasters
Enjoy your favourite beverage on your new fancy coasters – place them on a tabletop or style them on a coffee table – these coasters would make great handmade gifts too!
Drink It All In
I’ll be sharing a Lady Grey Peach Iced Tea recipe along with some DIY coasters to make your tea break prettier.
The Cutest Rainbow Inspired DIY Clay Coasters
I thought they would make an especially thoughtful gift for anyone who needs a bit of hope this Christmas.
DIY Mix And Match Clay Coasters
I had a blast working with it over the weekend and made these fun Mix and Match Coasters for my first attempt!
DIY Coasters – Terrazzo Style
Terrazzo is all the trend, so spruce up your coffee table with these DIY coasters. We've created a simple tutorial for you to follow.
Sculpey Clay Coasters
If you’ve never worked with clay before, these clay coasters are a great starter project because there’s nothing too intricate and no special skills required.
DIY Marble Hexagon Coasters
This is definitely known from past experience. Marbling clay might also take some practice and getting used to, but this is generally how I do it.
Clay Terrazzo-Inspired Coasters
They’re easy to make, and you can customise them with your favourite colours!
DIY Botanical Adventures
These clay based coasters use the clear resin to lock away the pressed ferns for all eternity and provide a lovely smooth service for you to plonk your drinks on.
Marbled Clay Coaster
Real marble is pricey, but you can get the look with these stylish coasters made from polymer clay.
Autumn Leaves Coaster
Inspired by the colourful autumn leaves, I made autumn leaf coasters out of modelling clay.
DIY Faux Terrazzo Coasters
They’ll look cute on your coffee table, end table, or nightstand; stacked on your kitchen counter or shelves; or placed next to plants, table lamps, or any other decor.
DIY Palm Leaf Coaster
I'll show you how you can easily make these cute palm leaf coasters yourself.
DIY Marbled Coasters
These coasters turned out so impressively chic that we decided they are a perfect option for anyone looking to make a quick DIY party favour, or even give them out as housewarming gifts to friends or family.
FIMO coasters
They are made from air-drying moulding compound, but you can make them just as well from leftover FIMO!
Colourblocked Clay Coasters
As the shape is more "organic" than strict and precise, they are a lot more forgiving since you don't have to make a perfect square or circle.
DIY Brushstroke Coasters
Showing you how to make DIY Brushstroke Coasters and a few simple ideas for entertaining with paper plates… the classy way.
Watercolour Textured Clay Coasters
Who doesn’t love gifting or receiving a thoughtful and heartfelt homemade present crafted by yours truly? I can’t think of a better way to celebrate the season than with an artsy girl’s night in crafting these adorable watercoloured burlap-textured coasters.
Clay Kitty Coaster DIY
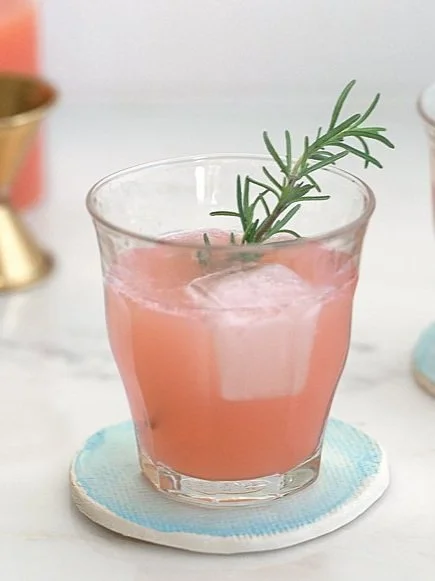
Use acrylic paints to decorate your kitty face however you like! Give it stripes, spots, sleepy eyes…the sky’s the limit!

