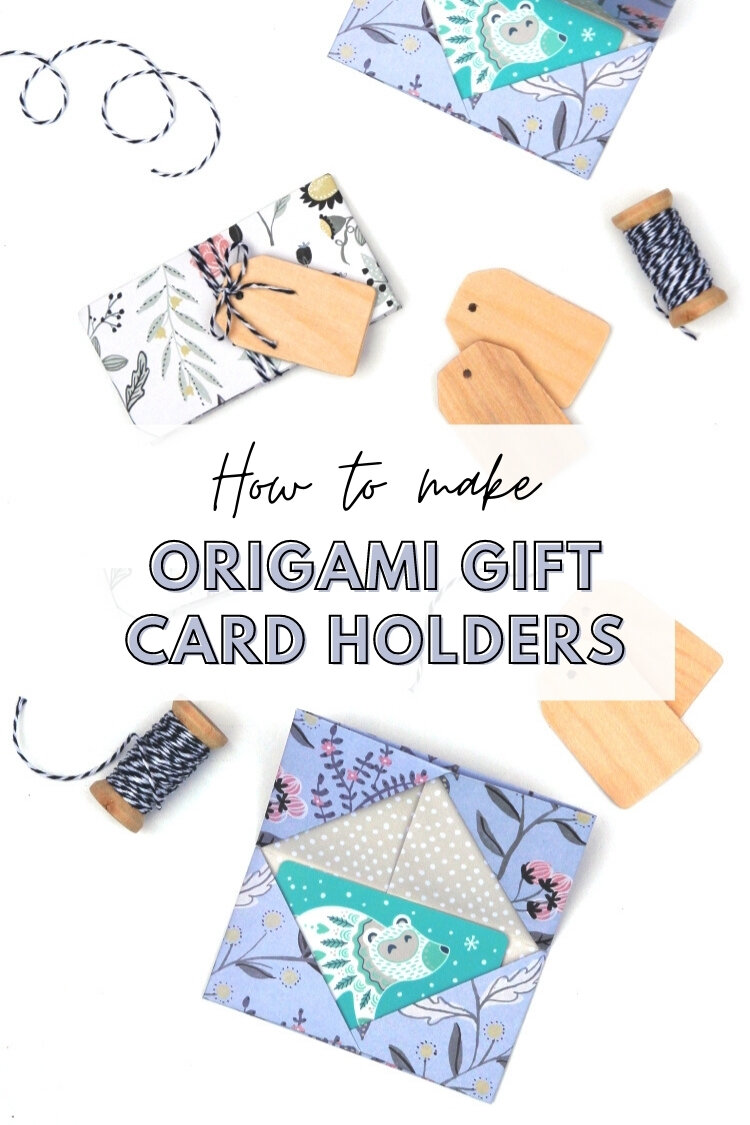
HOW TO MAKE AN ORIGAMI GIFT CARD HOLDER
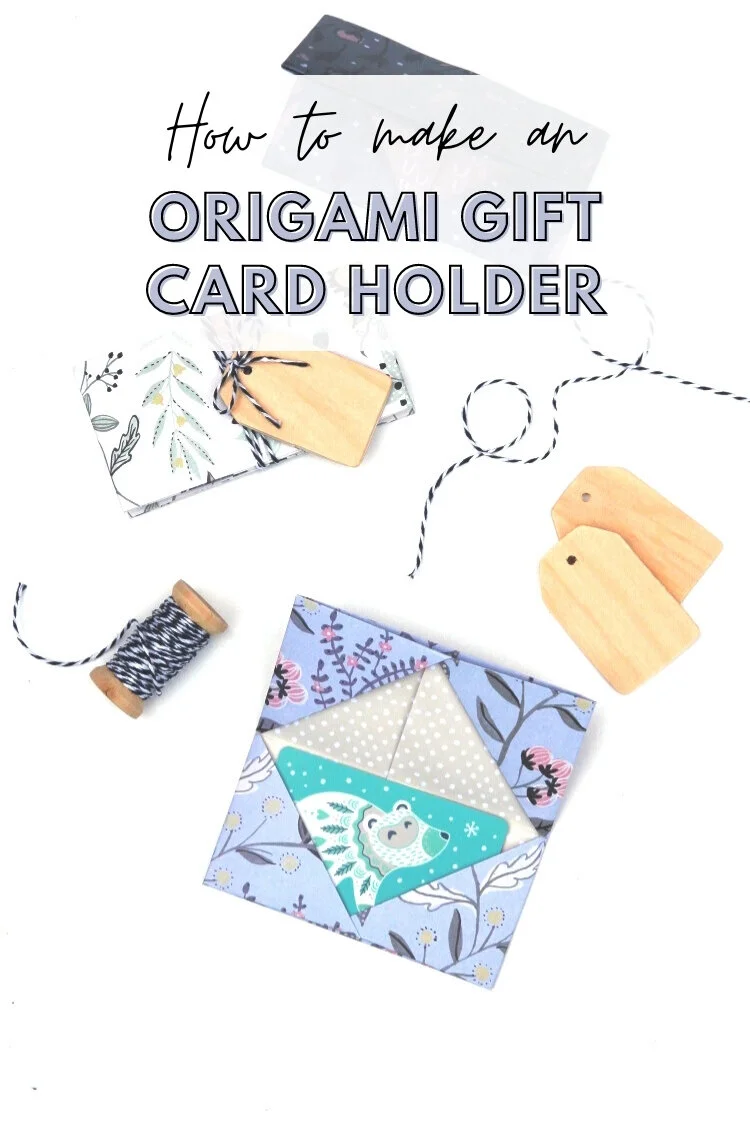
/Giving a gift card this year? Make it a little more meaningful with a DIY origami gift card holder.
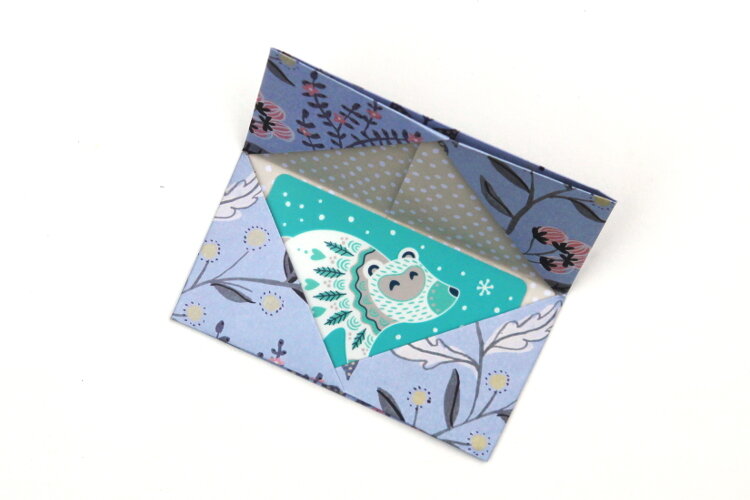
This simple gift card envelope is a super cute way to make a quick gift even more thoughtful. They’re easy to fold and can be personalised using your favourite decorative paper.
So grab your prettiest paper and let’s get folding!
This page contains affiliate links. This means that if you make a purchase after clicking a link I earn a small commission but it doesn’t cost you a penny extra!
Origami Gift Card Holder.
Christmas is right around the corner. If you have any last-minute gift cards or money to give then today’s tutorial is for you.
I'm always on the lookout for creative ways to package up gifts (you can find all my DIY Gift Boxes here) so you can imagine how excited I was to learn that a simple origami business card holder can also be used to make a cute gift card or money envelope.
I love a good gift card, they make fantastic presents but let’s be honest they can look a bit boring. After all the other fancy wrapping, ribbons and bows that go into this time of year a standard plain envelope can be somewhat disappointing. Making your own gift card holder means you’re able to add not only a personal touch but also make them look that extra bit special.
SUPPLIES:
Decorative Paper or Gift Wrap
A Paper Trimmer or a Pair of Scissors
Some Baker’s Twine, String or Ribbon to decorate
A few tips:
Look for double-sided decorative paper if you want the envelope to be pretty on the inside as well as the outside.
I used some light-weight double-sided patterned paper but any good quality gift wrap will also work. I did try using scrapbook paper but found it was a bit too thick and curved up at the edges when I wrapped the string around.
I’d still say it’s worth experimenting with what you already have though. I think it’s safe to say a lot of us probably have some Christmas wrapping paper currently lying around so give that a go first before rushing out to the shops. Plus you get to match your gift cards to any other gifts which always looks good under the tree.
Another thing I’d recommend is using a bone folder (if you don’t have one a good alternative is to use the back of a butter knife) especially if you’re using thicker paper like scrapbooking cardstock.
By running a bone folder along all the folds you will create nice, sharp creases meaning the paper will sit flat and help your finished gift card holder look more professional.
This project is part of my Easy Origami eBook. You can find it in the shop.
How to make an Origami Gift Card Holder.
1. Cut your paper to size. For a standard gift card, I recommend a 9 x 9-inch square.
If you’re using patterned paper and you want the finished pattern to run top to bottom you need to rotate your paper 90 degrees so the pattern runs left to right.
2. Flip your paper over making sure the pattern is still running left to right.
3. Fold your paper in half and open it back out.
Make sure to run your bone folder along all the creases as you go.
4. Fold the left and right edges in to meet the centre fold.
5. Open the paper out again and fold the four corners in to meet the nearest crease.
6. Fold the left and right flaps in to meet in the centre.
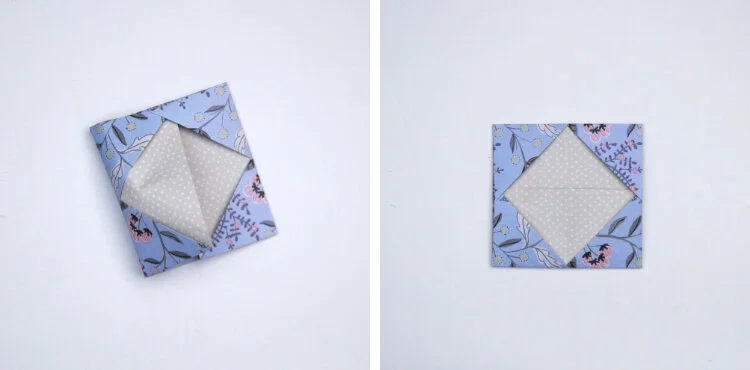
7. Flip the paper over and fold the bottom up so the diagonal edges meet at the fold.
You should be able to see a triangle in the middle of your fold.
9. Fold the top down in the exact same way and tuck it inside the bottom edge. You want them to overlap slightly as you do this.
Now is a good time to run a bone folder or the back of a butter knife along your folds. Sharp creases will help all the sides sit flat.
10. Slide a gift card into the side pocket to make sure it fits and fold in half.
There should be plenty of space on either side to remove your gift card. Fold in half and crease.
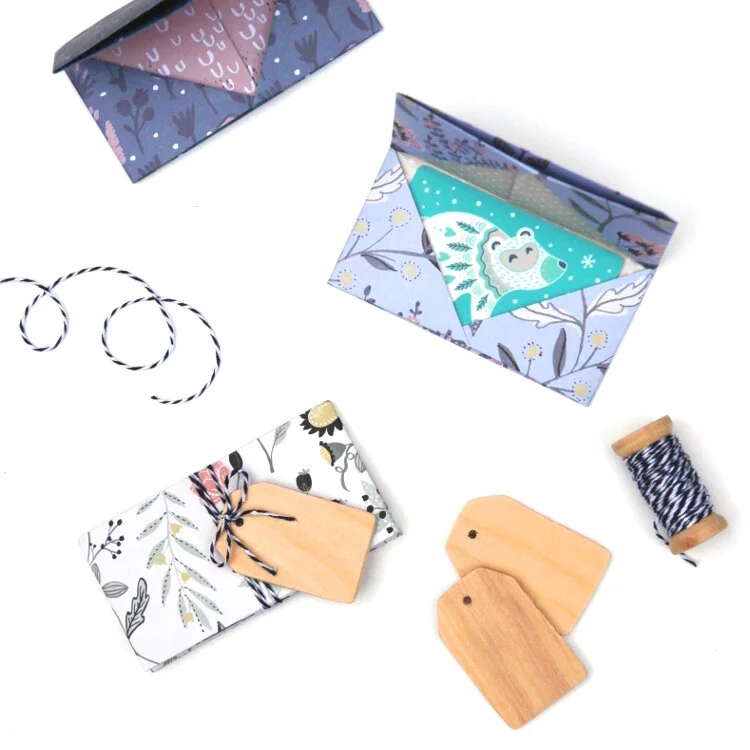
12. To finish add a gift tag (I used these wooden ones) before tying closed with some festive red ribbon or baker’s twine.
Make them as decorative and elaborate as you like. Much cuter than the plain envelope they come with, don’t you think?

