Origami Phone Stand DIY
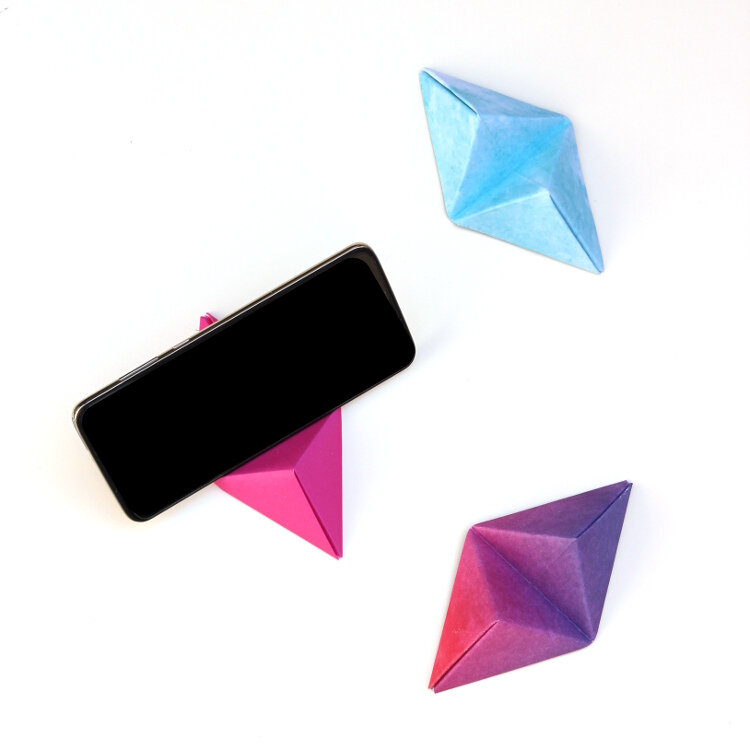
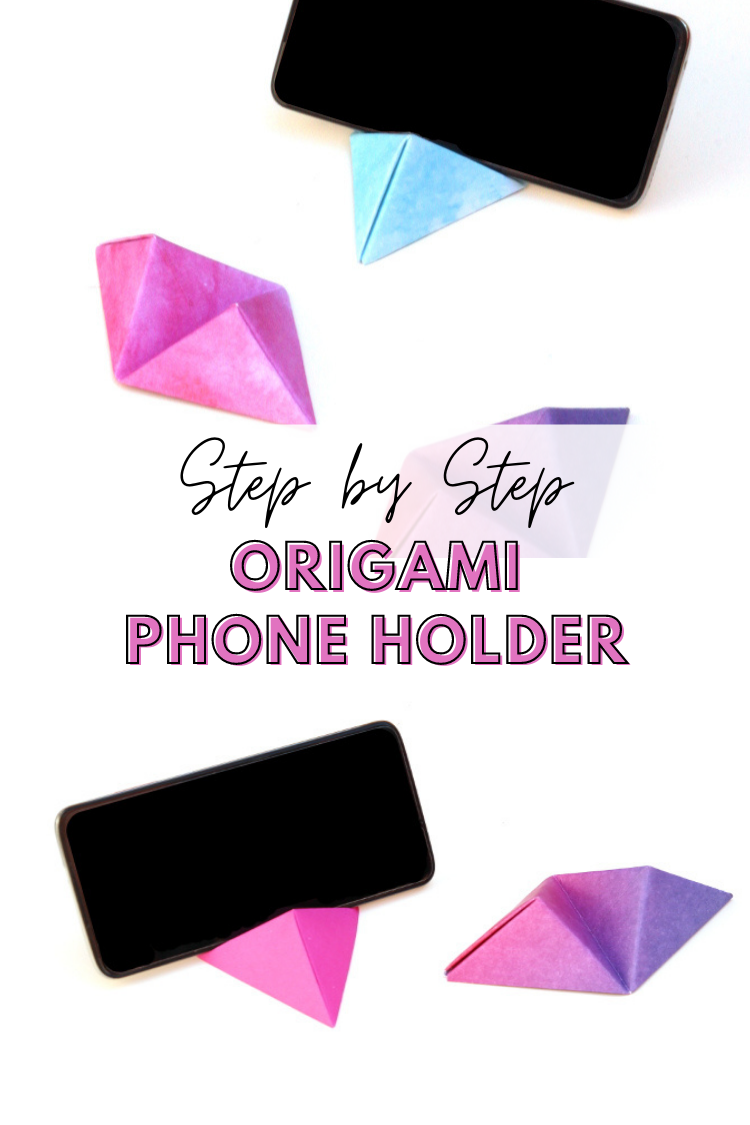
/Learn how to make a DIY phone stand using only paper. This origami phone holder is a fun and easy way to display your phone.
Practical and cute, they’re a useful way to keep your desk tidy while you work. They also make a fun desk accessory and a great gift idea.
Why buy a phone stand when you can make your own version out of paper at home in no time at all.
This page contains affiliate links. This means that if you make a purchase after clicking a link I earn a small commission but it doesn’t cost you a penny extra!
Origami Phone Stand.
Today I’m going to show you how to make a cute and colourful phone stand using a very simple material - paper! They’re ideal for adding a pop of colour to your desk and are so easy to make.
I make a lot of origami and papercrafts so there’s always a lot of paper around and as much as I’d like to tell you I’m a tidy crafter, I’m sorry to say that I’m not. It’s definitely something I’m working on but I can’t tell you how many times I’ve lost my phone under a pile of half-finished projects.
If you’re anything like me and always losing your phone under a stack of papers or trying to balance it on a pile of books while you cook up a storm, then you’re going to love this easy DIY Origami Phone Stand.
DIY Phone Holder.
A phone stand or holder can be super useful if you like to watch or listen to something while you work. My phone is always out on my desk whether I’m making a craft, writing up a tutorial on the blog or pinning on Pinterest so I was thrilled to discover you can easily make your own.
I made three earlier this week and have been using them around the house. So far I’ve used them to hold my phone in the kitchen when I need to follow a recipe, watch a show while I’m eating breakfast and even when I video chat with family.
And do you want to know the best part about these origami phone stands? They’re budget-friendly, recyclable and can be made in any colour or pattern that you like.
And if you get stuck on a step and need a bit more help, don’t forget to scroll down to the bottom for the full video tutorial.
Supplies:
Origami Paper or Lightweight Cardstock (like Scrapbook Paper)
I normally always recommend using origami paper when it comes to paper folding projects and although origami paper will work for this project it can get damaged easily.
To make a phone holder that will hold up to a bit of wear and tear I suggest using a lightweight cardstock like scrapbook paper. It’s harder to fold and can be a bit fiddly but it does make a stronger base.
How to make an Origami Phone Stand.
1. Take a square piece of paper or lightweight cardstock like scrapbook paper and cut it to 6x6 inches.
2. Fold the square in half with the coloured side facing down.
3. Open back out.
4. Rotate 90 degrees and fold in half again.
5. Open back out.
6. Fold the bottom edge to meet the centre crease.
7. Take the top edge and fold it down to meet the centre as well.
8. Fold the bottom right corner up to the middle crease.
9. Unfold and fold the top right corner down to the bottom middle of the paper.
10. Open back out to reveal a cross on one half of your folded paper.
11. Repeat steps 6 to 10 but this time on the other side.
12. You should now have 2 crossed on your paper that meet in the middle.
13. Rotate your paper 90 degrees.
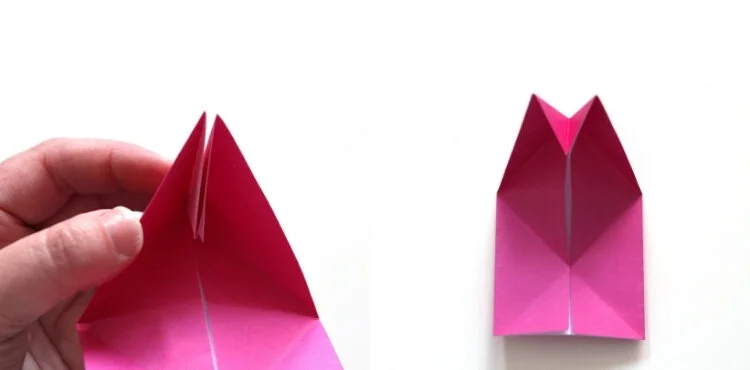
14. Take the left corner and fold it in to make a small triangular pocket.
15. Pinch the 2 corners in and crease. The paper should naturally fold into itself.
16. Rotate 180 degrees and repeat on the opposite side.
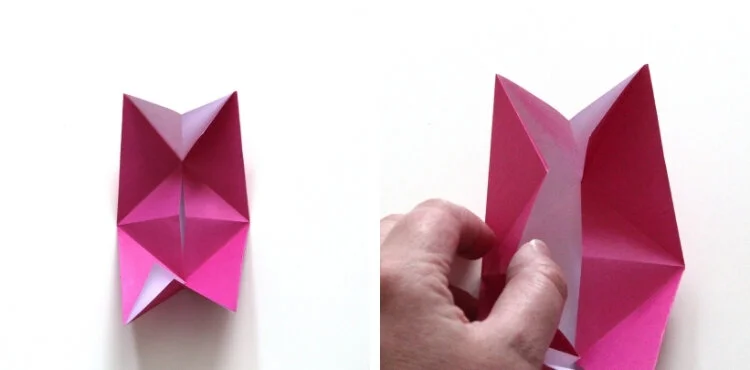
17. This time when you pinch in the corners and crease, you want to open up the left-hand side where the small triangular pocket is.
18. Take hold of the centre piece and tuck it under the pocket on the right-hand side.
19. Repeat on the other side.
20. Pinch and crease the centre fold to make it crisp.
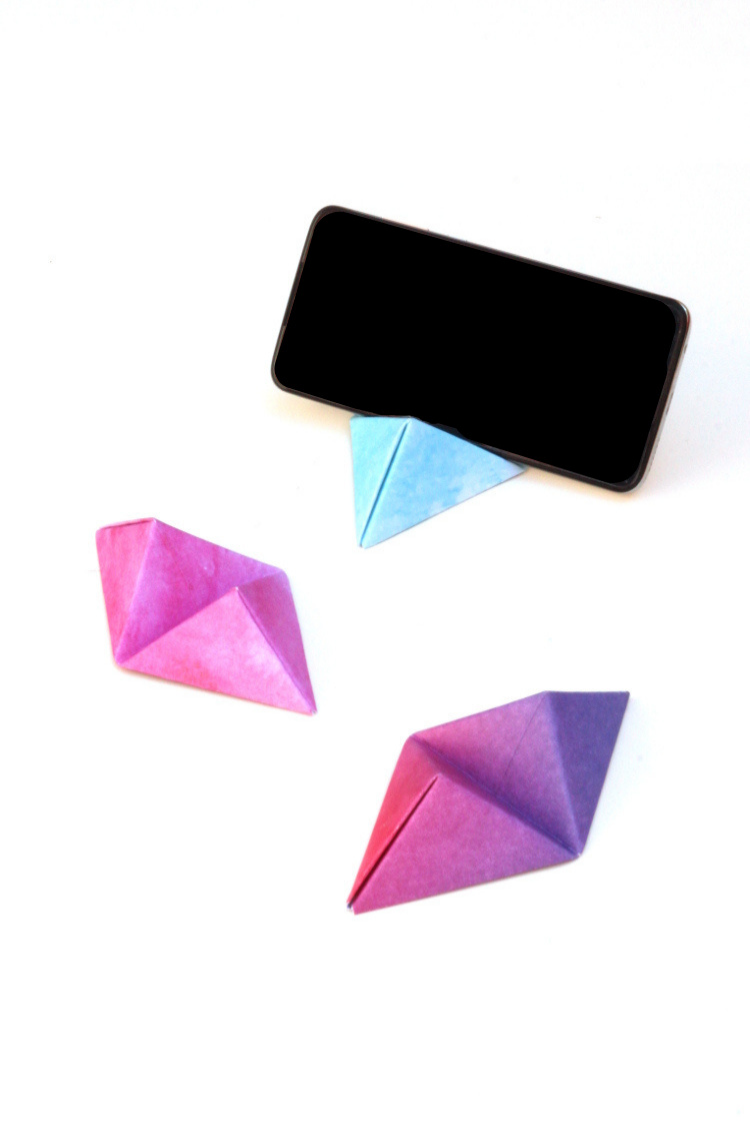
21. Flip it over to reveal your finished phone stand.
22. Pop your phone in and you’re good to go.
What do you think? Isn’t this a super cute and practical way to keep your phone from getting lost under all that clutter?
Need more help? Check out the video below!


