Origami Santa Hat
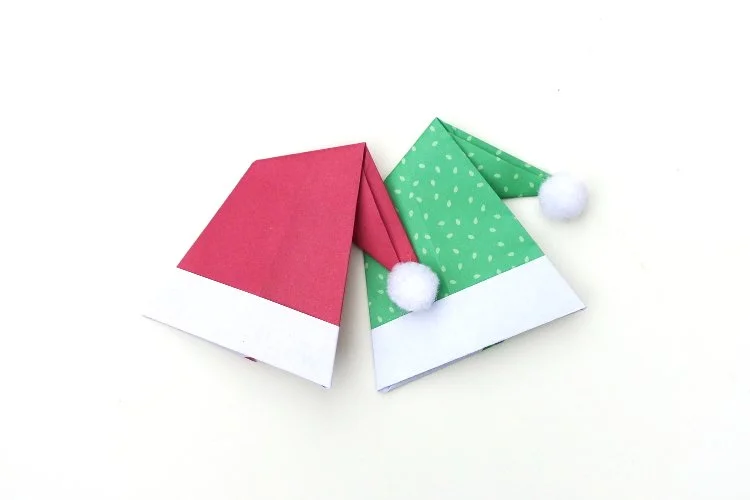
/Make your own Origami Santa Hat with these easy to follow instructions. This inexpensive paper hat makes a fantastic card topper or decoration when hung from the tree.
It’s a great Christmas craft to make at home with the family or as a group activity over the Winter holiday. And as it only needs a few simple supplies, it won’t break the bank.
This page contains affiliate links. This means that if you make a purchase after clicking a link I earn a small commission but it doesn’t cost you a penny extra!
Origami Christmas Santa Hat.
Origami paper crafts are a favourite of mine all year round but particularly at Christmas. This Easy Origami Santa is one I make year after year and I can already tell that this origami Santa hat is also going to be a firm favourite.
The best part is that they’re really not so difficult to make. This simple project only requires a few supplies and the end result is seriously adorable, don’t you think?
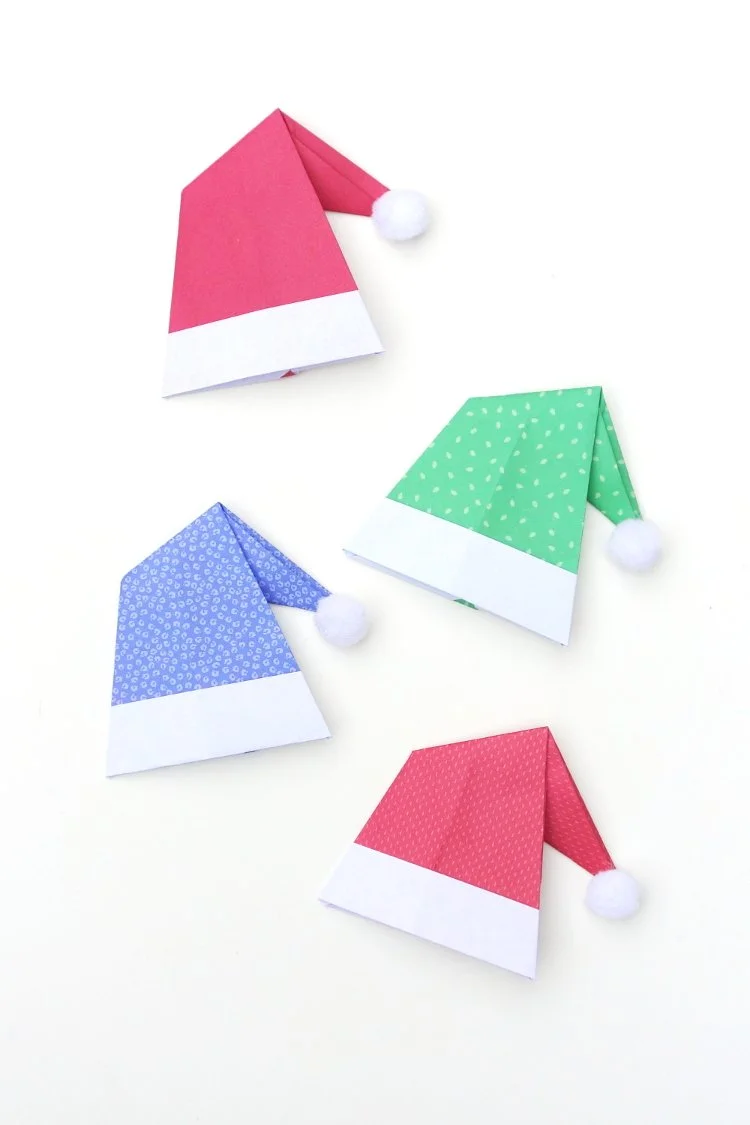
I used some patterned and plain origami paper in red, green and blue but feel free to personalise them in any way you want. For the fluffy part on the end of the hat, I used mini white pom poms but if you don’t have any you could always cut a small round cloud out of white paper and stick that on instead.
Christmas Origami Hats.
There are so many ways you could use these cute little paper hats. You can make small ones like these and use them on cards or gifts or a large one using gift wrap and use it to decorate your walls or doors.
Open them up and use them as a centrepiece on the table or as a cute homemade tree topper or decoration on top of a wine bottle. Combine them with some origami Christmas trees and Santas for a truly unique Christmas garland.
If you’re looking for more easy Christmas origamic crafts make sure to scroll to the bottom.
Supplies:
Paper (Origami Paper, Scrapbook Paper or Gift Wrap all work well. You can even get some festive Christmas themed origami paper).
Glue or Double-sided Tape
While you can make these with most types of paper I recommend using origami paper or other thin paper like gift wrap as it’s easy to fold and helps your origami keep its shape.
I used some pretty red and green and blue patterned origami paper for my Santa hats. It does work better if the paper has a white or different colour on the back so you have a contrasting colour for the trim on the hat.
I even have some printable origami paper you can download and use for FREE. Simply download, print and cut into 7x7-inch squares.
How to make Origami Santa Hats.
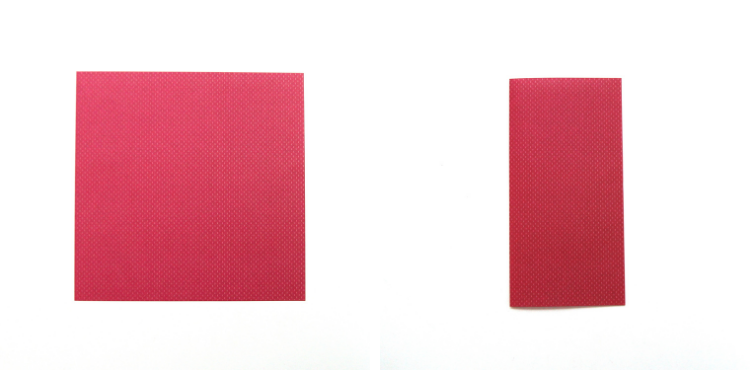
1. Take your origami paper and fold it in half to make a rectangle with the coloured side on the outside.
2. Open back out.
2. With the white side facing up fold the left corner in to meet the middle crease.
3. Repeat with the right corner to make a point at the top.
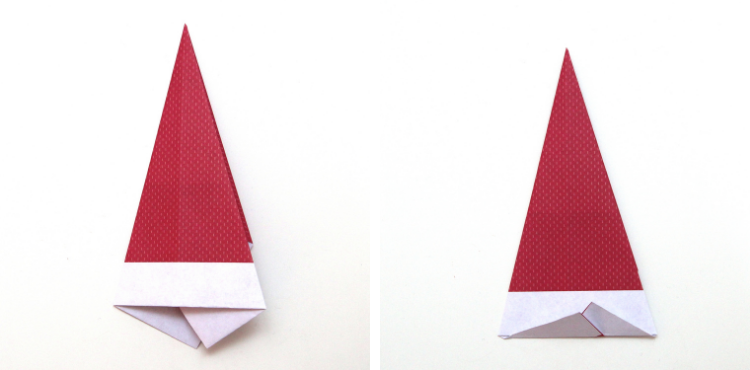
4. Flip your paper over and fold the bottom edge up about 2 cm.
5. Take the left-hand side and fold down at an angle just past the centre.
Top tip:
You want to fold the point at the top in half to make it naturally fold at an angle.
6. Repeat on the other side this time folding to the edge of the previous fold to make a point.
7. Flip your origami over.
8. Take the bottom point and fold them up using the bottom of the white strip as a guide.
9. Carefully open out the bottom of your hat and fold the two small points into the opening.
10. Flip your hat over and fold down the point at an angle.
11. Flip back over and press flat.
You may need a little glue or double-sided tape here to hold your hat flat depending on the type of paper you’ve used. The thicker the paper the more likely it is to stick out.
12. For a finishing touch stick on a mini pom pom to the end of your hat.


