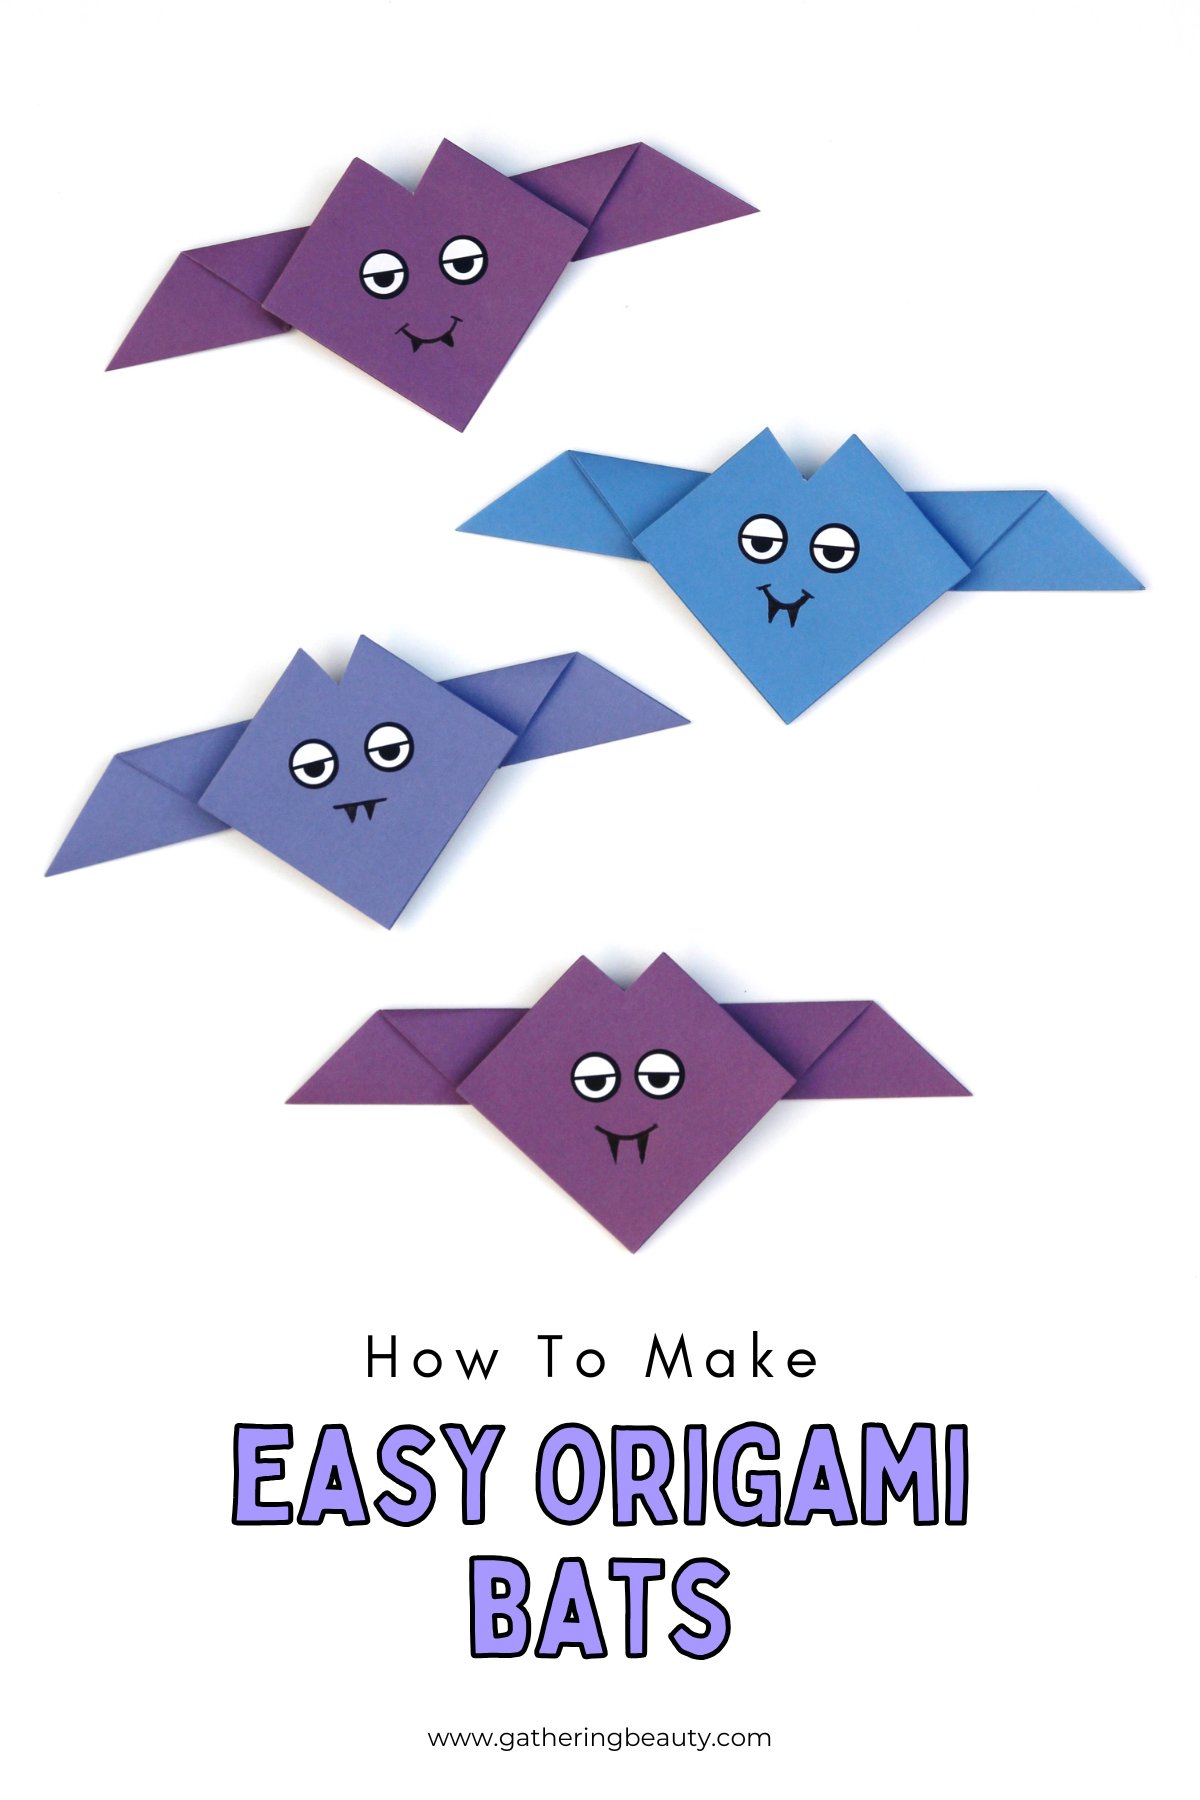
Easy Origami Bats For Halloween
/These adorable Easy Origami Bats are the perfect quick and spooky craft! Learn how to make your own with just a few simple folds. Great for Halloween decor, party favours, or fun with the kids.
This page contains affiliate links. This means that if you make a purchase after clicking a link I earn a small commission but it doesn’t cost you a penny extra!
Easy Origami Bats for Halloween
I love making quick and easy Halloween crafts and that's where these super cute origami bats come in. They’re simple to fold and you can make a whole bunch in just minutes.
These little guys are also the perfect addition to your Halloween decor, whether you’re throwing a party, decorating your home, or just want to do a cute DIY project with the kids. The best part? You only need a piece of paper to make these cute bats!
Related: 25 Halloween Origami Ideas
Quick & Fun Origami Bats
You can use black paper for a classic bat look, or switch things up like I did with purples and blues. You could even use some glittery paper for a little extra flair.
And don't forget to add googly eyes, fangs, or a cheeky little smile!
You can even get the kiddos involved, my little boy loves drawing the silly faces on the bats. We’ve had some with moustaches, glasses and bow ties.
Simple Origami Bat Decorations
Once you’ve folded a whole colony of these cute paper bats, you can use them in so many ways! I love to hang them from string to make a garland. You could also stick them to your walls or windows to give your home that extra spooky touch.
They also make great table decorations if you’re hosting a Halloween party. You can add them to treat bags as a party favour or use them as place cards for your Halloween dinner party—just write the names on the wings!
Follow the simple step-by-step instructions below and you'll be folding cute paper bats in no time!
Supplies:
Origami Paper (I used this set of origami paper)
Scissors
Pens or Markers
How To Make An Easy Origami Bat.
1. Take a square piece of paper and fold it in half along the diagonal to make a triangle.
2. Make sure the point of the triangle is facing towards you.
3. Fold the top straight edge down about 2cm. This will make the wings.
4. Take the left wing and fold it in towards the middle but not all the way.
You need to line up the fold on the wing with the side of the triangle as shown above as a guide.
4. Repeat on the opposite side.
5. Next take the left wing again and fold it back on itself.
6. Repeat on the second wing.
7. Flip your folded paper over to reveal your bat.
8. Take a pair of scissors and cut a small triangle out of the top of the bat's head to make the ears.
9. Add some eyes and mouth to complete your origami paper bat.
And there you have it, how to make your own origami bat. These little origami bats are so cute, and the best part is you can make a whole bunch in no time at all.


