Origami Black Cat For Halloween
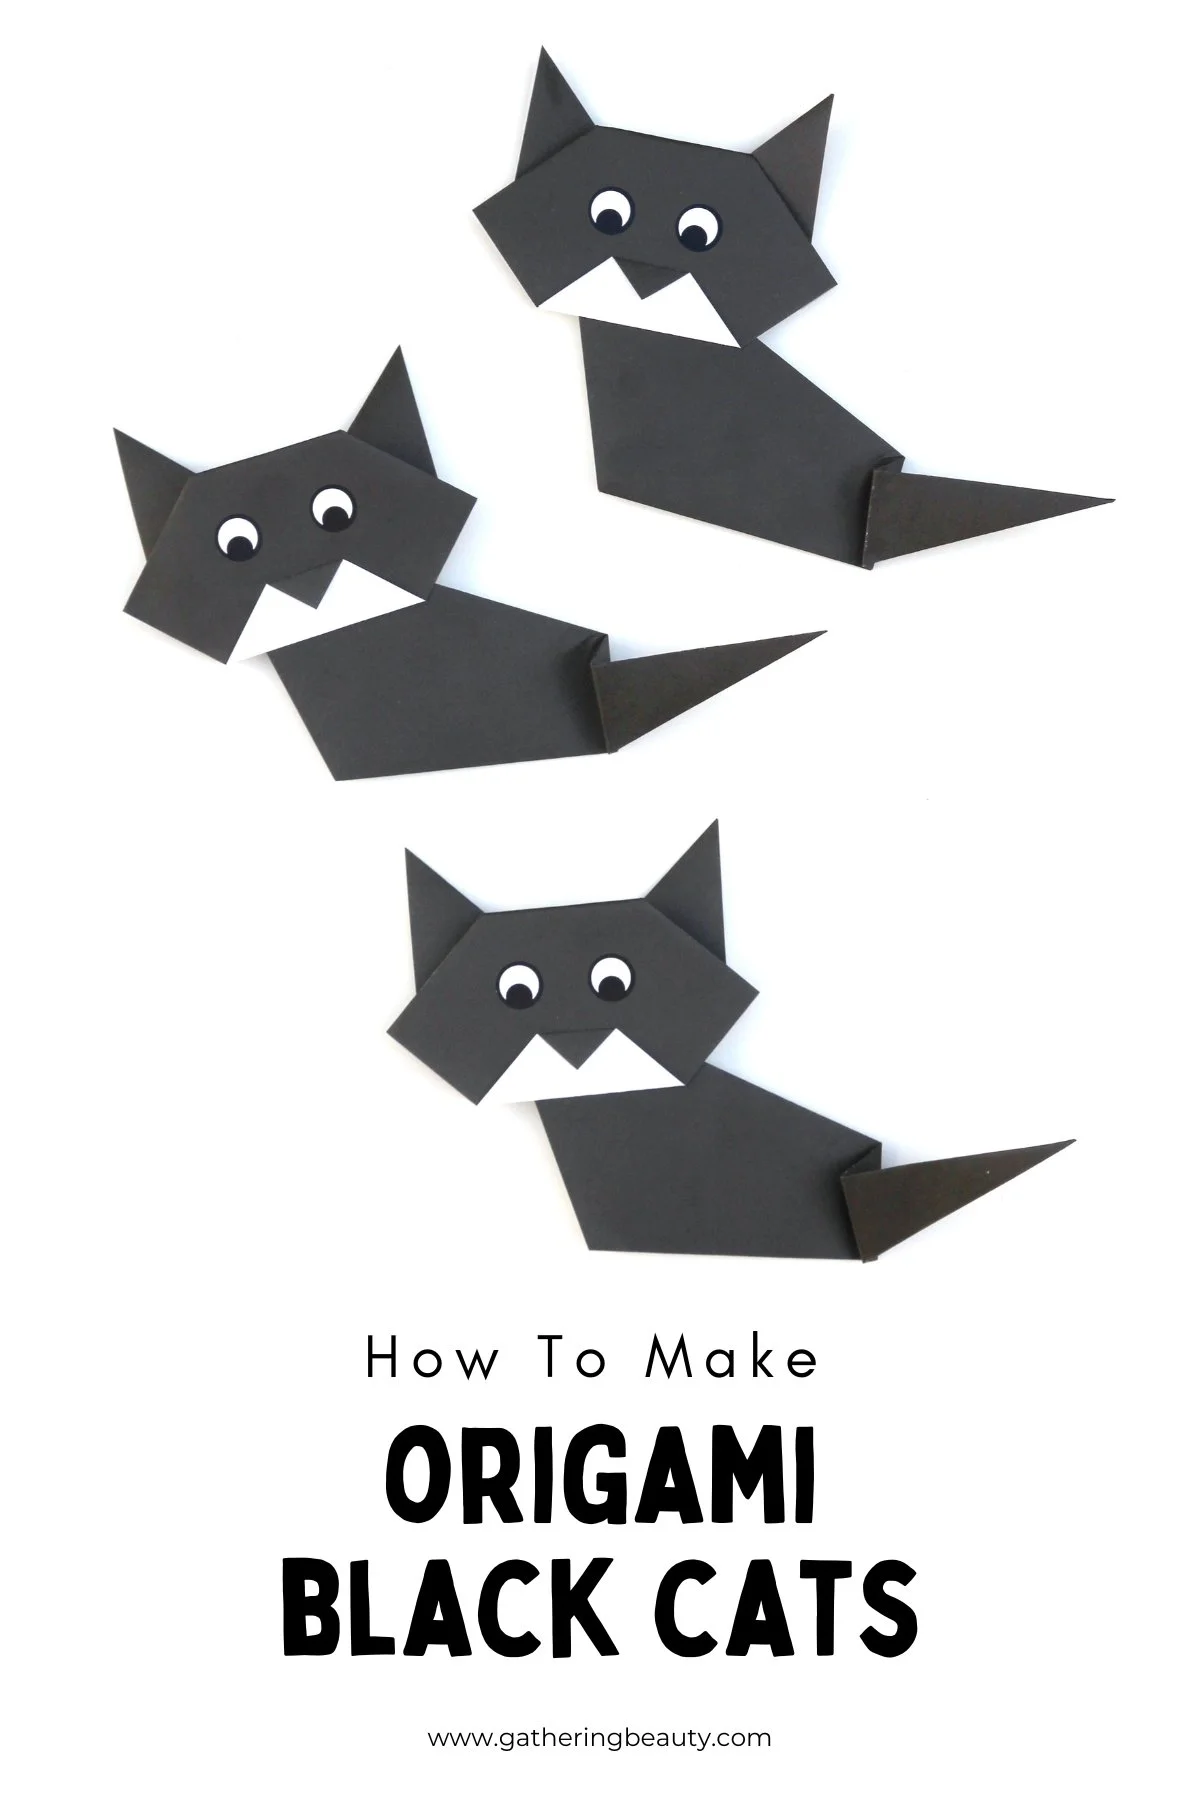
/Make Easy Origami Black Cats for Halloween! Perfect for spooky fun activities with kids! Follow the simple step-by-step instructions to fold your own super cute paper cats.
This page contains affiliate links. This means that if you make a purchase after clicking a link I earn a small commission but it doesn’t cost you a penny extra!
Cute Origami Black Cats.
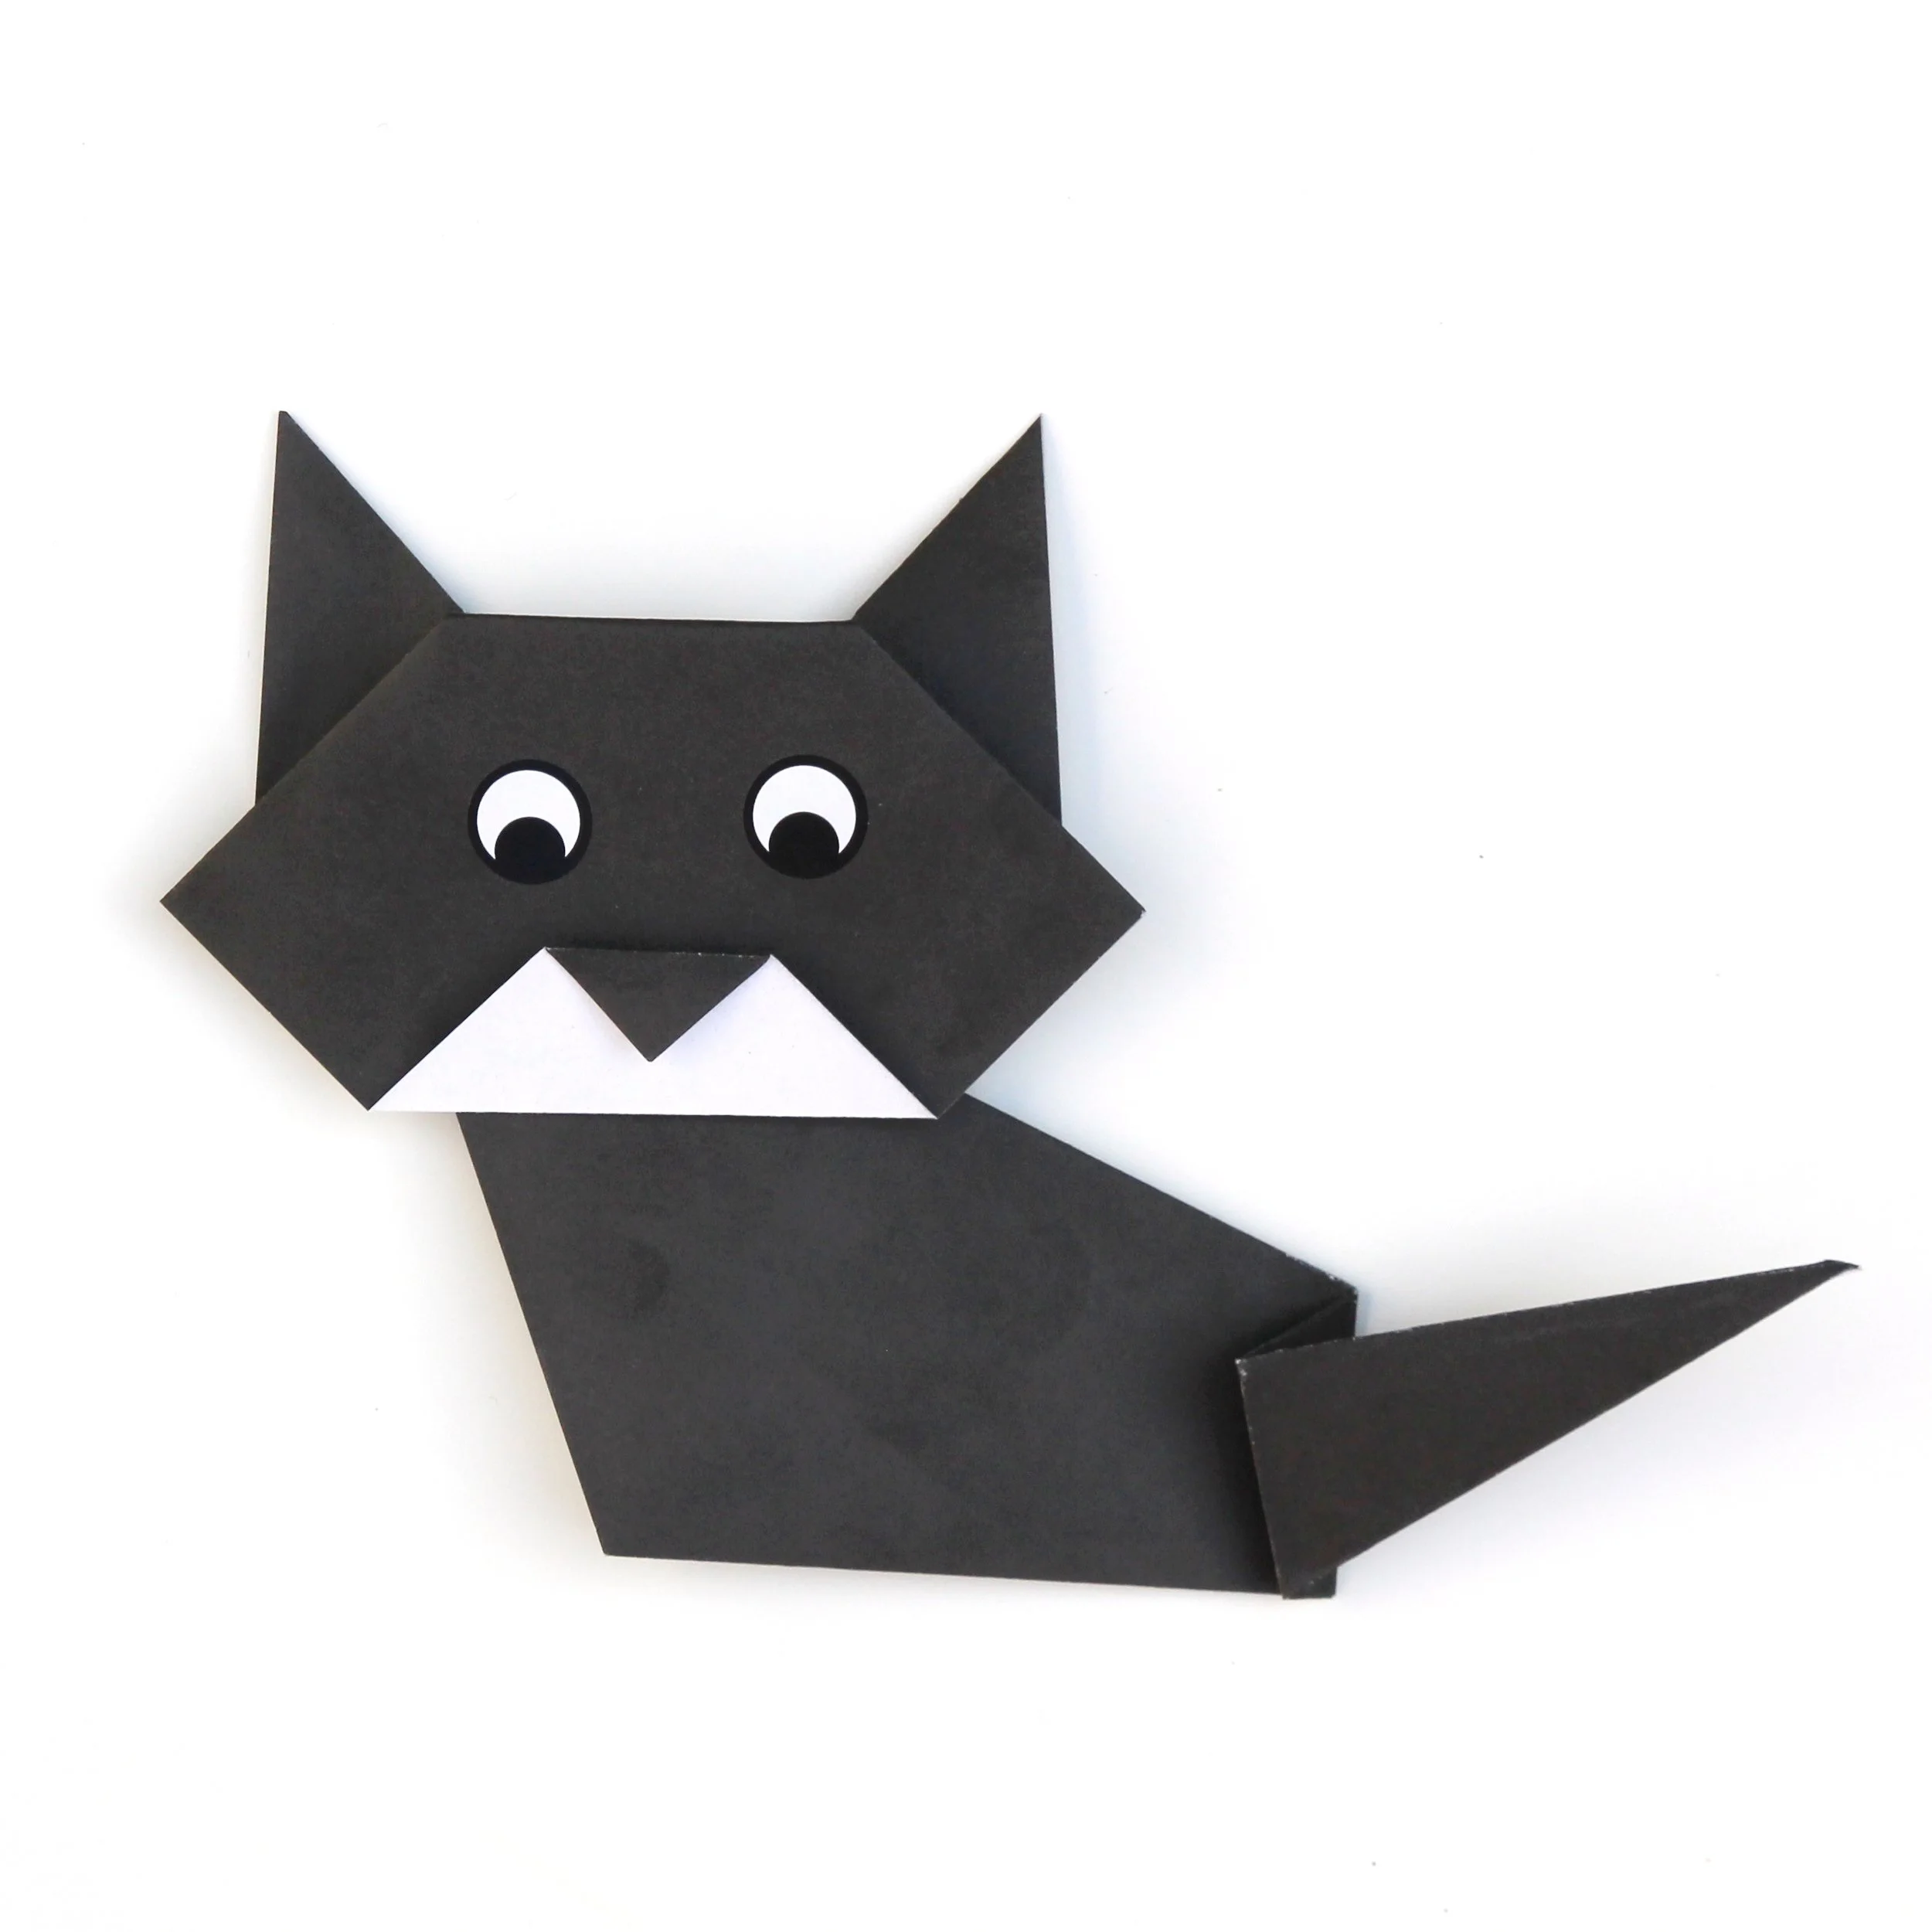
Say hello to paper-folding cuteness with this DIY Origami Black Cat! One of my favourite things to do at Halloween (besides eating all the candy) is making cute, simple crafts paper crafts. And what says Halloween more than a black cat?
This simple craft is fun, hands-on, and perfect for all ages, making it a great activity to do together as a family. Kids will love folding the paper, drawing on the cute faces, and creating their very own spooky cat collection.
Plus, it’s a great way to get in the Halloween spirit.
DIY Origami Black Cats for Halloween.
Create a spooky Halloween garland by attaching a string to the back of each origami cat and hanging them across your windows or fireplace. For extra flair, alternate with origami pumpkins or origami bats!
You can also scatter the cats around your party table as cute decorations or use them as placecard holders by writing guests' names on their tummies. For a personal touch, attach the cats to treat bags or gifts—everyone will love the handmade touch!
Easy Origami Cats.
To make your own paper cat all you need is some origami paper (I used this black origami paper), some stickers or googly eyes and a glue stick to attach the pieces.
You can make these cats all year round using any colour paper but of course, using black paper makes them the perfect Halloween origami project. Add a bow tie, collar, witches hat or some googly eyes for a fun finishing touch.
These easy origami black cats are a must-try for Halloween!
Supplies:
Glue Stick
How to make an Origami Cat.
Each cat will need two pieces of square origami paper. One for the head and one for the body.
First up, let’s make the cat’s body.
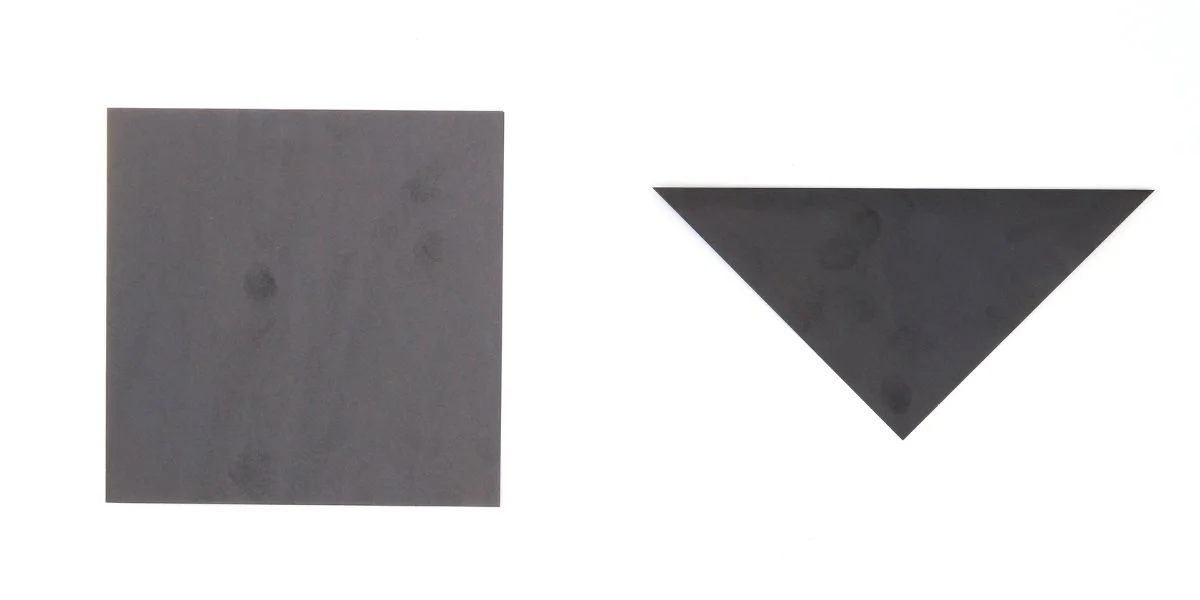
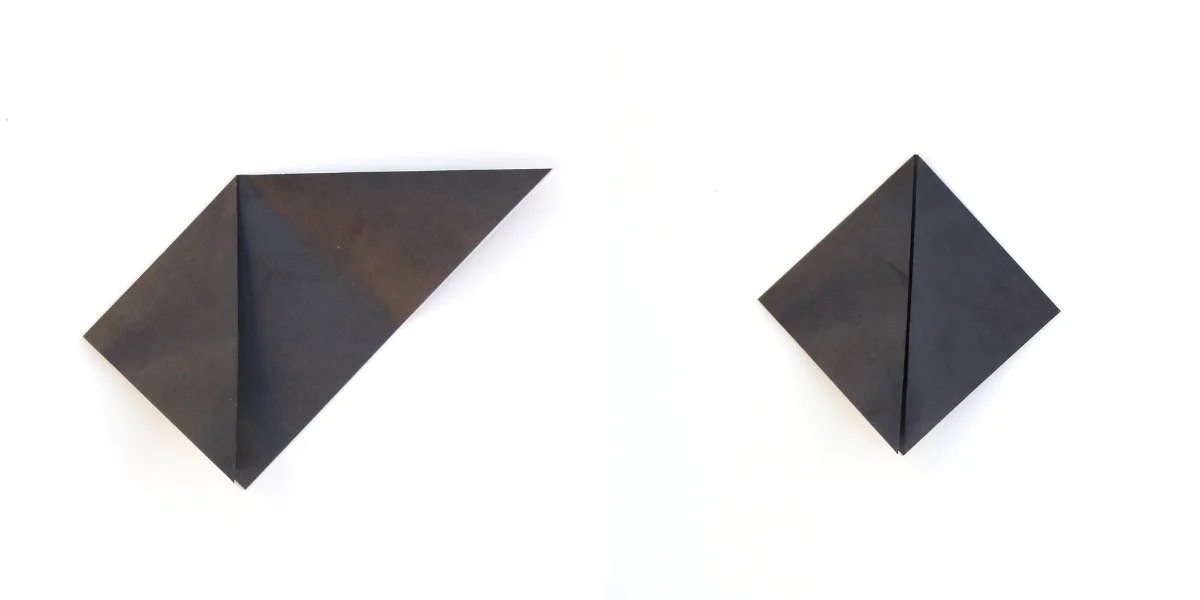
1. Take your first piece of paper and fold it in half along the diagonal to make a triangle.
2. Open your paper back out and lay it flat with one of the points facing you to make a diamond shape.
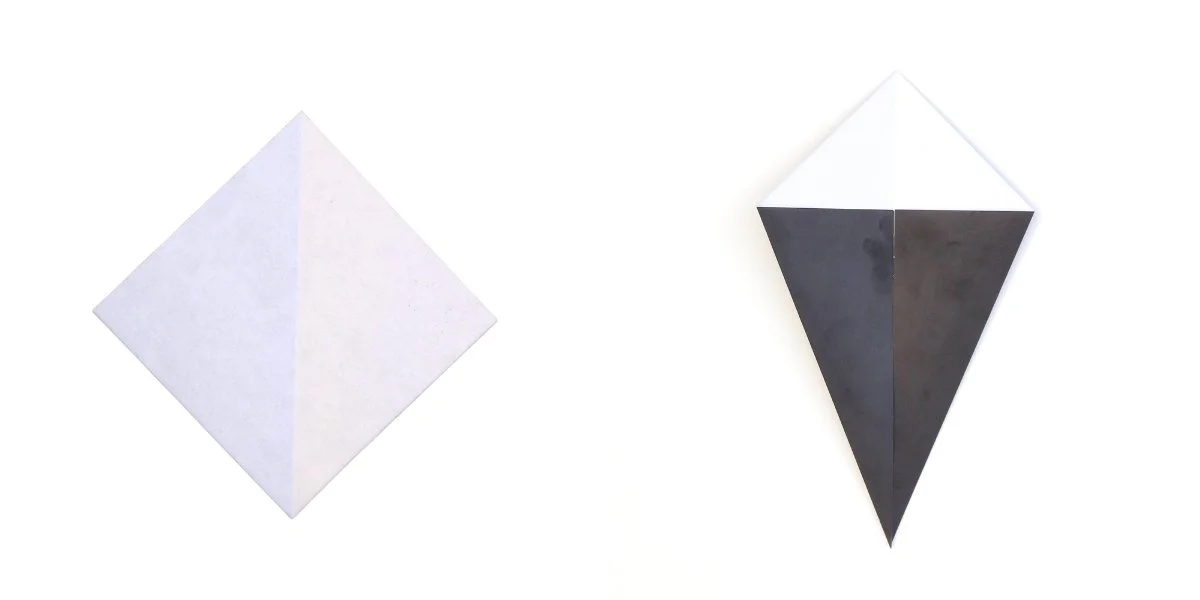
3. Fold the left and right sides in to meet the center crease and make a kite shape.
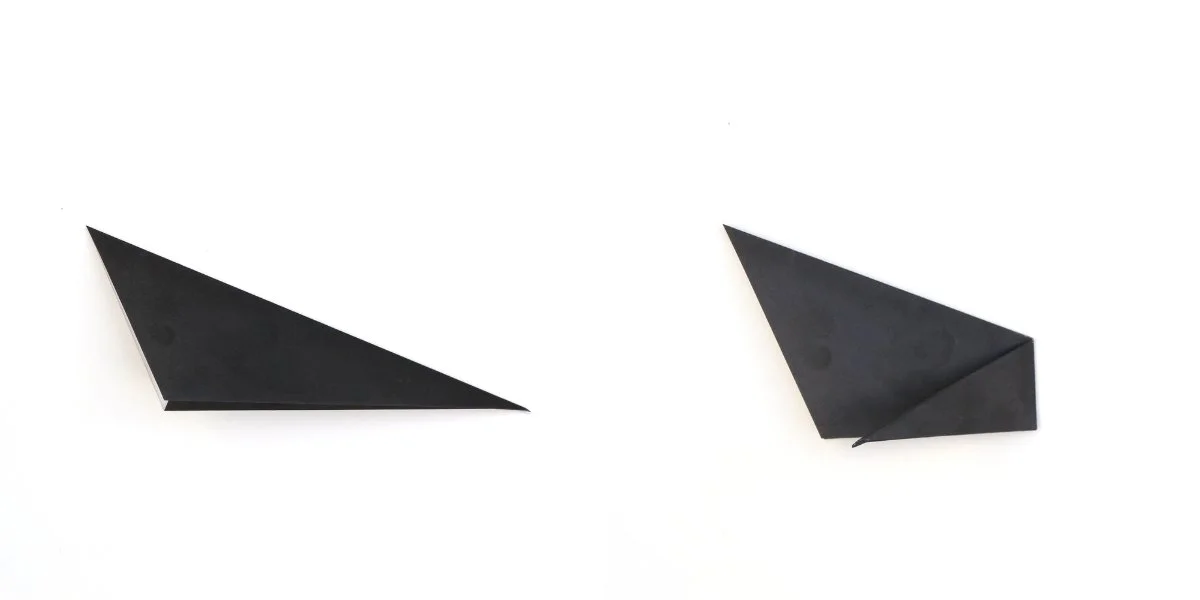
4. Fold your kite shape in half with the black side of the paper on the outside and the white on the inside.
5. Rotate 90 degrees and fold the long point to meet the opposite side and make the cat’s tale.
6. Put aside until later.
Next we’re going to make the cat’s face.
1. Take your second piece of paper and fold it in half along the diagonal to make a triangle.
2. Fold the left corner of the triangle down to meet the middle point.
3. Repeat on the other side.
There should now be 2 triangle flaps.
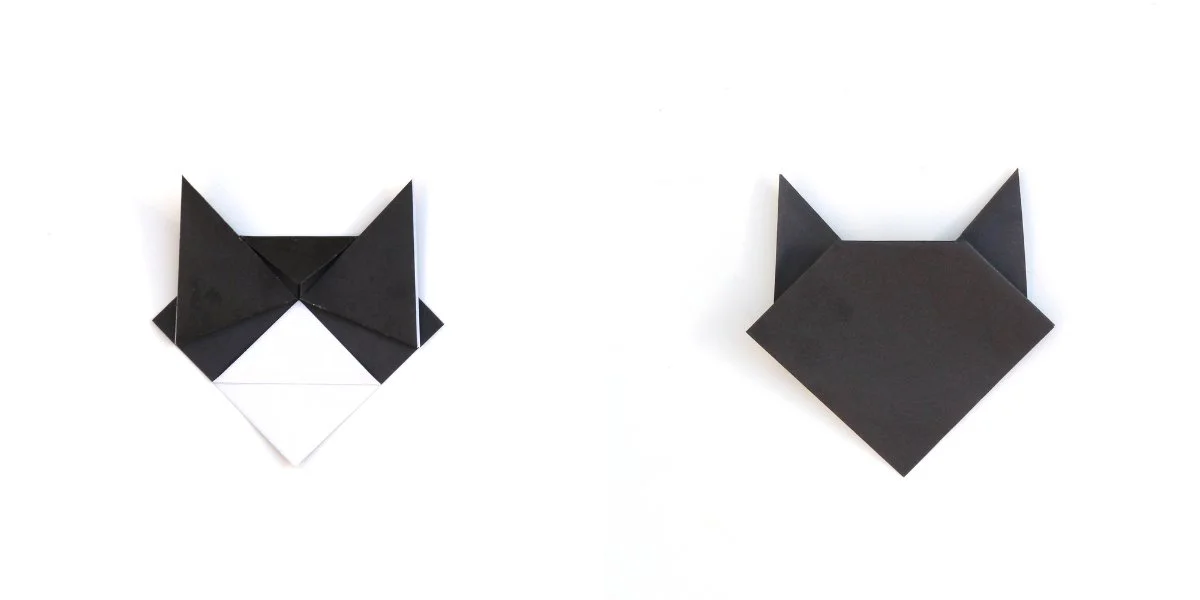
4. Take the triangle flaps and fold them back on themselves to make the ears.
5. Fold the top point down to make the top of the head.
6. Next fold the top layer of the bottom up to meet the bottom of the ears. This will make a white triangle.
7. Flip your origami over to reveal your cat head shape.
8. Fold the bottom point up to make a white triangle.
Use the triangle fold you made on the other side as a guide.
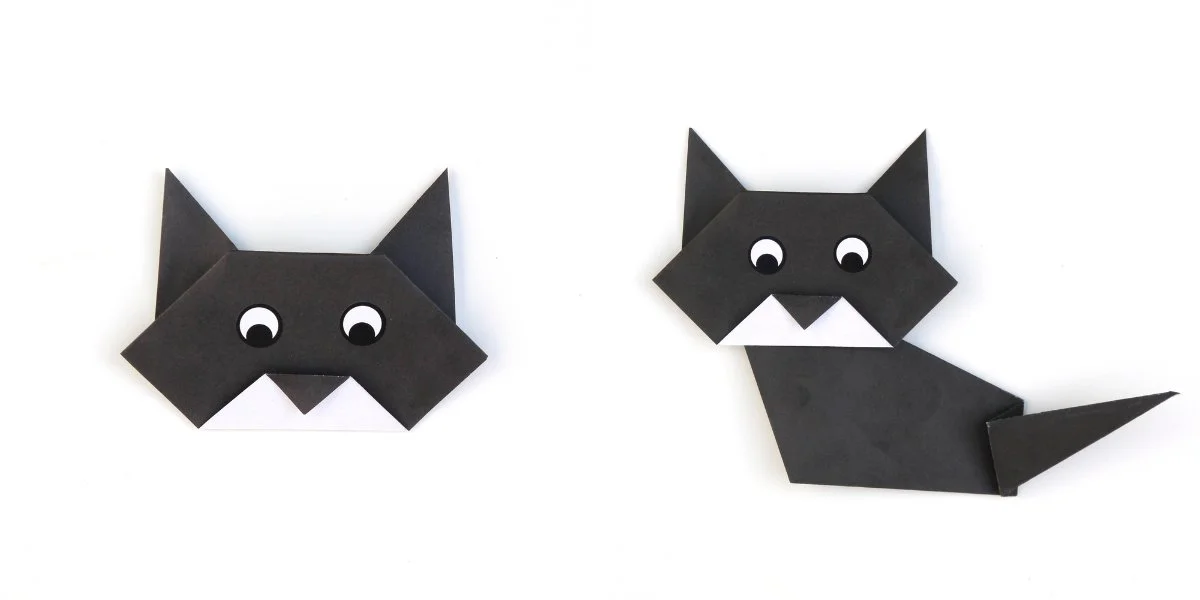
9. Fold the tip of the white triangle down to make the nose.
10. Add sticker eyes or googly eyes to make your cat’s face.
11. To finish off your origami cat slide the cat’s head onto the body.
You can use a little glue to attach the head to the body.
So, what are you waiting for? Grab some paper, get folding, and before you know it, you’ll have a whole bunch of adorable (or spooky!) black cats to show off.

