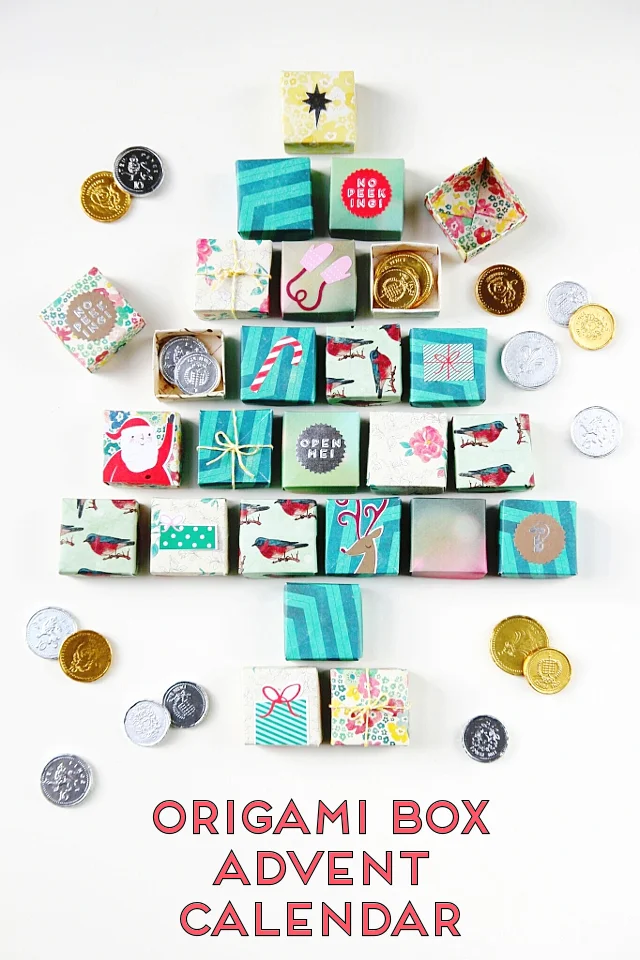
DIY ORIGAMI BOX ADVENT CALENDAR.
/It's that time of year again. Time to start thinking about counting down to Christmas and what better way is there to countdown than with this DIY origami box advent calendar.
Normally I end up with one of those store-bought chocolate filled calendars but last year my Mum made me one complete with glittery snow scene. I loved having a homemade advent calendar so this year I decided to step up my game and make one as well.
And make sure to check out the rest of my Christmas Origami projects.
Do you remember my easy origami gift boxes? Well, I decided smaller versions would be perfect for holding some chocolate coins.
Each finished box measures 2x2 inches square and is 1 inch high so if you don't want to use chocolate coins they're still big enough to hold a small gift or treat. To make each box you need a piece of paper measuring 6x6 inches for the lid and a piece measuring 5.5x.5.5 inches for the base. If you're using scrapbook paper like I did you can get 2 out of each 12x12 piece with only minimal waste. I used the American Crafts Maggie Holmes 12 x 12 Paper Pad.
You can find a full tutorial for how I made the origami boxes here.
I filled each box with a couple of chocolate coins and decorated them using stickers and bakers twine.
I didn't have any number stickers so I wrote the numbers 1-24 on the bottom of the origami boxes using a gold gel pen.
Once decorated all you need to do is arrange the boxes in a Christmas tree shape. I used yellow patterned paper with a silver star sticker for the tree topper. You can leave your boxes as they are but if you're short on space you can glue the back of each box to a piece of card so you can stand your advent up instead.


