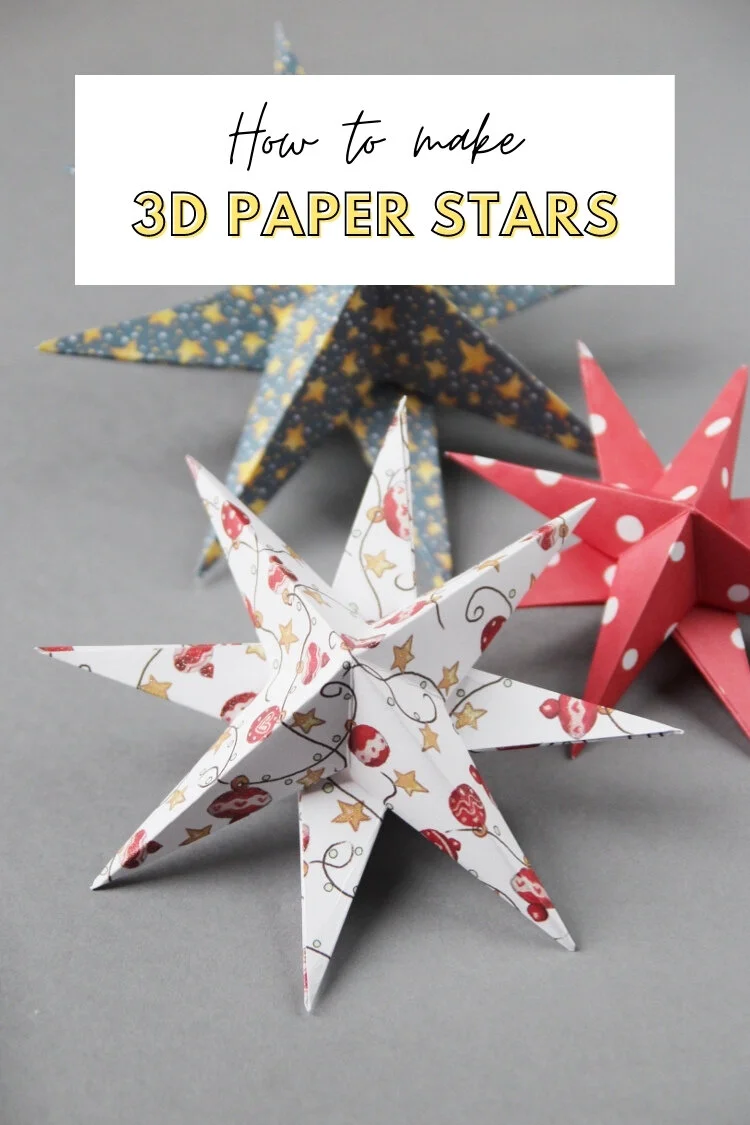
DIY 3D Christmas Star

DIY 3D Christmas Star

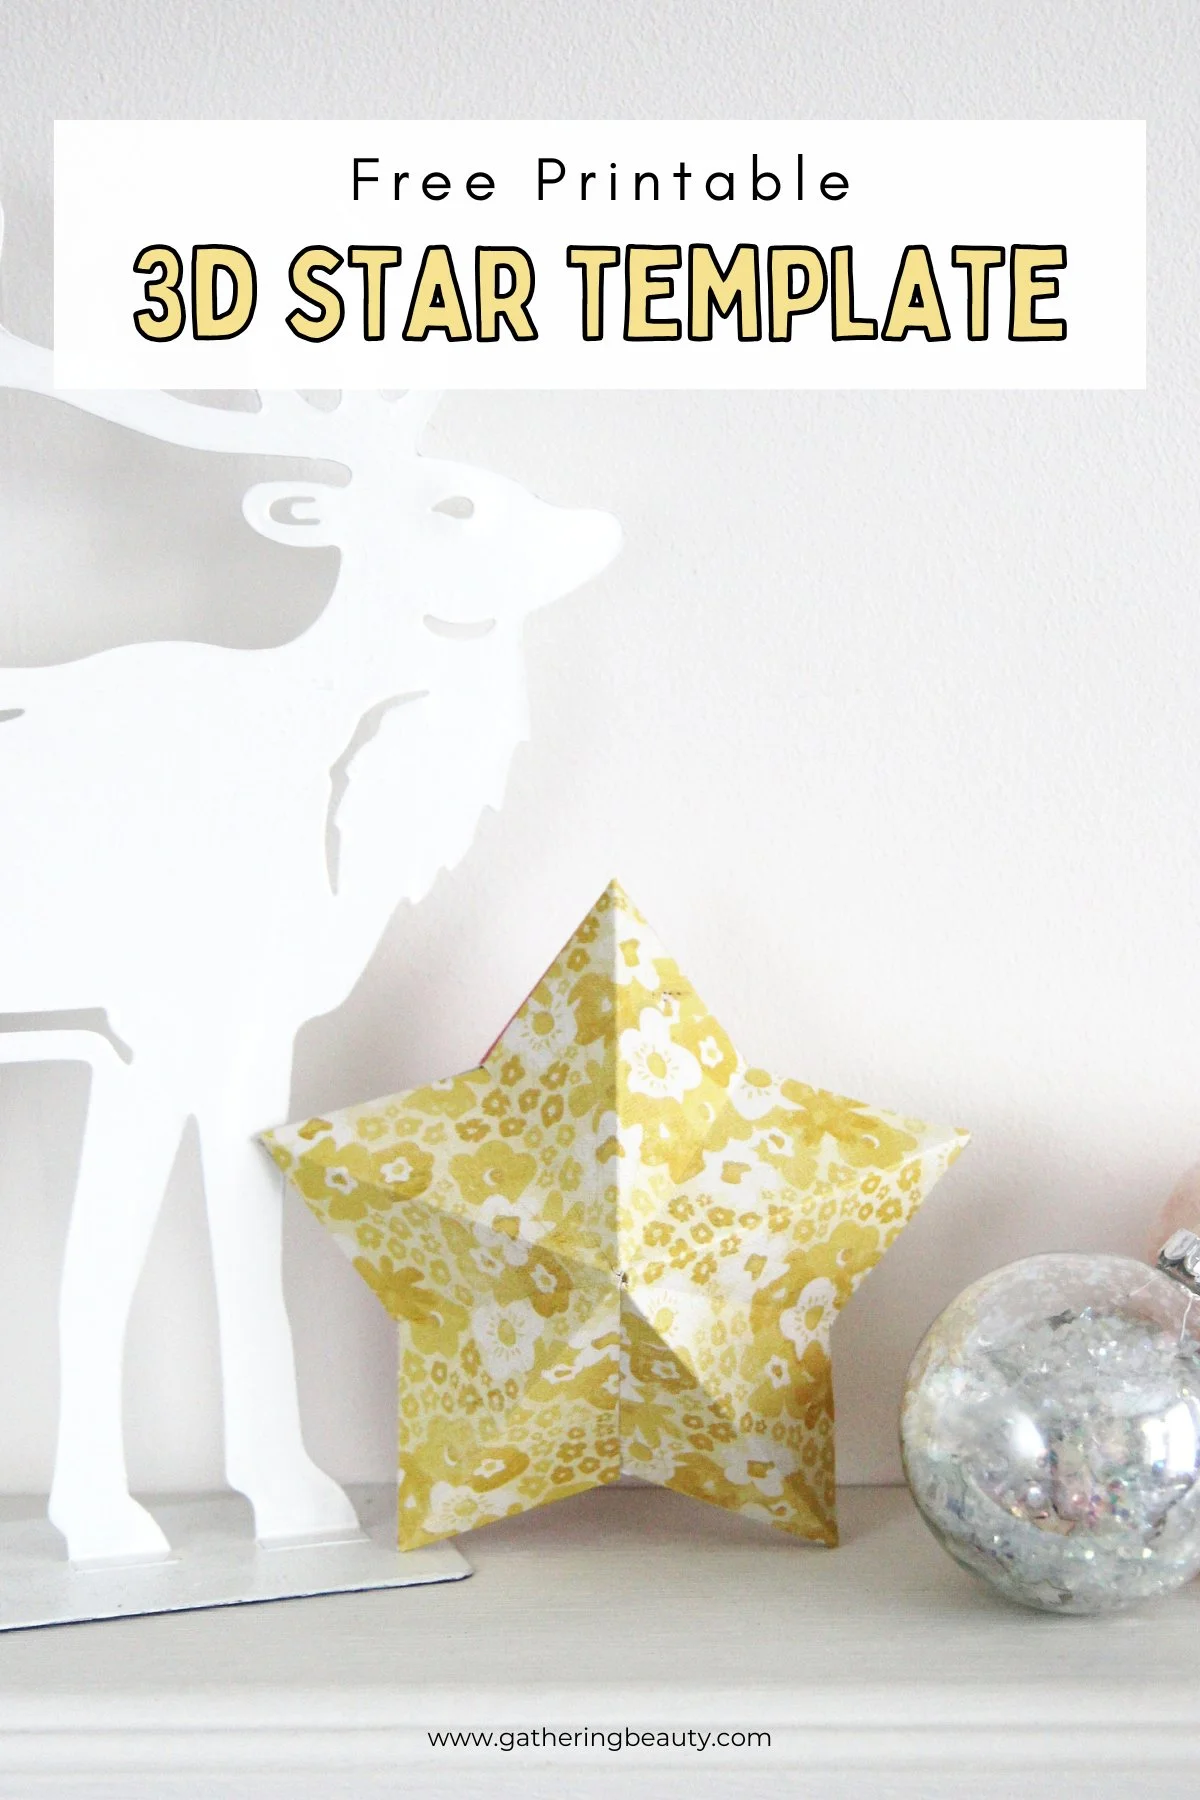
Try this DIY Christmas Star and make beautiful paper stars to decorate your home. Easy to make with just a piece of paper, scissors and glue.

Use them hung by thread from the ceiling or a mini version as a star ornament hung from a tree branch. For a simple yet effective display simple prop them up on a windowsill or mantle for a festive fireplace.

They're a great way to make beautiful Christmas star decorations. A fun holiday craft that the whole family can make.

Read More
DIY CLAY CHRISTMAS DECORATIONS.

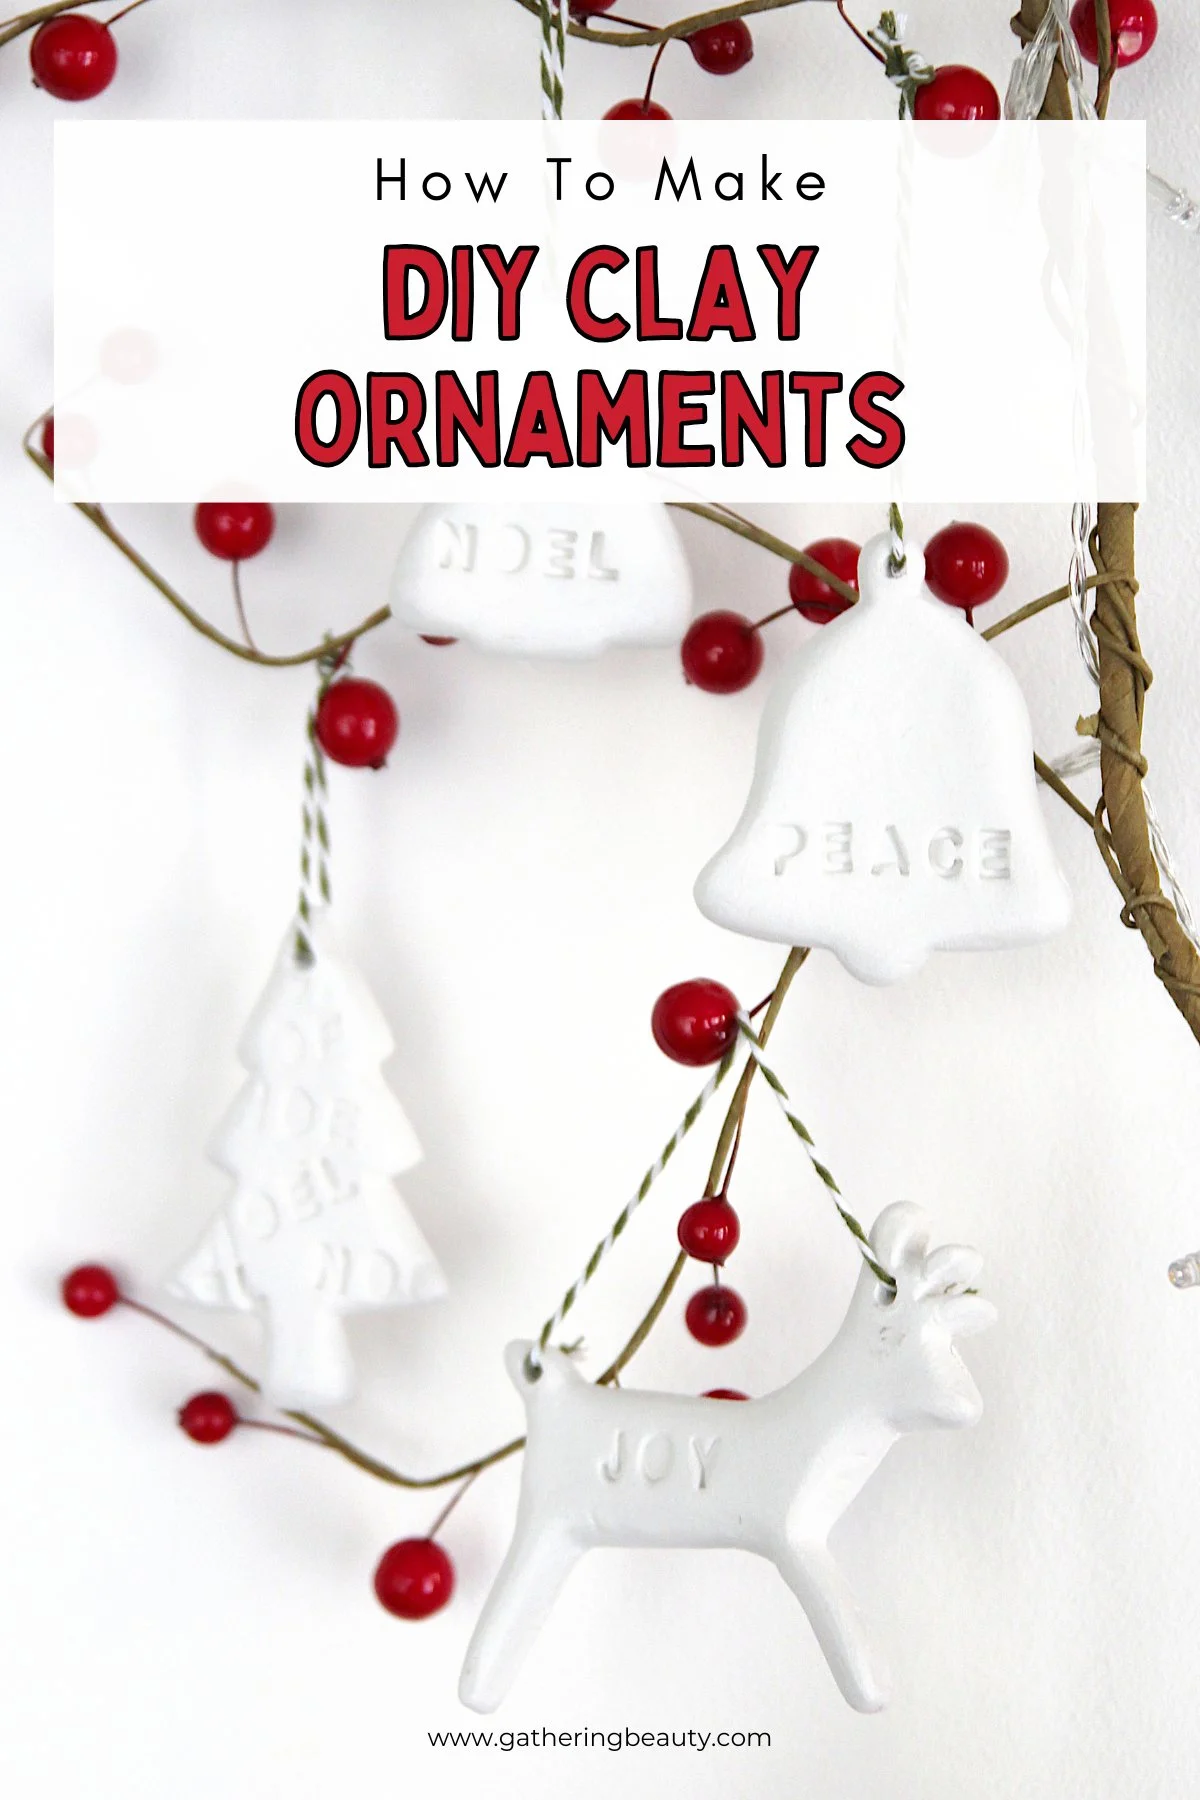
Diy Clay Christmas Tree Decorations.

This page contains affiliate links. This means that if you make a purchase after clicking a link I earn a small commission but it doesn’t cost you a penny extra!

I made these clay Christmas tree decorations a few weeks ago and meant to share them sooner but somehow time slipped away from me and I never managed to get around to it. I know there's only 4 days until Christmas and not really enough time to make them this time around but it seems a pity not to share them and you can always bookmark and save them for next year.

I'm a big fan of air dry clay. I love making things with it. There's no baking or kiln needed, all you need to do is roll, cut and stamp and leave to dry. When I've used this clay in the past I normally roll it quite thin (you can fine my other clay crafts here) but this time I left it nice and thick to make a chunkier almost 3D decoration.

Here's how I made them.

Diy Clay Christmas Reindeer Decorations.

Supplies:

1. Knead the air dry clay until it is soft and pliable.

2. Roll out the clay. To make chunky decorations you need to roll the clay out to about 1/2 inch thick.

Remember the thicker the clay the longer it will take to dry and don't worry about the clay looking grey and sludgy when you get it out the packet, it turns a lovely matt white as it dries.

3. Use a cookie cutter and cut out your shapes.

4. Smooth out any rough edges with your fingertips and a little water.

5. Stamp your message into the clay.

6. Use a cocktail stick or a small straw to make a hole in the top of your decoration.

7. Leave to dry.

I've found the air dry clay can take several days to dry when it's thick so make sure to allow for plenty of drying time.

8. When dry sand away any rough edges.

9. Thread on some bakers twine and hang.

Diy Clay Christmas Tree Decorations.

What do you think? I love the chalky whiteness of the clay and they look really pretty hanging up next to the fireplace on our berry garland.

Make sure to check my other Christmas crafts and recipes for more diys.

1 Comment

Emma

Hi, I'm Emma.

I'm a crafter, blogger and paper enthusiast living in the North West of England.

Gathering Beauty is the place where I share craft tutorials and diy inspiration. I started this blog back in 2013 as a way of sharing all the things I love and make. I share paper crafts, clay crafts, origami, printables and desktop wallpapers as well as the odd crochet and weaving project. I hope you find something here that inspires you.

DIY SPARKLE FILLED CHRISTMAS BAUBLES.

Diy Sparkle filled Christmas Baubles

Decorating some plain glass (or plastic) baubles is a great way to add a little personality to your tree.

These sparkle filled Christmas ornaments are such an easy do-it-yourself project that I'm not sure a step by step is even necessary but you're going to get one anyway ;) I can't help myself.

I wanted to add a little sparkle to mine so I filled baubles with shiny confetti foil and iridescent sequins. If rustic is more your style you could use feathers or Christmas tree trimmings. I love these cacti filled ornaments over on Eclectic Trends and these holly filled ornaments from Martha Stewart are another great alternative.

supplies for Diy Sparkle filled Christmas Baubles

Supplies: Clear glass baubles // iridescent sequins // confetti stars // diamond table confetti // silver icicle tinsel // sparkling snow // confetti foil

The above links are affiliate links. This means that if you purchase through them I receive a small commission.

1. Carefully remove the top of the glass ornament.

If you're crafting with kids this part is for the adults as the glass can shatter if you're heavy handed.

2. Fill with your chosen sparkly filling. This can get messy so you might want to put down some scrap paper first.

For the one above I used some multi-coloured confetti foil from my local craft shop. I used a pencil to help push the confetti in when it got stuck in the hole. This part can be pretty time consuming depending on how full you want to fill your bauble.

3. Replace the top and hang.

If you have any trouble filling your baubles you can try making a paper funnel. This would work really well if you wanted to fill your ornaments with glitter.

To make the silver bauble I filled it with some silver tree icicle tinsel. It twists round as you thread it through and looks so pretty hanging on the tree. If you don't have icicle tinsel you could trim some normal tinsel and use that instead.

For the last one I filled it with some small plastic diamonds you get to scatter on tables at weddings, some iridescent sequinssparkly snow and some silver star confetti. This was easily my favourite. I love how it catches the light.

Diy Sparkle Filled Christmas Baubles

And that's all there is to it. Simply hang them on your tree and enjoy.

Happy Christmas crafting.

Make sure to check my other Christmas crafts and recipes for more diys.

Diy Sparkle filled Christmas Baubles
Diy Sequin Filled Christmas  Baubles
Comment

Emma

Hi, I'm Emma.

I'm a crafter, blogger and paper enthusiast living in the North West of England.

Gathering Beauty is the place where I share craft tutorials and diy inspiration. I started this blog back in 2013 as a way of sharing all the things I love and make. I share paper crafts, clay crafts, origami, printables and desktop wallpapers as well as the odd crochet and weaving project. I hope you find something here that inspires you.

Watercolour Clay Christmas Decorations

Diy Watercolour Clay Christmas Tree Decorations

Clay Christmas Tree Decorations.

Christmas decorations are always so fun to make. I've made a couple of different types of tree decorations over the years, these diy embossed clay stars are still my favourite. This year I decided to make a faux glazed clay version using watercolour paints.

The faux glaze effect is really easy to achieve all you need are some watercolour paints and watered down clear school glue.  And although the drying time between layers can be a little time consuming I think they're worth the effort.

Let's heat up the hot chocolate, pop on some Christmas music and get crafting shall we?

Materials needed to make Diy Watercolour Clay Christmas Decorations

Supplies:

How to make Air Dry Clay Christmas Decorations:

1. Knead the air dry clay until it is soft and pliable.

2. Roll the clay out to around 3mm thick. If you find the clay is sticking to the table you can try rolling the clay out onto some greaseproof paper or a silicon baking tray first.

3. Press the chosen stamps into the clay (I used these stamps). Be careful not to press too hard as the clay can get stuck to the work surface.

4. Use a cookie cutter to cut out the shape of your decorations.

5. Peel the excess clay away.

6. Use a cocktail stick or a small straw to make a hole in the top of each decoration for the twine.

7. Leave to dry. The air dry clay will harden by itself, there's no need to bake in the oven.

The Das air dry clay I like to use says it takes 24 hours to dry but I find it takes closer to 96 hours (4 days) especially in Winter when it's wet and cold so make sure to allow plenty of drying time.

If you find your clay decorations starting to curl up as they dry it helps to flip them over halfway through the drying process. The clay dries a lot quicker when the air can get to both sides at the same time so I like to dry my clay on baking cooling trays. You'll know when the clay is dry as it changes from a pale grey colour to a matte white.

8. When your clay is dry sand away any rough edges using some fine sandpaper.

9. To decorate the clay with a faux glaze look start by mixing a thin, pale watercolour base. This is the part where you can get creative. I used different shades of green for the trees but you could make them any colour you fancy.

You want to apply the lighter colour first and then build up the darker colours on top. The paint will sink and pool into the indentations left by the stamp. A thin watery paint works best. I found the watercolour glaze effect worked best on the clay that had the added stamped texture.

Build up the colours layer by layer and leave the clay to dry in between each layer. You can use a hair dryer or heat gun to help speed up the process.

10.  When the decorations are totally dry you can glaze them.

I used watered down clear school glue to give a glossy faux glazed ceramic finish. I applied a couple of layers of the glue mixture to give it that high gloss look. Alternatively you could use this acrylic mod podge gloss sealer or this diy clay glaze and leave out the added colour.

You may need to re-pierce the hole where any glaze has blocked it.

Diy Watercolour Clay Christmas Tree Decorations

11. When dry thread some bakers twine or ribbon through the hole and hang.

Diy Watercolour Clay Christmas Candy Cane Decorations

To make the candy cane decorations roll out some clay and score lines using a wooden lolly stick. Cut them out and leave to dry like the others. To finish use an orangey-red for the base and a deeper cherry red on top.

Diy Watercolour Clay Christmas Decorations

To make the stars use a cocktail stick to make the dotted line around the edge and a watery inky blue to colour them. The bells were made in the same way as the trees but using a different stamp from the set. A dark orange was applied over a pale golden yellow before glazing.

Diy Watercolour Clay Christmas Tree Decorations

What do you think? They're easy to make and can be customised to match any theme. The prefect project to get you in the festive spirit.

Make sure to check my other Christmas crafts and recipes for more diys.

Diy Watercolour Clay Christmas Tree Decorations
Comment

Emma

Hi, I'm Emma.

I'm a crafter, blogger and paper enthusiast living in the North West of England.

Gathering Beauty is the place where I share craft tutorials and diy inspiration. I started this blog back in 2013 as a way of sharing all the things I love and make. I share paper crafts, clay crafts, origami, printables and desktop wallpapers as well as the odd crochet and weaving project. I hope you find something here that inspires you.